How to Manage FTP Accounts in CloudStick
Overview
Over time, the FTP accounts attached to a website often need maintenance — a password should be rotated, a storage quota raised or lowered, or an account that is no longer used removed entirely. CloudStick lets you handle all of this from the website panel, so you never have to edit configuration files or run commands on the server by hand.
This guide walks through finding the website's FTP Accounts tab, reviewing the existing accounts and their directory paths and quotas, and using the Actions menu to change a password, modify a quota, or delete an account.
Prerequisites: A connected server with at least one website that already has one or more FTP accounts. If you have not created an account yet, see How to Create an FTP Account first. Full FTP & SFTP access is included on the BASIC plan and above.
Step 1: Navigate to Your FTP Accounts
FTP accounts are managed per website, so the first step is to navigate from your dashboard to the website whose accounts you want to manage.
Log in and select your server: Sign in to your CloudStick dashboard, which lists all of your connected servers, and click the server that hosts the website you want to manage.
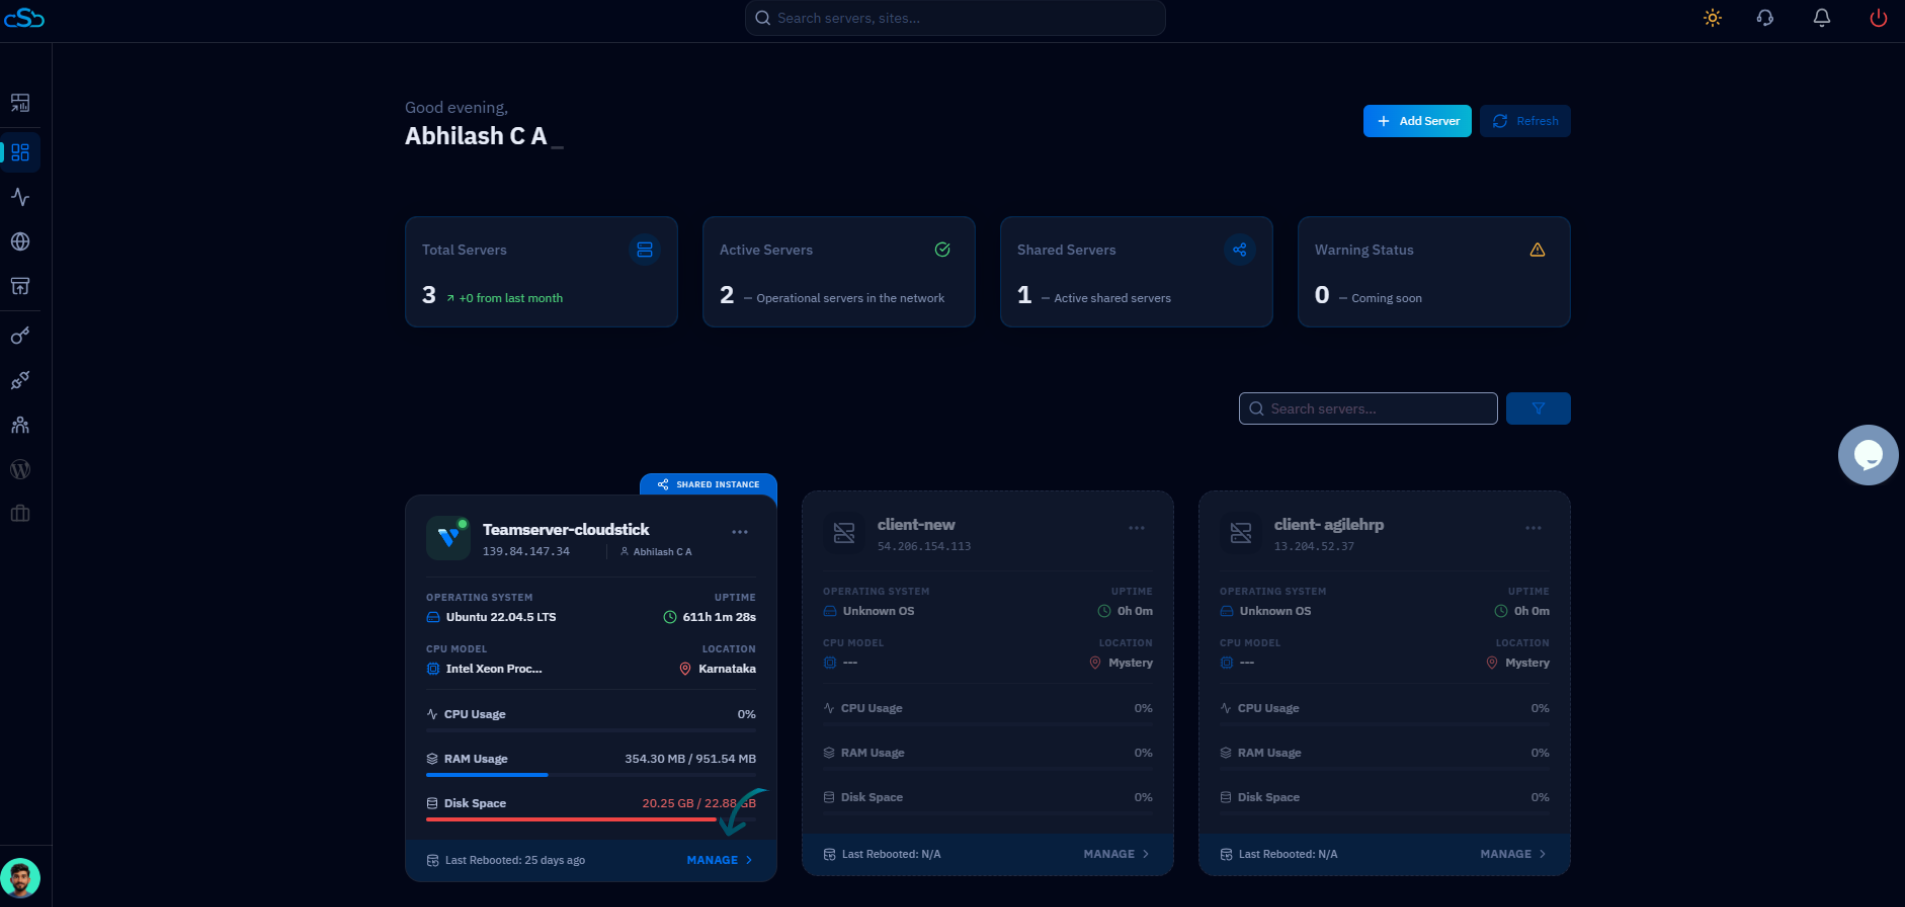
Fig. 01 — The CloudStick dashboard showing your connected servers; select the server that hosts your website.
Open Websites: From the left-hand navigation in the server panel, click Websites to view all hosted web applications on this server.
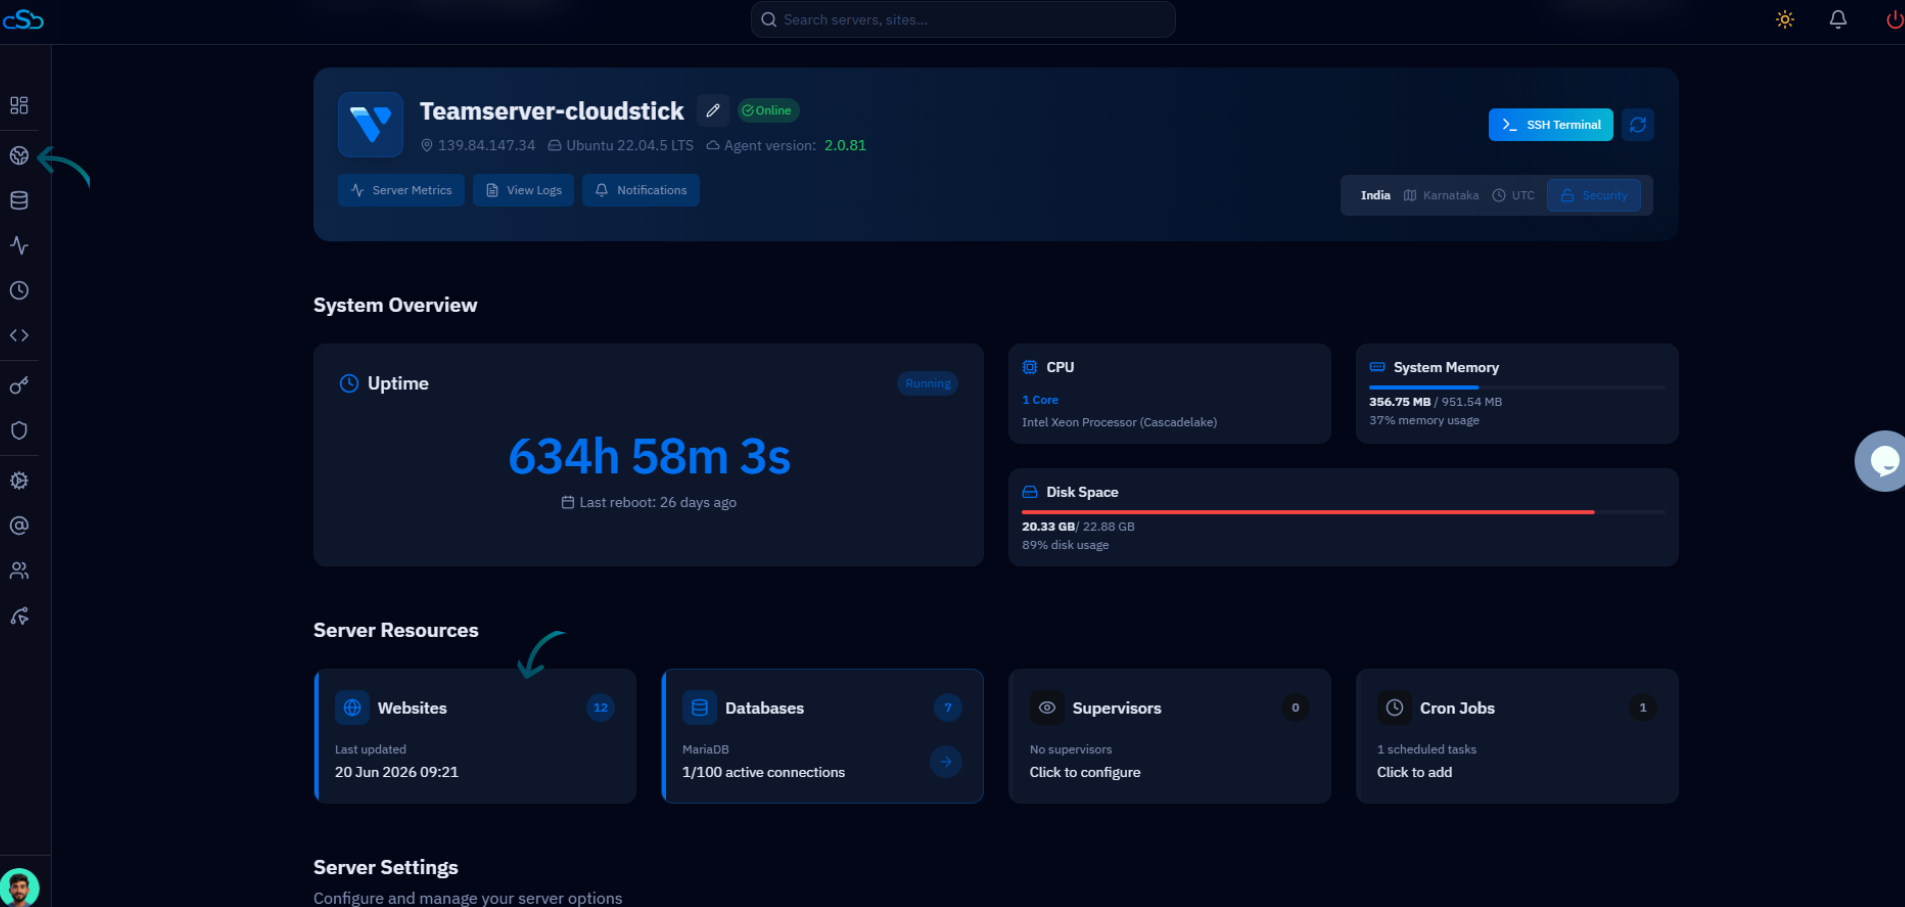
Fig. 02 — The server panel; open the Websites section from the left-hand navigation.
Select a website: Choose the website whose FTP accounts you want to manage to open its management view.
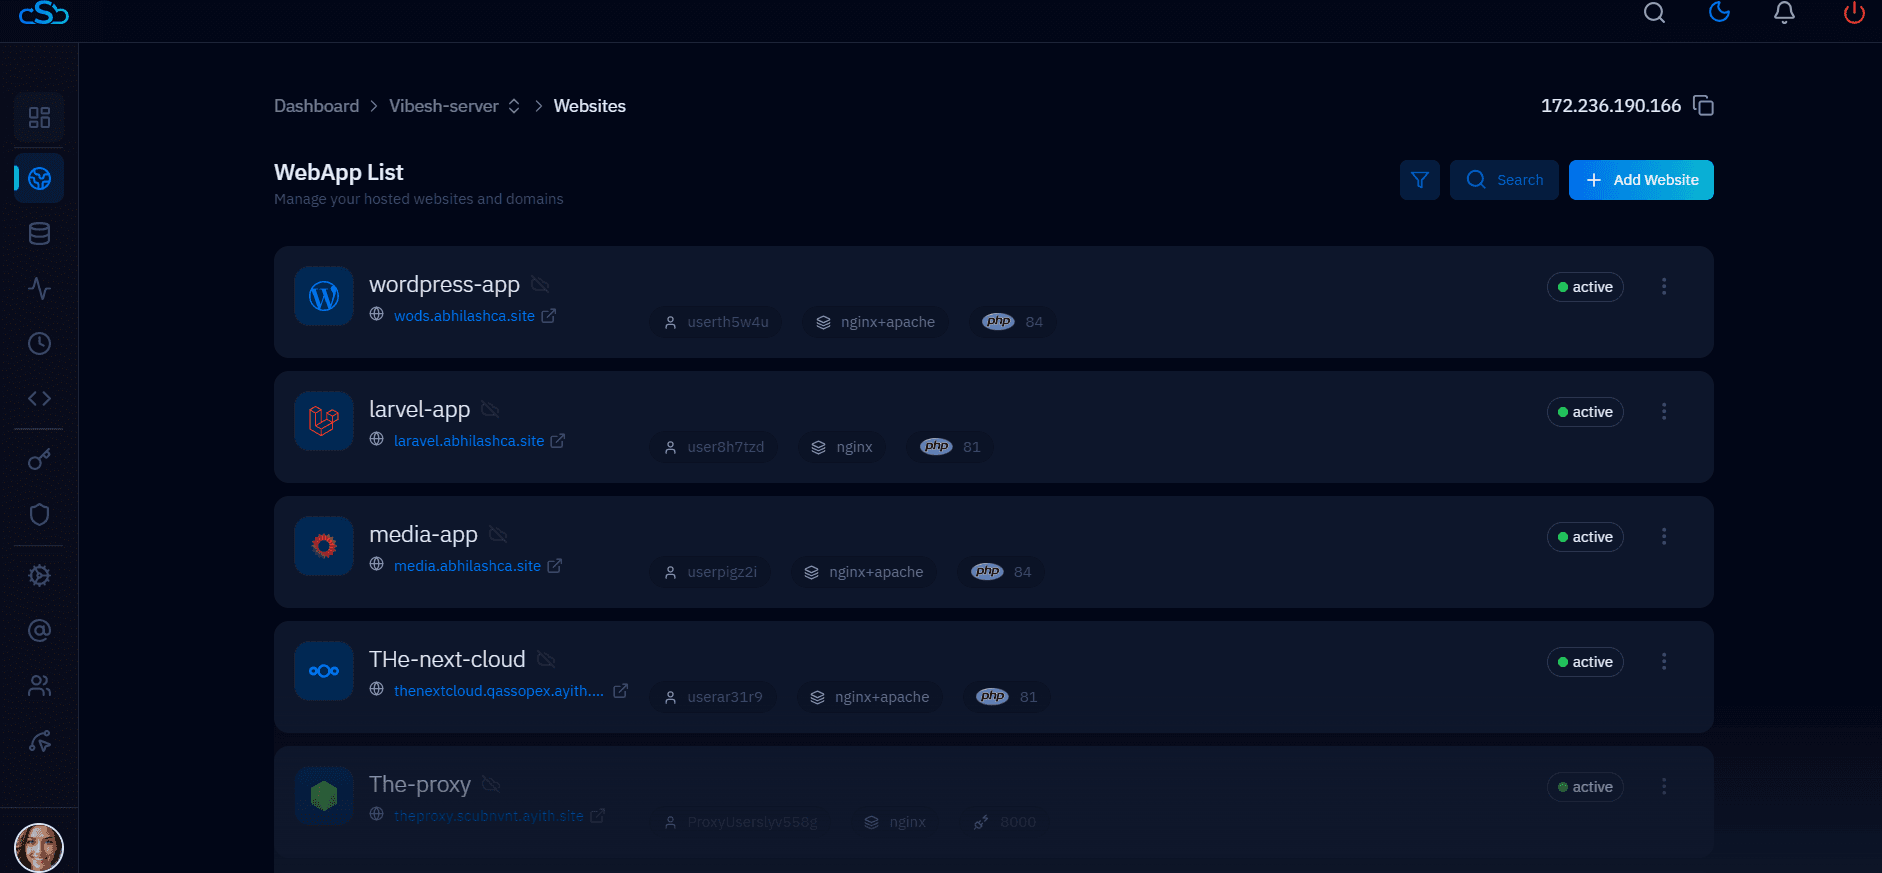
Fig. 03 — The WebApp List; click the website whose FTP accounts you want to manage.
Open FTP Accounts: At the top of the website management page, click the FTP Accounts tab.
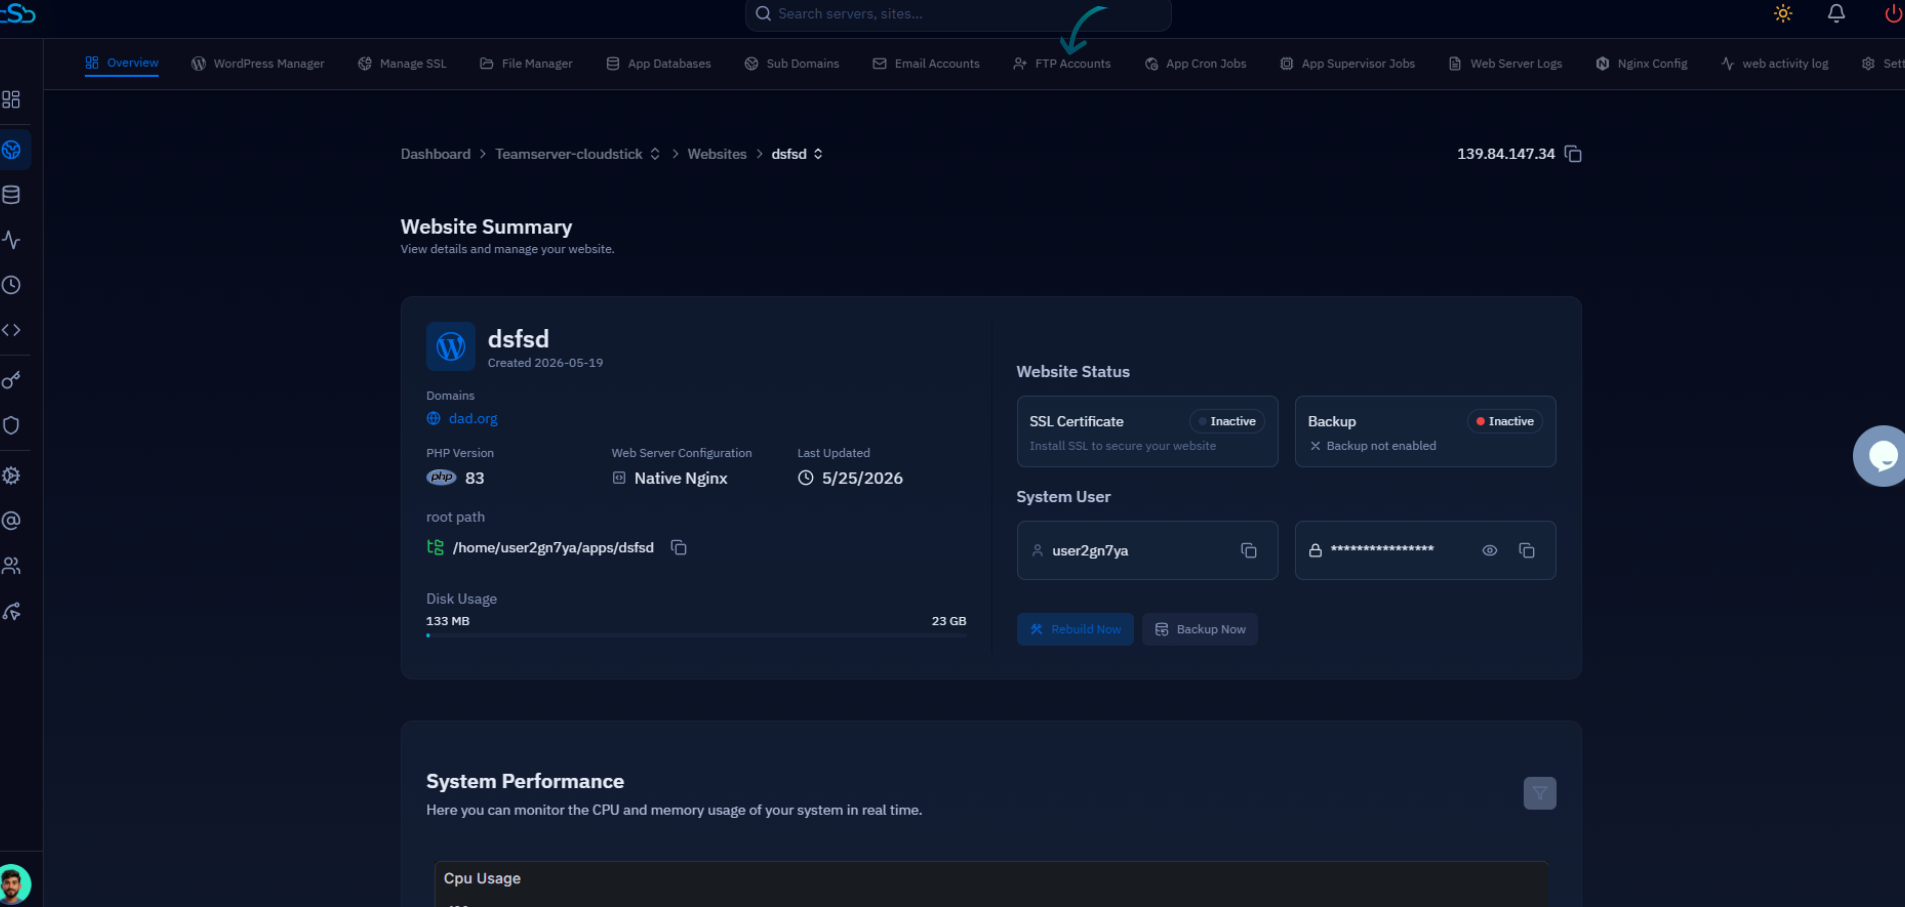
Fig. 04 — The website management page with the FTP Accounts tab in the top navigation.
Step 2: View Your FTP Accounts
The FTP Accounts page lists every account associated with the selected website, so you can review them at a glance before making any changes. For each account the list displays:
FTP Username — the login name used to connect to the server.
Directory Path — the folder the account is scoped to, such as the application root.
Quota — the storage limit assigned to the account, if any.
Status — whether the account is currently active.
Use the search field above the list to quickly locate an account by username or directory when a website has many FTP accounts.
Step 3: Manage an FTP Account
Once you have located the account you want to update, open its menu to reveal the available management options.
Open the Actions menu: Locate the FTP account you want to manage and click the Actions (three-dot) menu next to it.
From the Actions menu you can choose one of the following:
Update Password: Set a new password for the account when you need to rotate credentials.
Update Quota: Raise or lower the storage limit the account is allowed to use.
Delete Account: Permanently remove the FTP account when it is no longer needed.
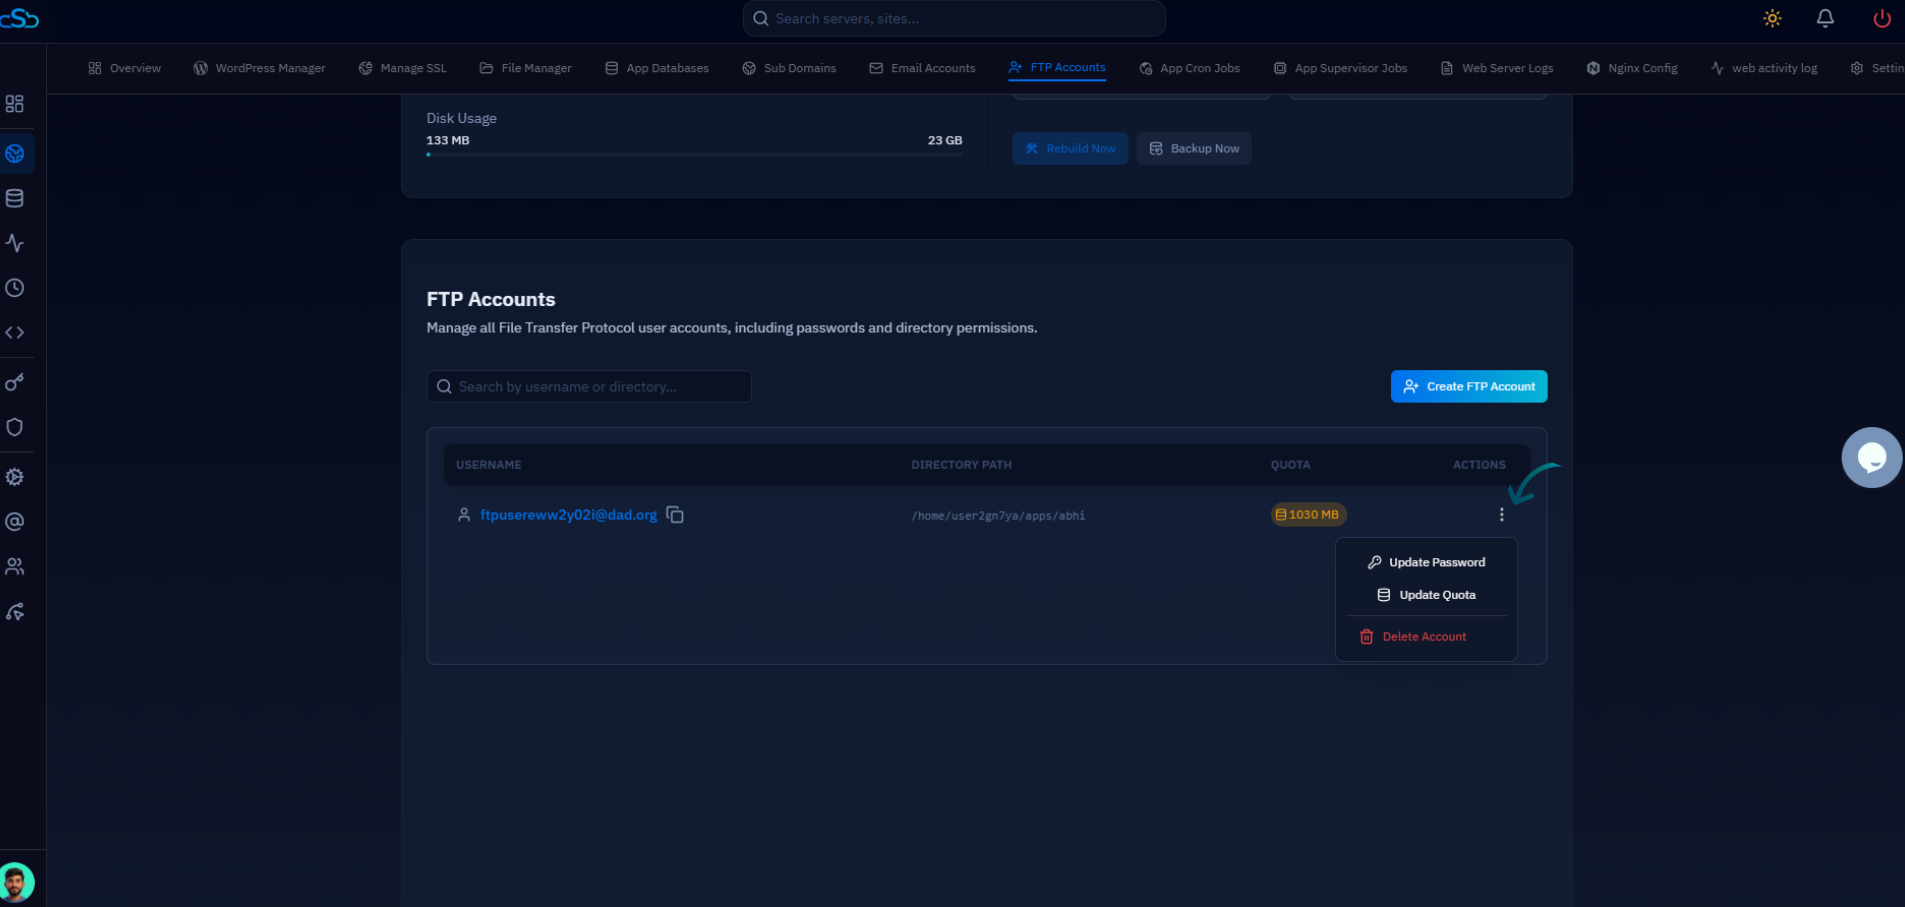
Fig. 05 — The FTP Accounts list with the Actions menu open, showing Update Password, Update Quota, and Delete Account.
Deleting an FTP account is permanent and cannot be undone. Any client or service connecting with that account's credentials will immediately lose access, so confirm the account is unused before removing it.
Step 4: Save Your Changes
After choosing an action and entering any new values, apply the change so CloudStick can update the account on the server.
Save or Update: Once you have made your changes, click Save or Update to apply them.
The account is updated on the server straight away, and the FTP Accounts list reflects the new details.
Any updates made to an FTP account take effect immediately. If you change the password, users will need to use the new password for future FTP connections.