How to Set Up a Hostname
Overview
A server hostname is the human-readable name that identifies your server on the network — used for outgoing mail delivery, SSL certificate issuance, and secure server management. CloudStick provides a dedicated Hostname section in the server panel where you can set a Fully Qualified Domain Name (FQDN) for your server, associate it with your server's IP address, and deploy a Let's Encrypt SSL certificate to secure access over HTTPS.
This guide walks you through selecting your server, navigating to the Hostname section, entering your FQDN, creating the required DNS A record, and deploying SSL for the hostname.
Before setting up the hostname, create an A record in your DNS settings that points the hostname (e.g. host.yourdomain.com) to your server's IP address. SSL provisioning will fail if the DNS record is not yet propagated.
Step 1: Log In and Select Your Server
The Hostname setting is server-level configuration, so the first step is to open the panel for the specific server you want to configure.
Log in to your CloudStick Dashboard: Go to app.cloudstick.io and sign in to your account. The dashboard shows all your connected servers with their status and resource usage.
Select your server: Find the server you want to set a hostname for and click on it to open the server panel.
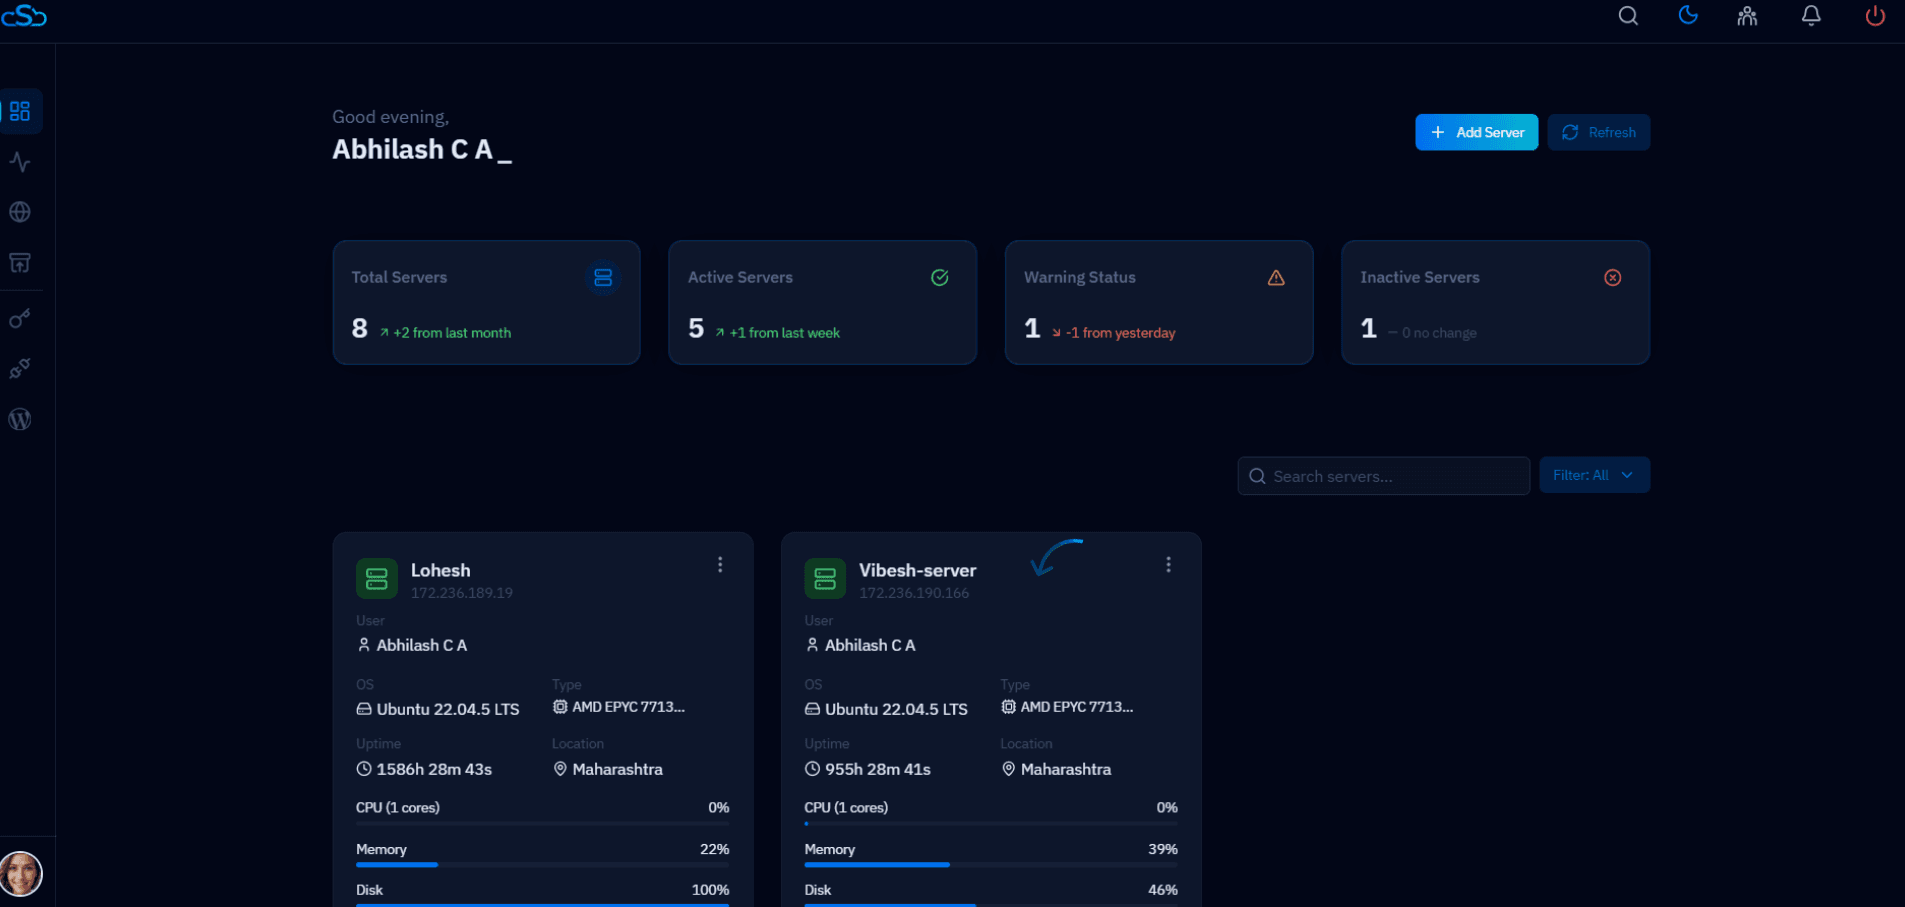
Fig. 01 — CloudStick Dashboard showing connected servers with uptime, CPU, memory, and disk metrics.
Step 2: Navigate to the Hostname Section
The Hostname option is accessible from the left-hand navigation of the server panel. It is represented by the @ icon and manages both hostname configuration and server-level SSL certificates.
Open the server panel: After selecting your server, you will see the server overview showing system metrics — uptime, CPU, memory, and disk space.
Click Hostname in the left-hand menu: In the left-hand navigation, hover over the @ icon to reveal the Hostname tooltip and click it to open the Hostname configuration page.
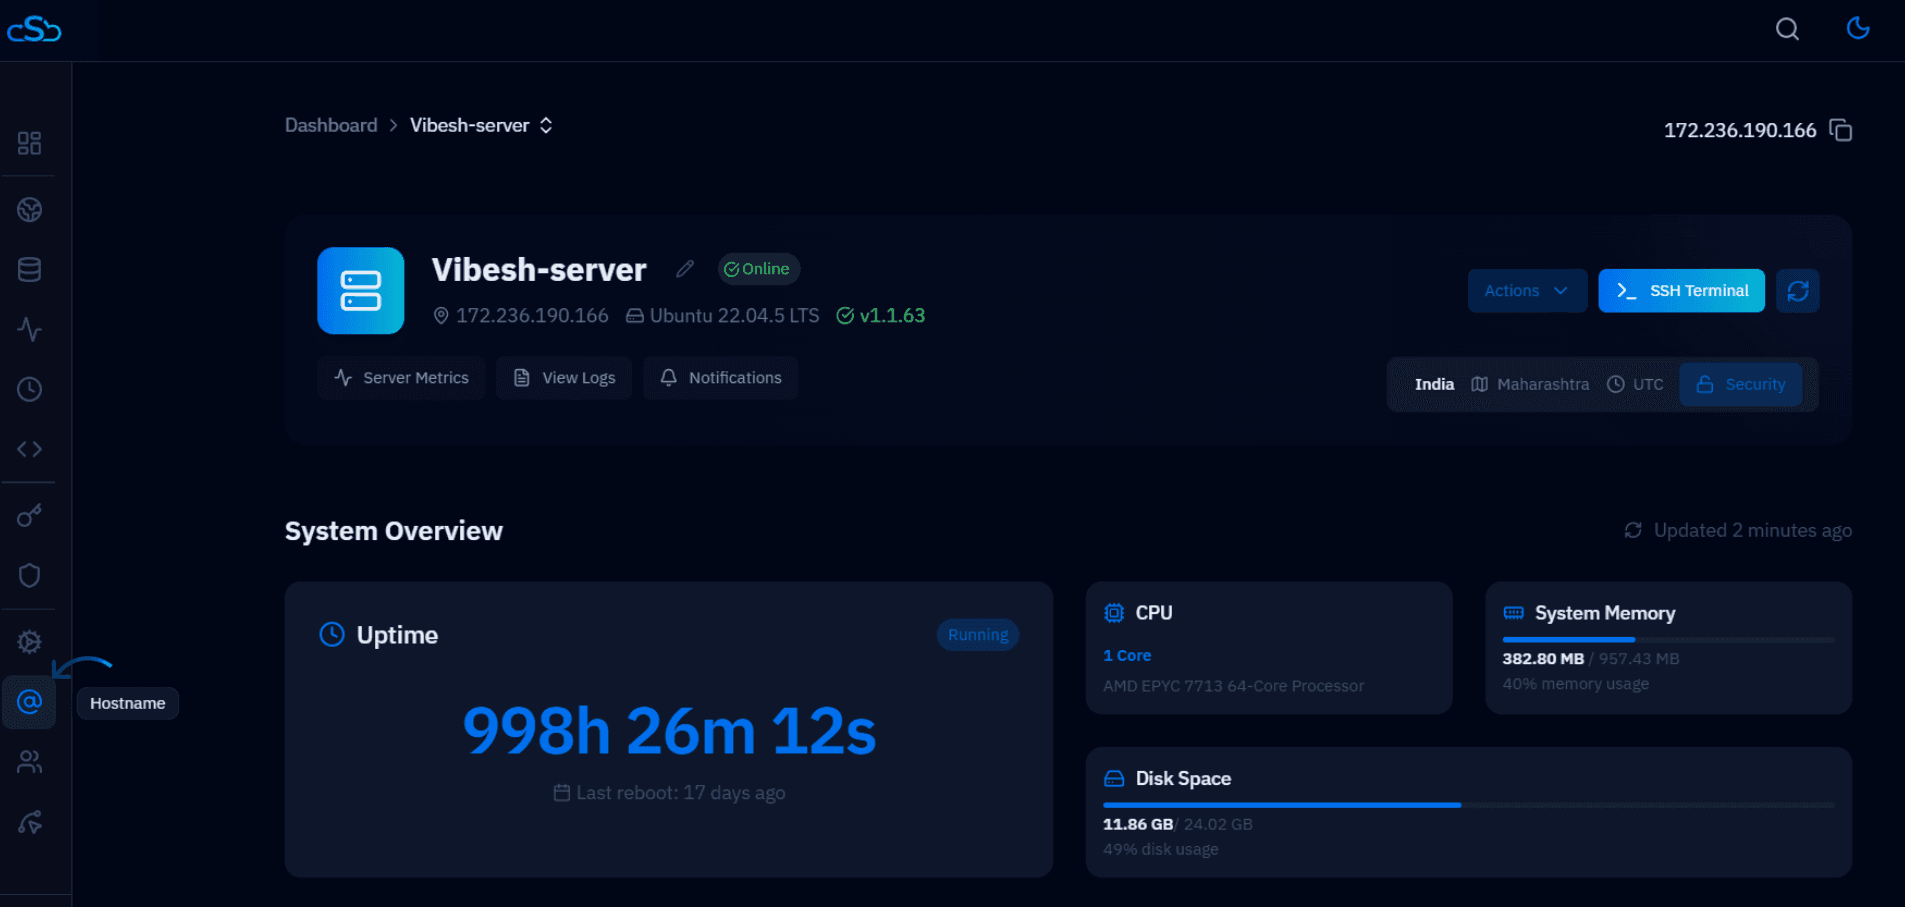
Fig. 02 — Server panel with the Hostname navigation icon highlighted in the left-hand menu.
Step 3: Enter and Save the Hostname
The Hostname page shows the Update Hostname section with any existing hostname and a field to add a new one. Your hostname must be a Fully Qualified Domain Name (FQDN).
Review the current hostname: If a hostname is already configured, it will appear in the list showing the FQDN and the server IP it is associated with.
Enter the new hostname: In the Hostname input field, type your FQDN — for example, host.yourdomain.com. CloudStick requires a valid FQDN; plain IP addresses are not accepted.
Click Update to save: Click the blue Update button to save the hostname and associate it with your server.
Make sure the A record for your hostname is already pointing to your server's IP address before clicking Update. You can create the DNS record at your domain registrar or DNS provider.
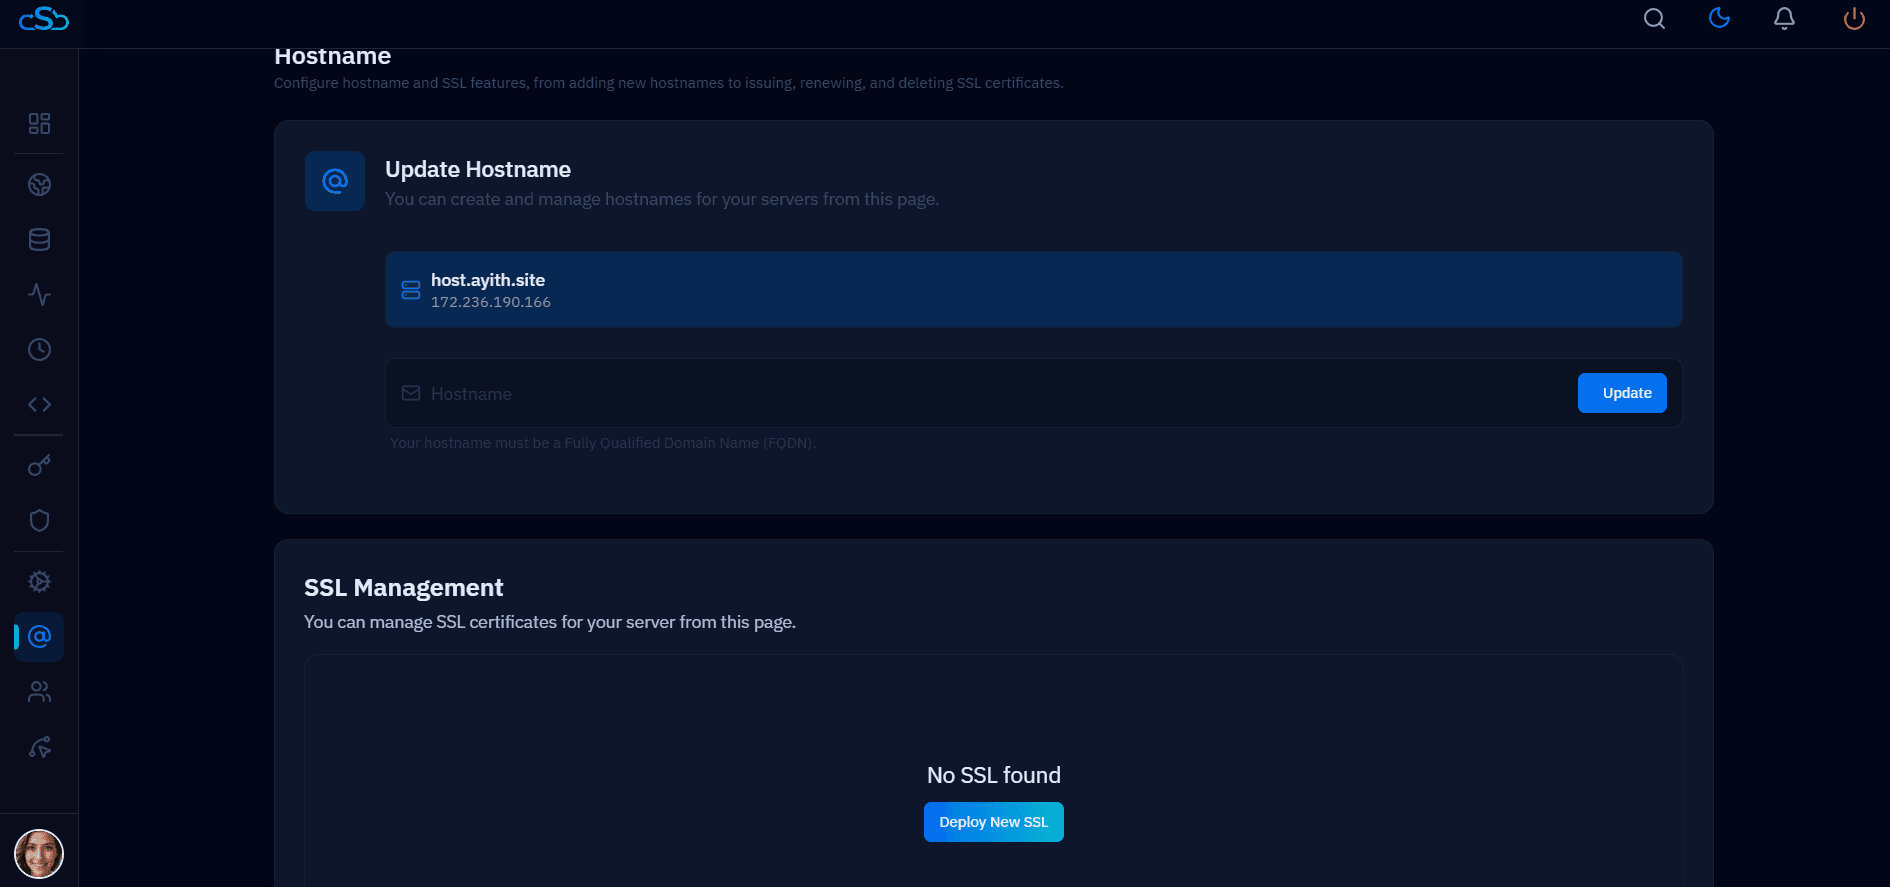
Fig. 03 — Hostname page showing the Update Hostname section with the existing hostname and the SSL Management section below.
Step 4: Deploy an SSL Certificate
Once the hostname is saved and DNS has propagated, you can secure the hostname with a free Let's Encrypt SSL certificate directly from the same page.
Scroll to SSL Management: Below the Update Hostname section on the same page, you will find the SSL Management section.
Click Deploy New SSL: Click the Deploy New SSL button to provision a Let's Encrypt certificate for the hostname. CloudStick will handle the certificate request, validation, and installation automatically.
Verify SSL is active: Once provisioned, the SSL Management section will show "SSL Active and Secured" along with the certificate issuer (Let's Encrypt), issue date, expiration date, and access method (HTTPS).
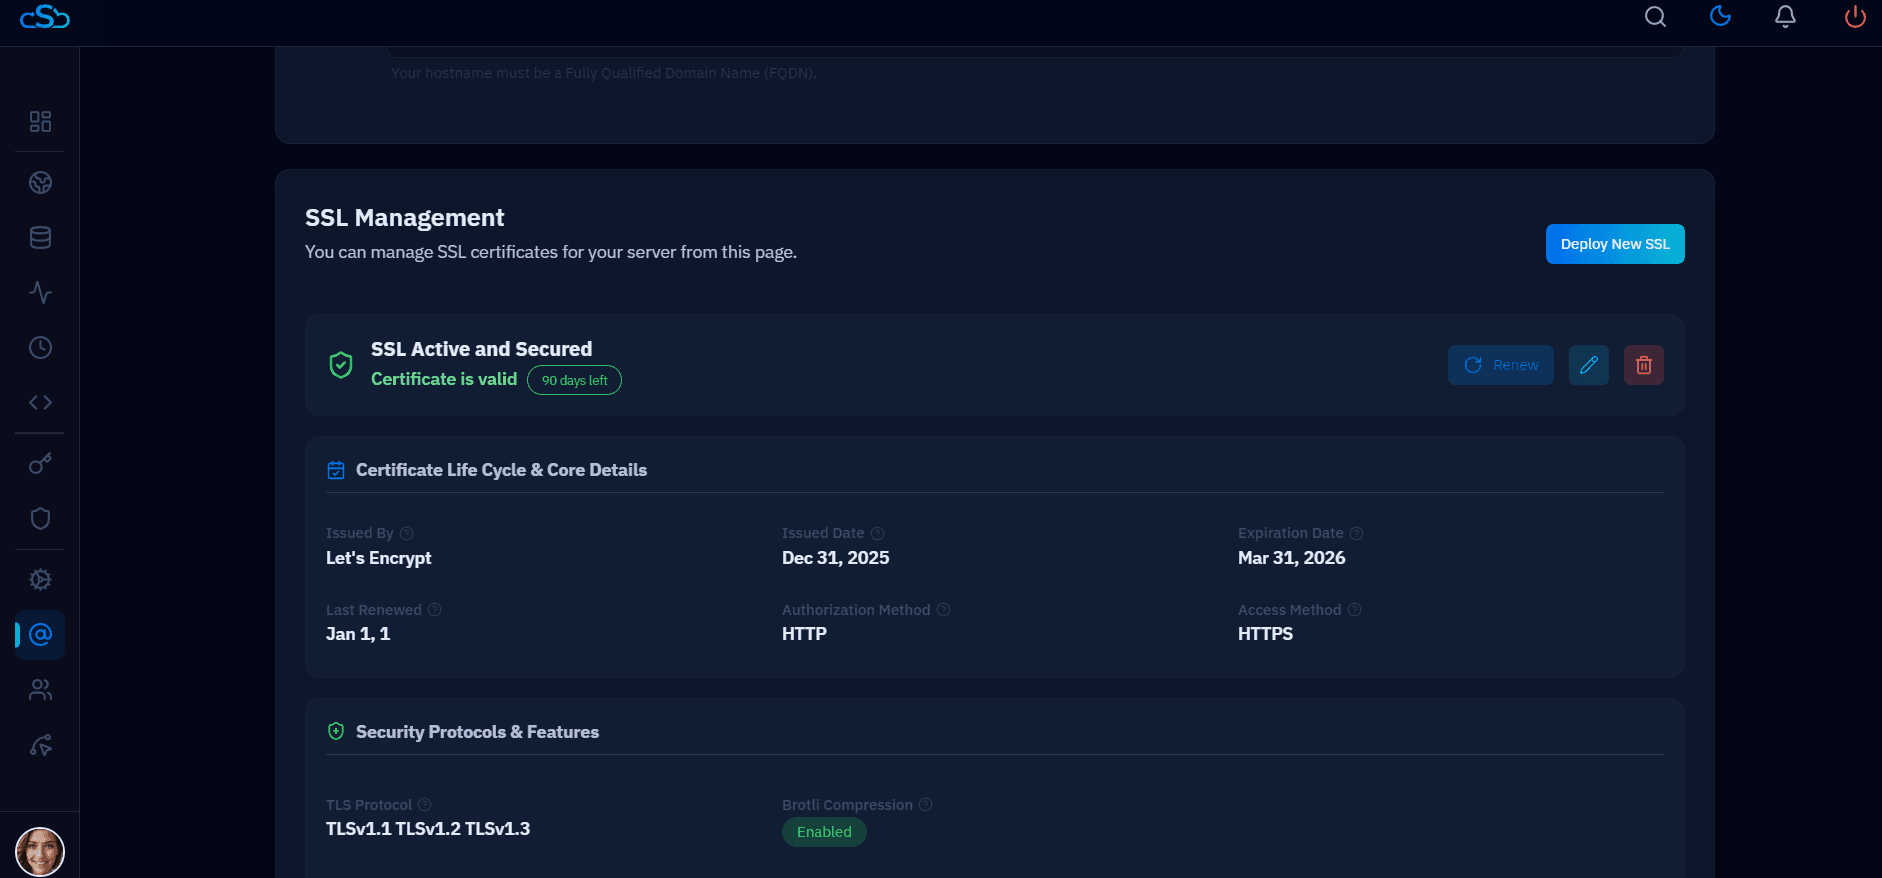
Fig. 04 — SSL Management section showing an active Let's Encrypt certificate with 90 days remaining and certificate lifecycle details.
CloudStick automatically renews Let's Encrypt certificates before they expire. The certificate is valid for 90 days and renewal is handled without any manual intervention.