How to Set Up a Subdomain
Overview
A subdomain is a prefix added in front of your main domain — for example, blog.example.com or app.example.com. Subdomains let you run separate sites or applications — a blog, a staging environment, a webmail interface, or an API — without registering a brand-new domain. CloudStick lets you create and manage subdomains for any hosted website directly from the dashboard, with no manual Nginx or DNS-zone editing on the server.
This guide walks you through logging in, opening the Subdomains tab for your website, choosing which application the subdomain should point to, entering the subdomain details, and creating it.
Before a subdomain becomes reachable, the required DNS records must point to your server's IP address. CloudStick configures the server side automatically — DNS changes are made at your domain registrar or DNS provider and may take some time to propagate.
Step 1: Log In and Select Your Server
Subdomains are configured at the website level, so you first need to open the server panel that hosts the website you want to add a subdomain to.
Log in to your CloudStick account: Sign in at the CloudStick dashboard to see all of your connected servers.
Select your server: From the Dashboard, find the server that hosts your website and click Manage to open the server panel.
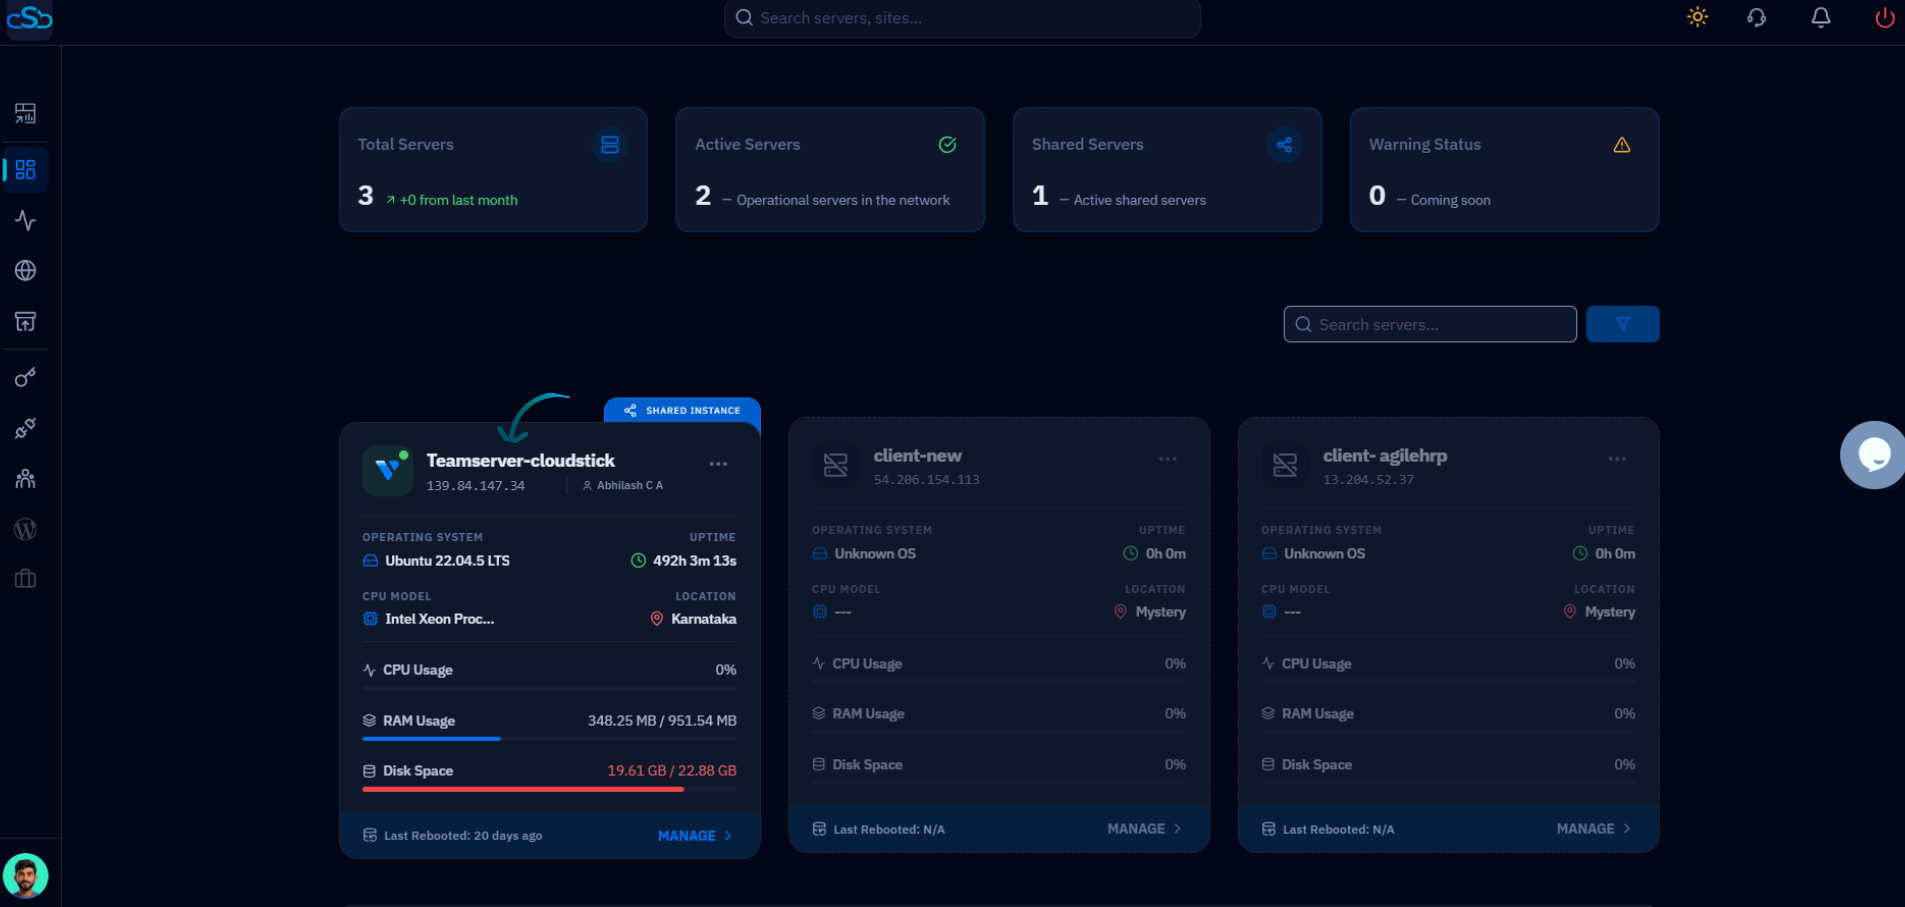
Fig. 01 — CloudStick Dashboard showing all connected servers; click Manage on the server you want to work with.
Step 2: Open the Websites Section
Inside the server panel you will manage every website hosted on that server. Open the Websites area to see the full list.
Open Websites: From the left-hand navigation, click Websites — or click the Websites resource card in the Server Resources section of the server overview.
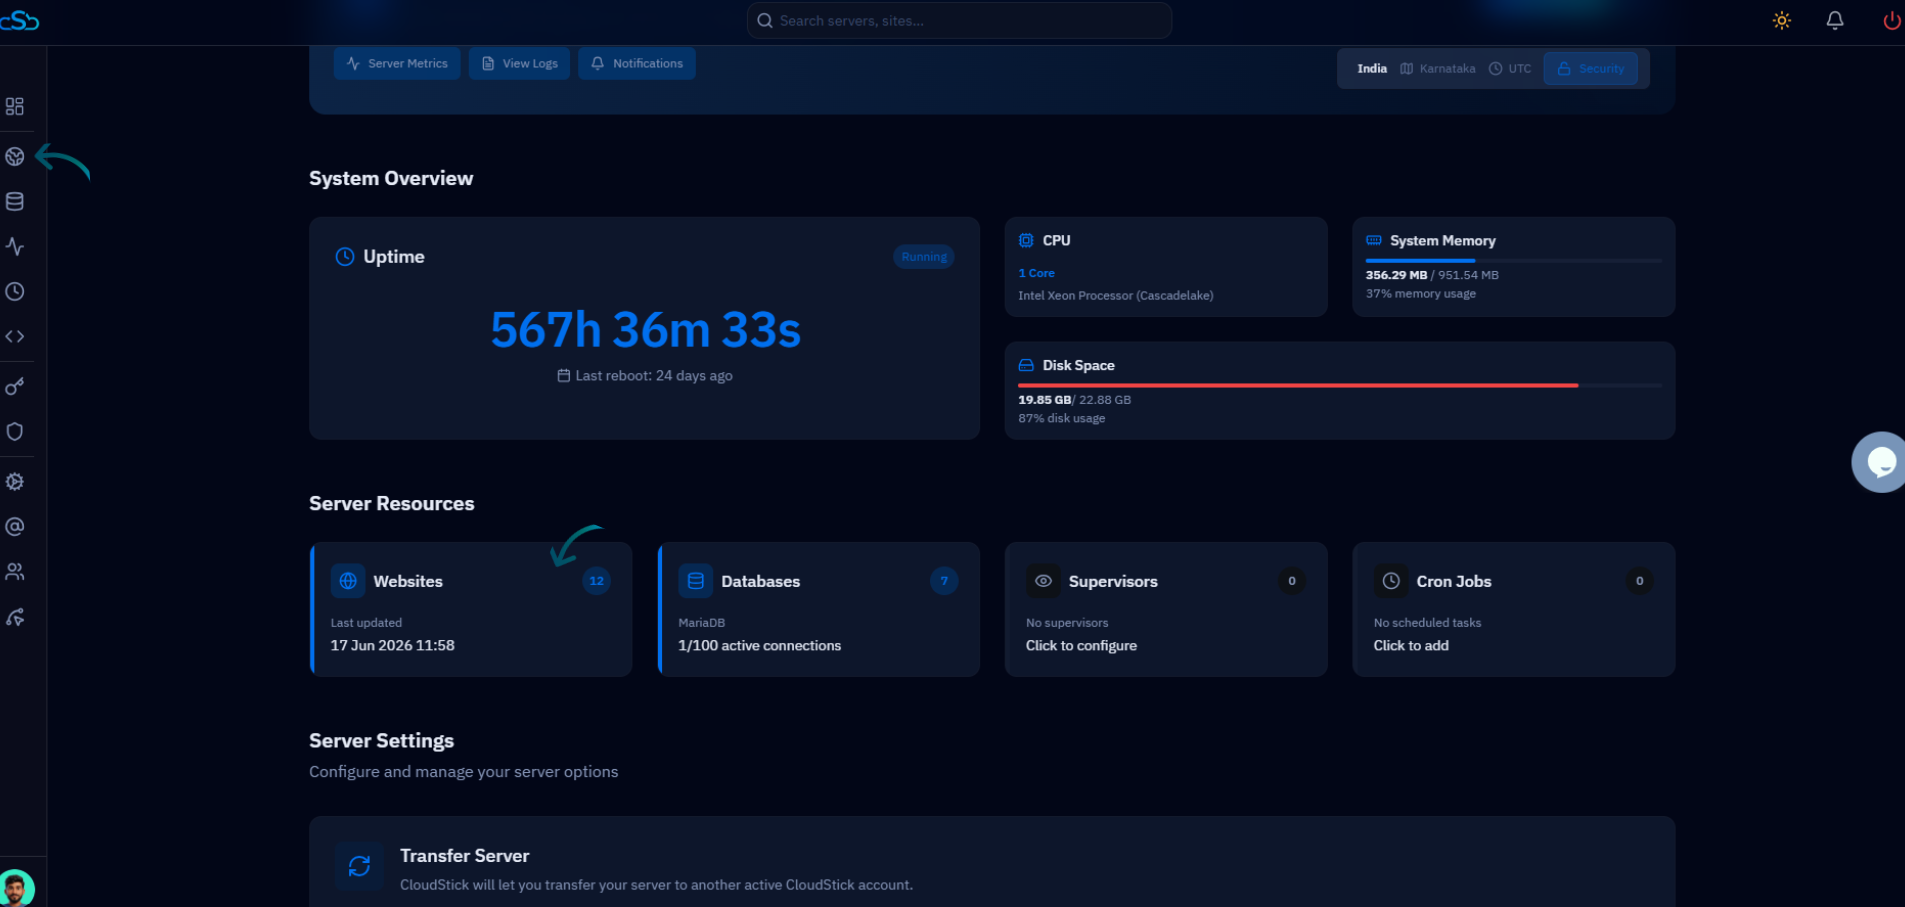
Fig. 02 — Server overview with the Websites resource card in the Server Resources section.
Step 3: Select a Website
The WebApp List shows every website hosted on the server, along with its domain, system user, web stack, and PHP version. Choose the website you want to create the subdomain on.
Browse the WebApp List: Each entry shows the application name, primary domain, status, and configuration details.
Click your website: Select the website on which you want to create a subdomain to open its management view.
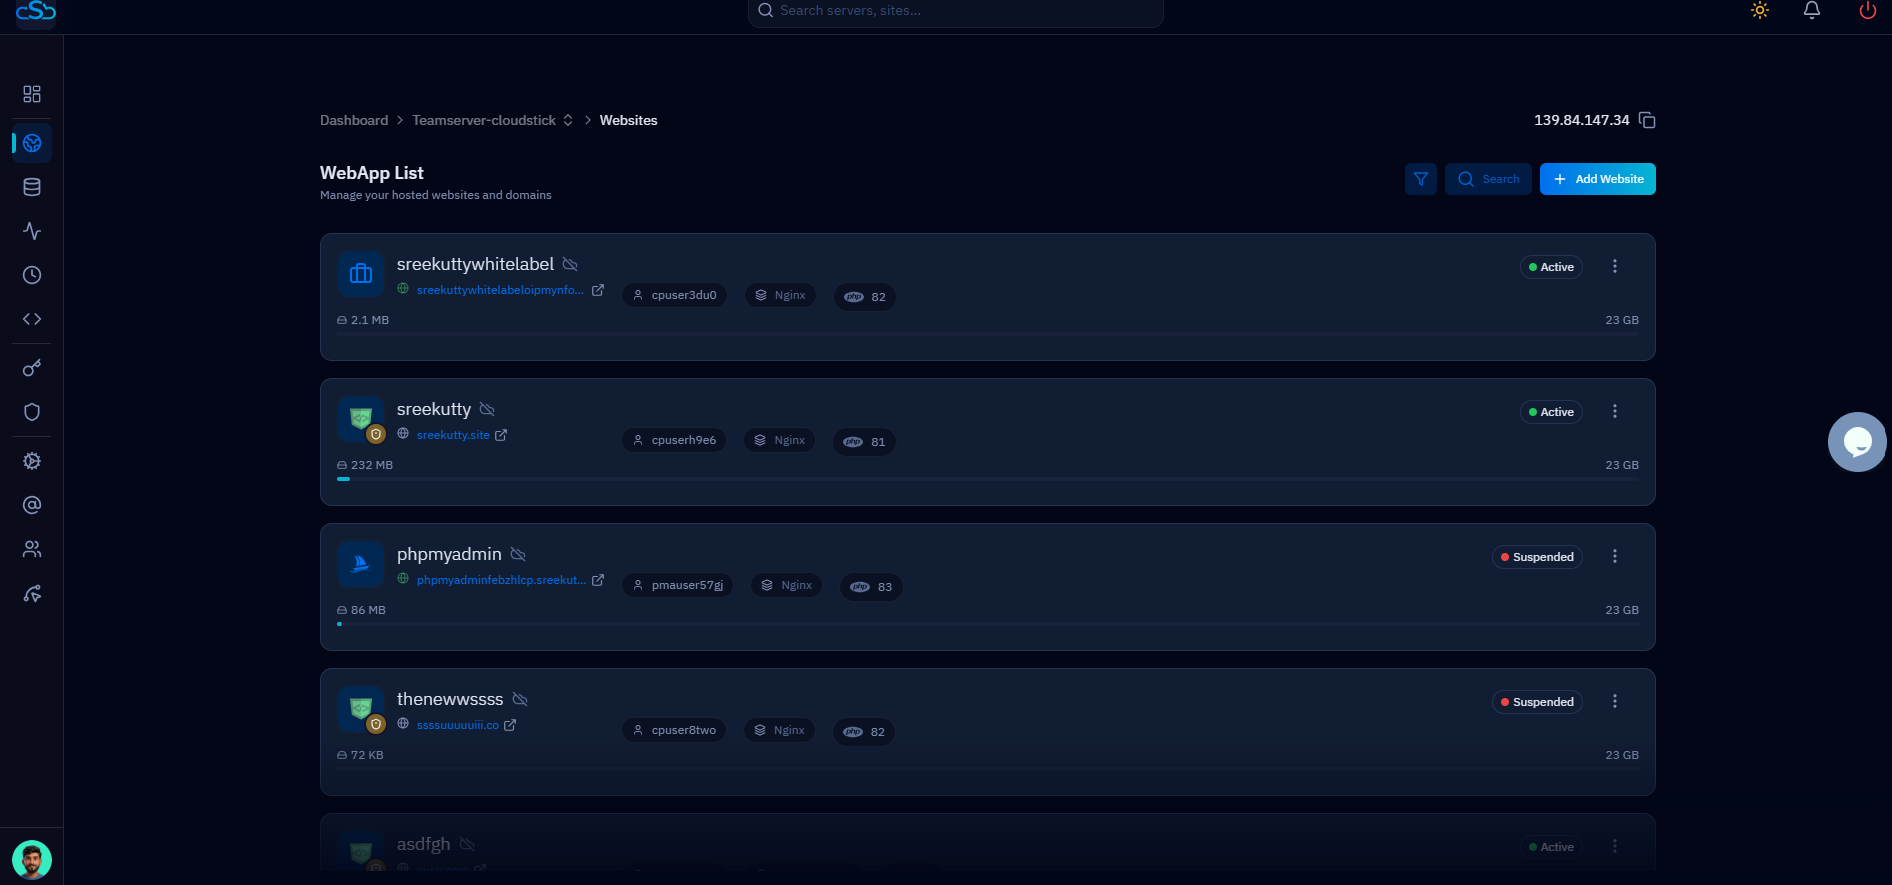
Fig. 03 — WebApp List showing all hosted websites; click the one you want to add a subdomain to.
Step 4: Open the Subdomains Tab
The website management page opens on the Website Summary view, with a row of tabs across the top for managing every aspect of the site.
Locate the top tab bar: At the top of the website management page you will see tabs such as Overview, Manage SSL, File Manager, App Databases, and more.
Click Subdomains: Select the Subdomains tab to open the subdomain management interface for this website.

Fig. 04 — Website Summary page; the Subdomains tab sits in the top navigation bar.
Step 5: Add a Subdomain
The Subdomains section lists all subdomains already connected to this web application. From here you can add a new one.
Click Add Subdomain: In the top-right of the Subdomains section, click the Add Subdomain button to start creating a new subdomain.
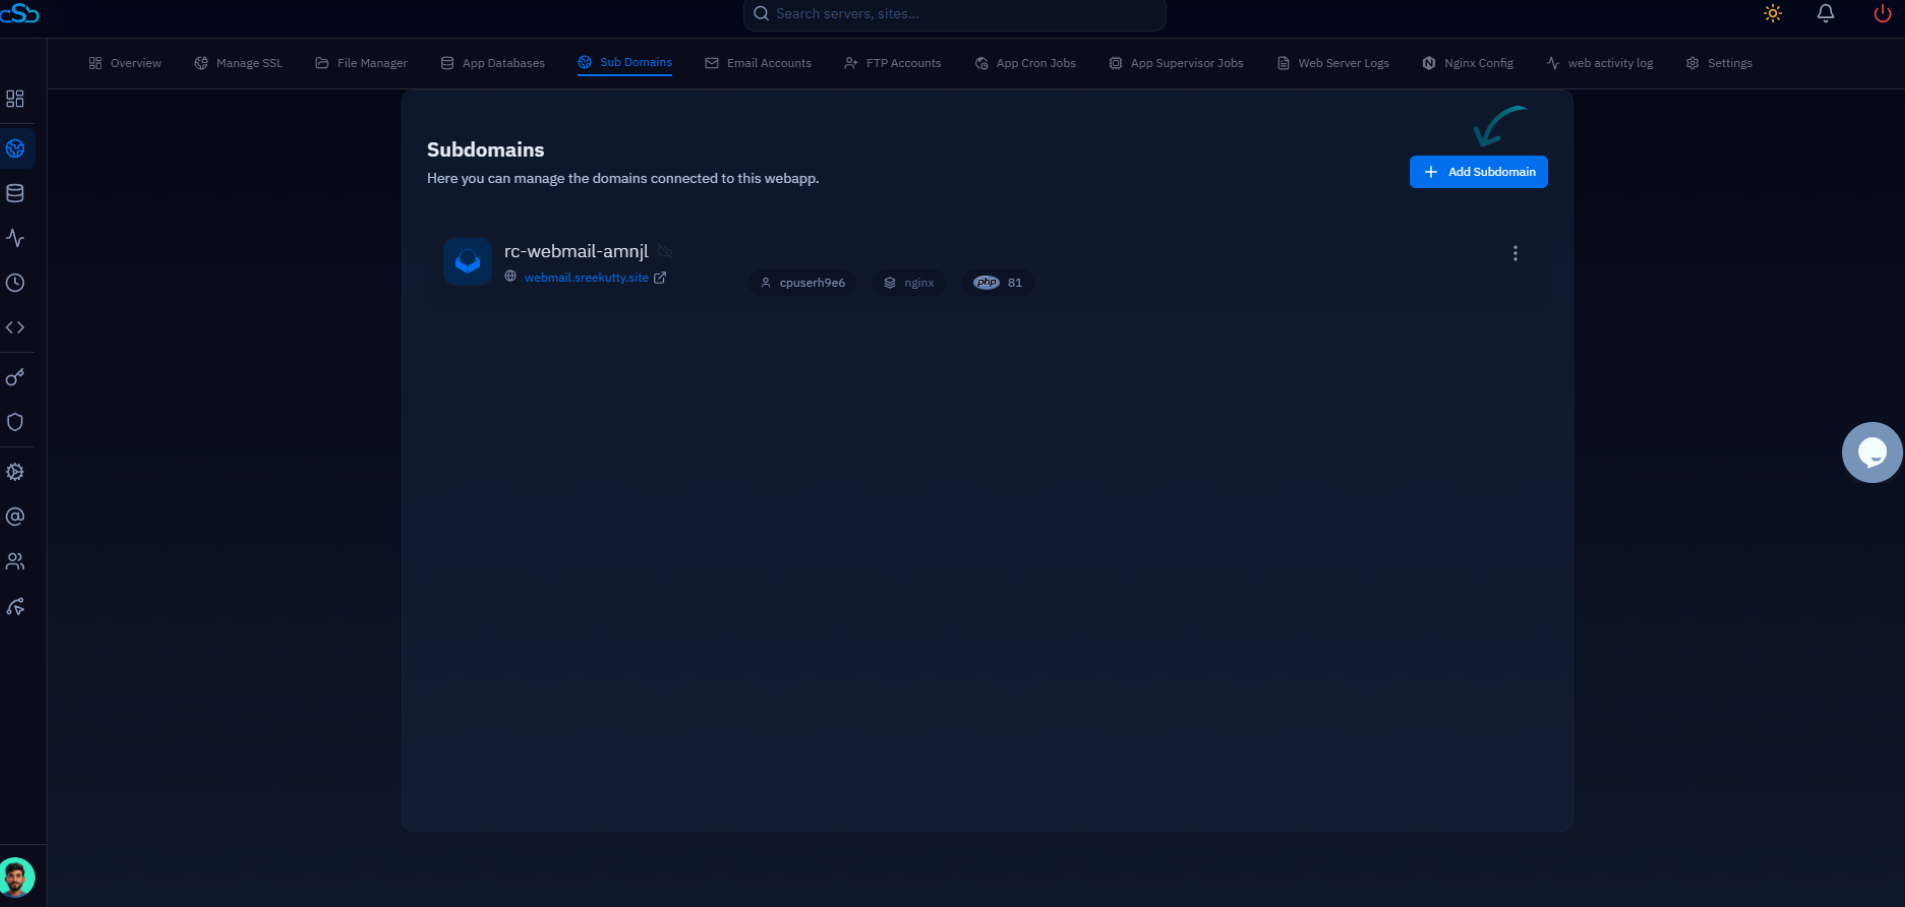
Fig. 05 — Subdomains section listing connected subdomains, with the Add Subdomain button in the top-right.
Step 6: Select the Website Application
Next, choose the application or stack you want the subdomain to serve. CloudStick deploys the subdomain on top of the selected application type.
Choose an application: Pick the application the subdomain should point to from the available options.
WordPress — for a WordPress site on the subdomain
Node.js applications — for JavaScript runtime applications
PHP applications (Custom PHP) — for PHP-based applications
Other websites and stacks hosted on the server
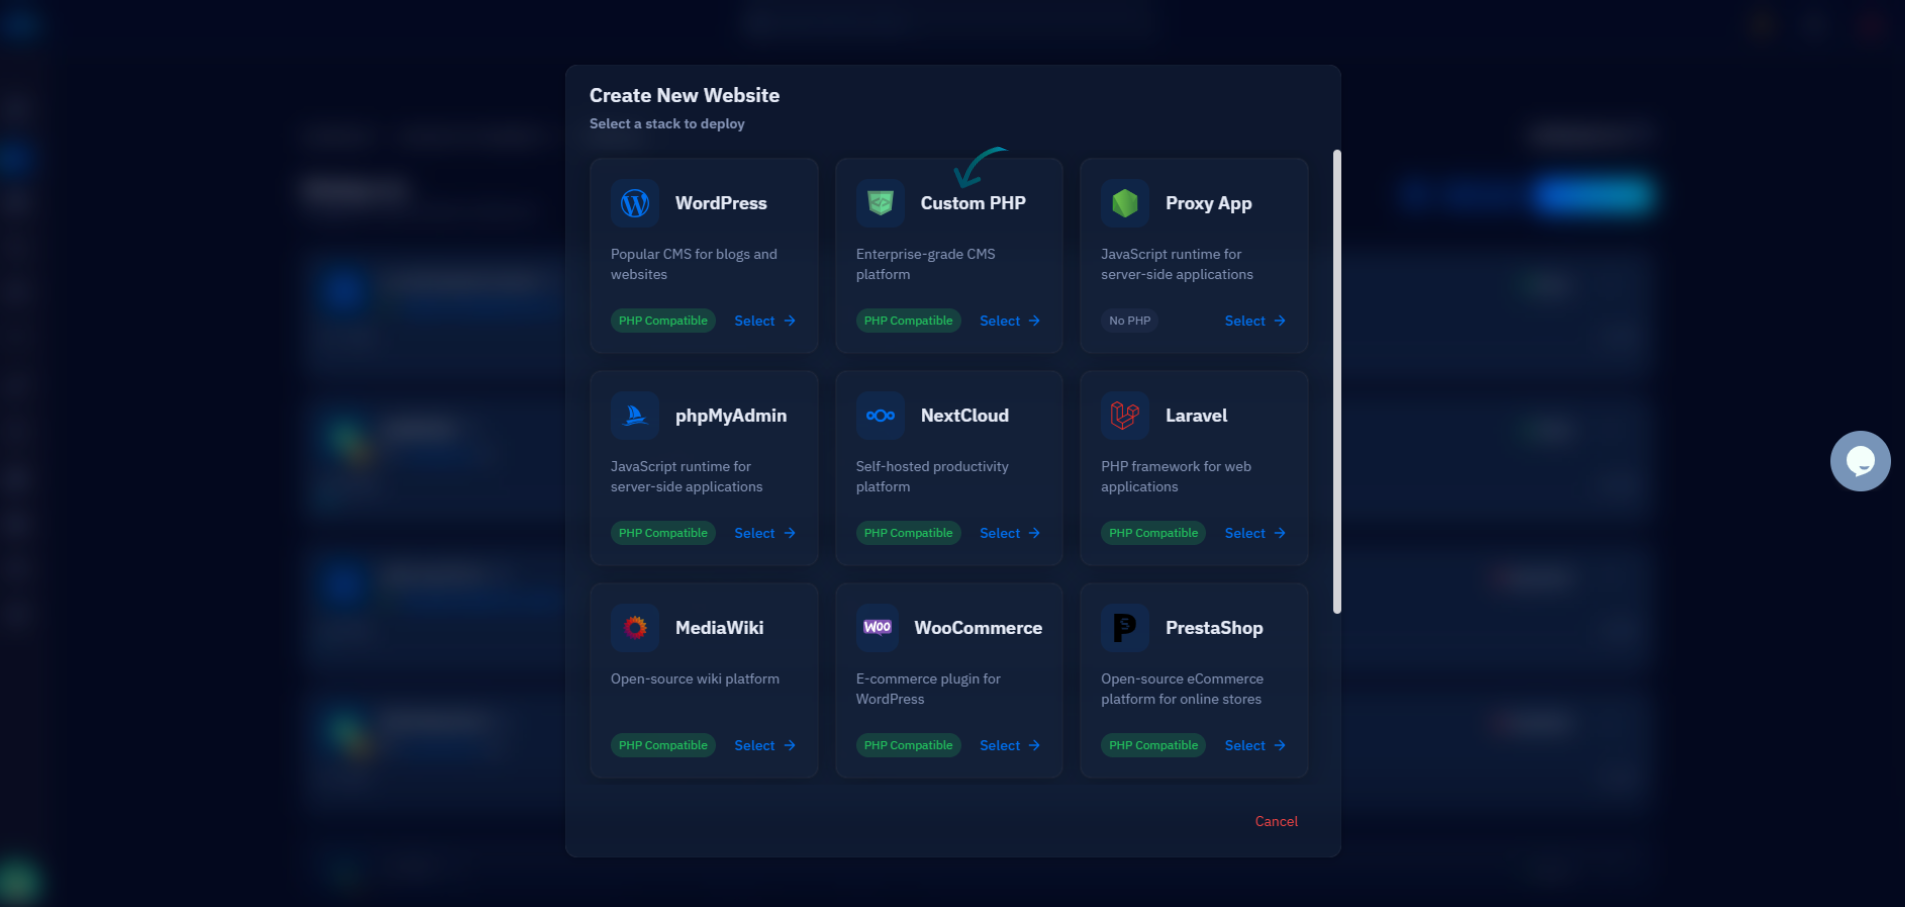
Fig. 06 — Create New Website dialog; select the stack the subdomain should be deployed on.
Step 7: Enter Subdomain Details and Create
Finally, fill in the configuration form for the subdomain and create it. Once saved, CloudStick provisions the subdomain and lists it under the website's Subdomains.
Enter the required details: Provide the subdomain name and the other requested information, such as email address, PHP version, web application server, and public path.
Review the options: Confirm settings such as the Cloudflare account (if applicable) and security options like Clickjacking, XSS, and MIME Sniffing protection.
Click Create: Click Create (Install) to save and configure the subdomain on your server.
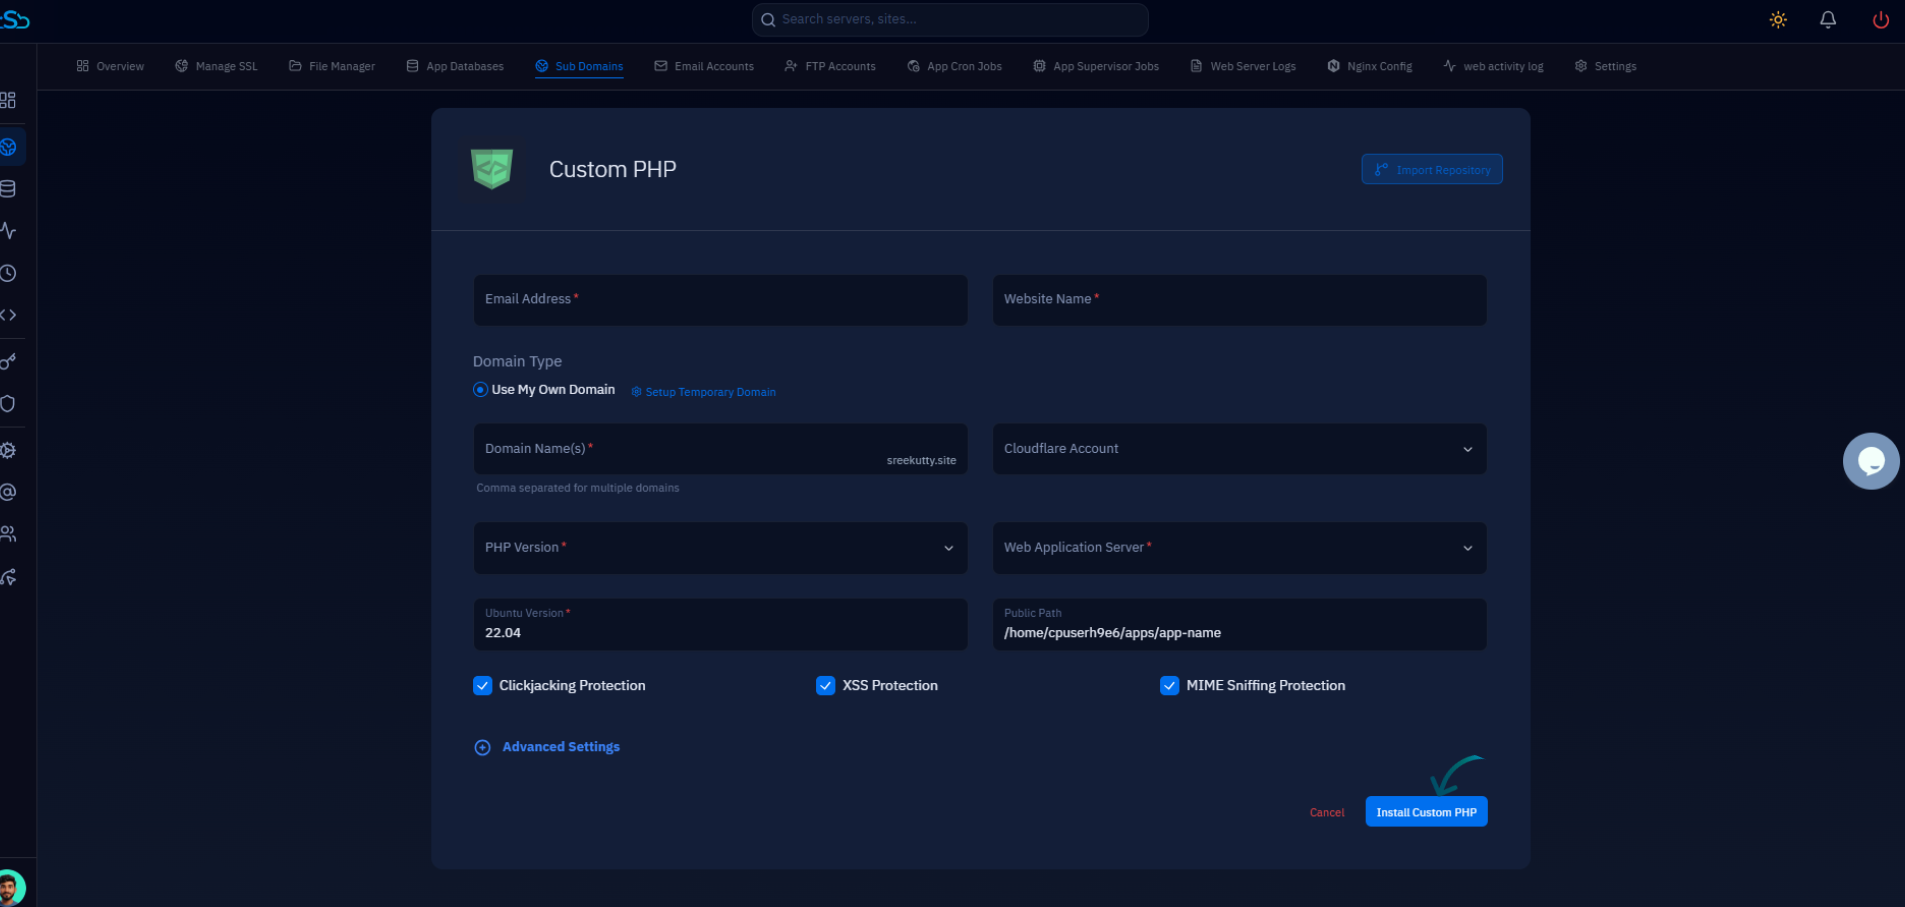
Fig. 07 — Subdomain configuration form; complete the fields and click the create / install button.
Once created, the subdomain appears in the Subdomains list and is linked to the selected website or application. Make sure the required DNS records are properly configured for the subdomain — DNS changes may take some time to propagate before the subdomain is reachable.