How to Suspend a Website in CloudStick
Overview
CloudStick's Website Suspension feature lets you temporarily stop a web application without deleting it or its data. When a site is suspended, it becomes inaccessible to visitors — useful for maintenance windows, client billing holds, or taking a site offline while keeping its files and database intact on the server.
This guide walks you through the complete process of suspending a website from your CloudStick dashboard. Suspension is reversible — you can re-enable the site at any time from the same interface.
Website suspension is available on all paid CloudStick plans. Make sure you are logged in to your CloudStick account and have at least one active server connected before proceeding.
Step 1: Navigate to Your Website
You manage websites at the server level in CloudStick, so the first step is to open the correct server and locate the site you want to suspend.
1. Log in to your CloudStick account: Visit app.cloudstick.io and sign in. You will land on the main Dashboard showing all your connected servers.

Fig. 01 — CloudStick Dashboard showing connected servers with their status and resource usage.
2. Open your server: Click the MANAGE button on the server that hosts the website you want to suspend. This opens the server panel.
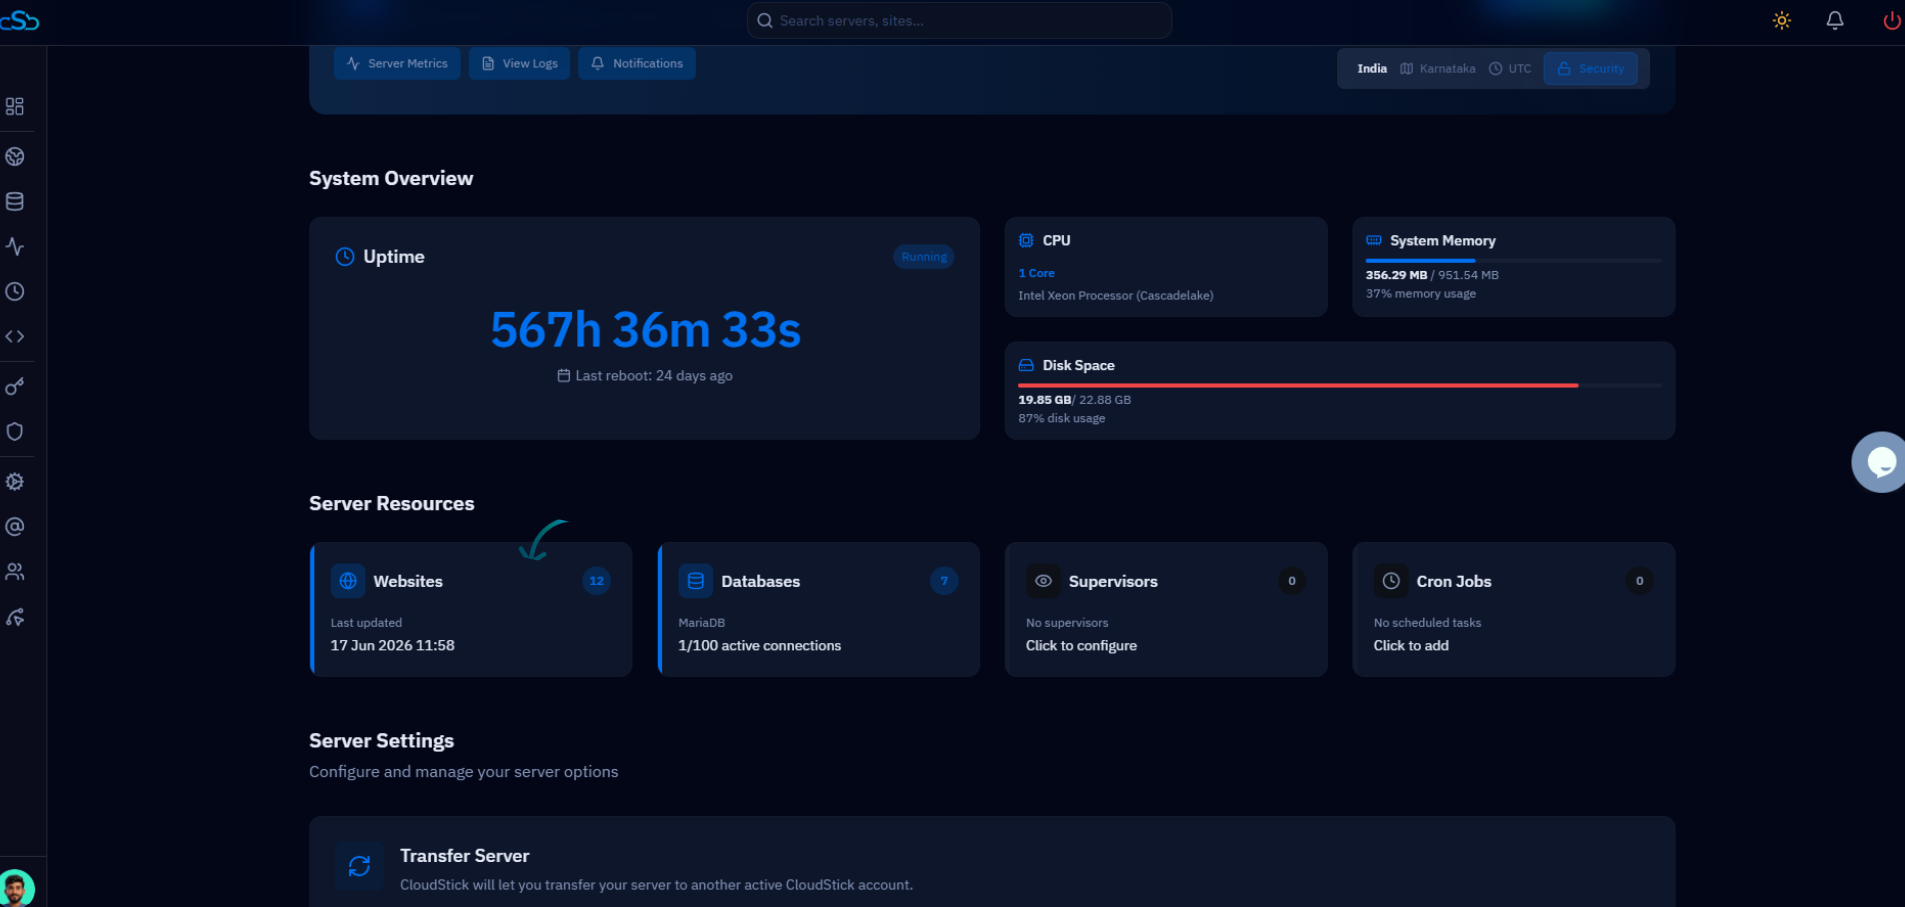
Fig. 02 — Server panel showing System Overview with the Websites section in Server Resources.
3. Go to the Websites section: In the server panel, click on Websites from the left-hand navigation or click the Websites card in Server Resources. This opens the WebApp List — all websites hosted on that server.
The WebApp List shows each site's status, PHP version, web server type (Nginx, Apache, OpenLiteSpeed), and disk usage at a glance.
Step 2: Suspend the Website
Once you are on the WebApp List, triggering a suspension takes just two clicks — one to reveal the action menu and one to confirm.
4. Open the website action menu: Locate the website you want to suspend in the list. Hover over it to reveal the inline action icons on the right side of the row, or click the three-dot menu icon (⋮) on the right.
5. Click Suspend: Click the Suspend icon (pause button) from the action icons. A confirmation prompt will appear asking you to confirm the action.
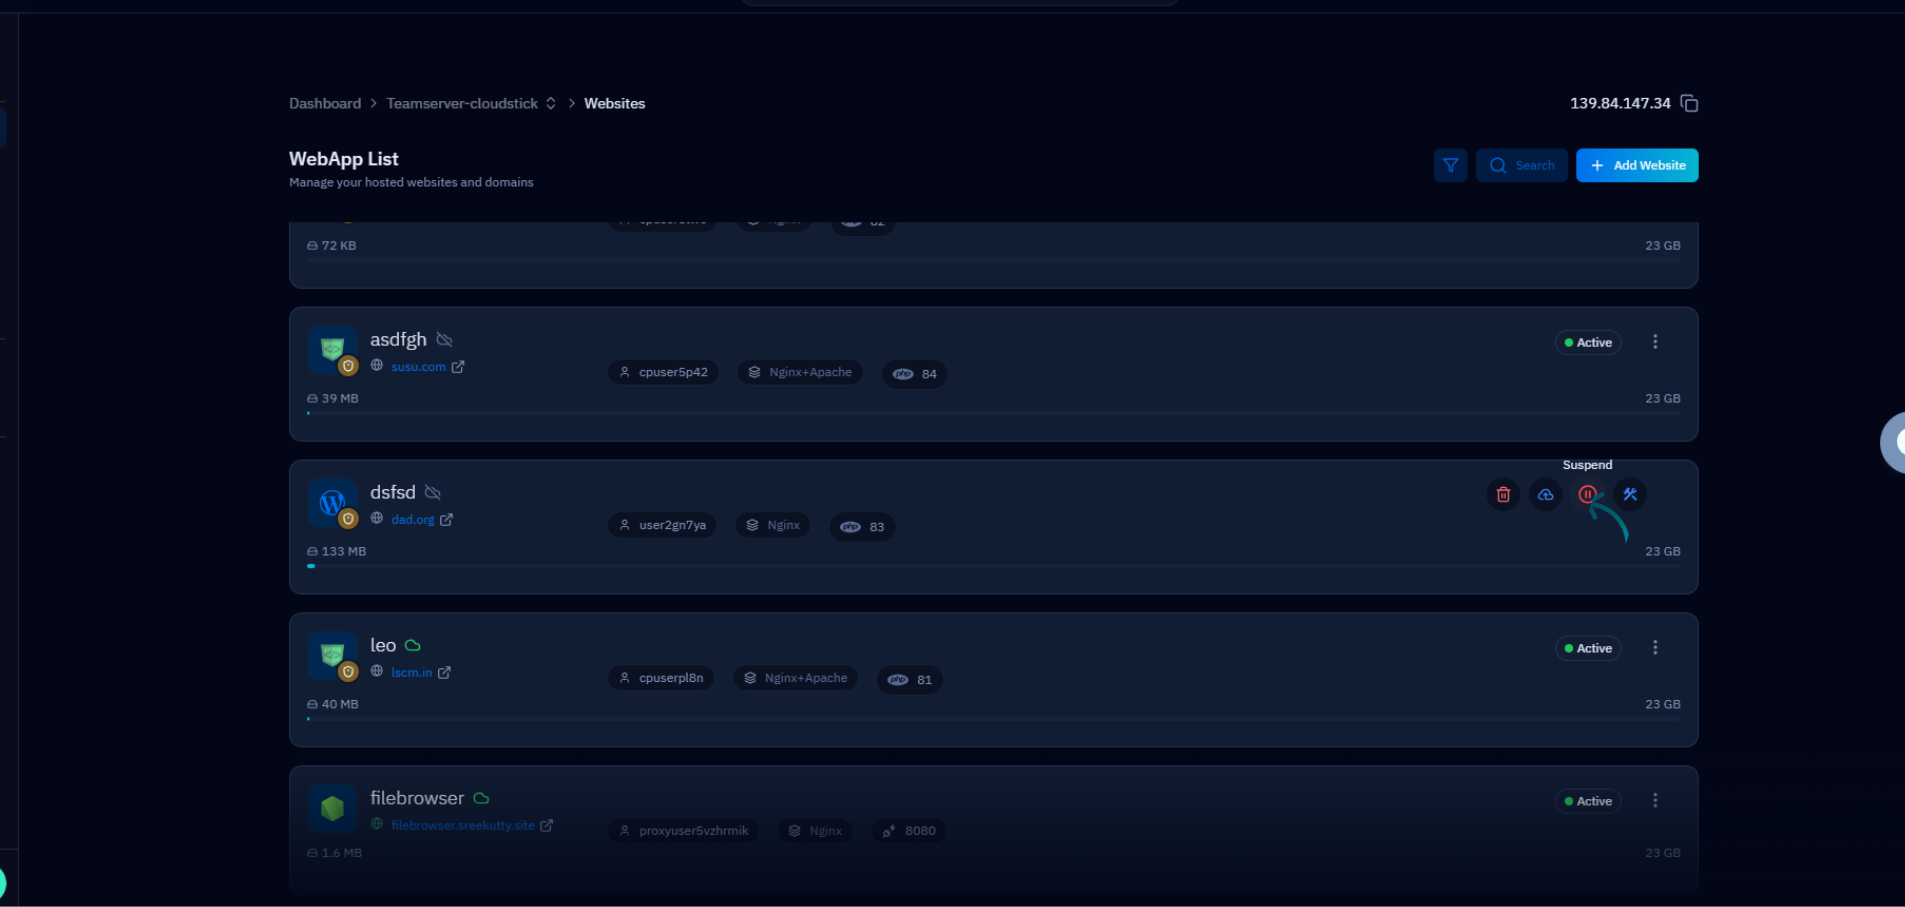
Fig. 03 — WebApp List with the Suspend action icon highlighted for the selected website.
6. Confirm the suspension: Review the confirmation dialog and click Confirm to complete the suspension. CloudStick will immediately stop serving the website to visitors.
Once suspended, the website status in the WebApp List will update to reflect the suspended state. To restore the site, open the same action menu and click the Resume (or Unsuspend) option.