How to Install WordPress in CloudStick
Overview
WordPress is the world's most popular Content Management System, powering over 40% of all websites. CloudStick makes installing WordPress on your own VPS or dedicated server fast and straightforward — no SSH, no manual file transfers, no configuring databases by hand. Everything from creating the database to setting file permissions is handled automatically through the dashboard.
This guide walks you through the complete WordPress installation process in CloudStick: selecting your server, configuring your site details, setting up the database, monitoring the install, and securing your site with a free SSL certificate so it goes live on HTTPS immediately.
You must have a server already connected to CloudStick before following this guide. If you haven't added a server yet, see How to Deploy Your Own Server in CloudStick first. The Magic Link feature (one-click WP admin access without a password) shown on the Website Summary page is available on the Business plan only.
Step 1: Navigate to Your Server
Start from the main CloudStick dashboard and open the server where you want to host the WordPress site.
1. Log in to CloudStick: Sign in at dash.cloudstick.io.
2. Select your server: From the dashboard, click the server card or its Manage button to open the server panel.
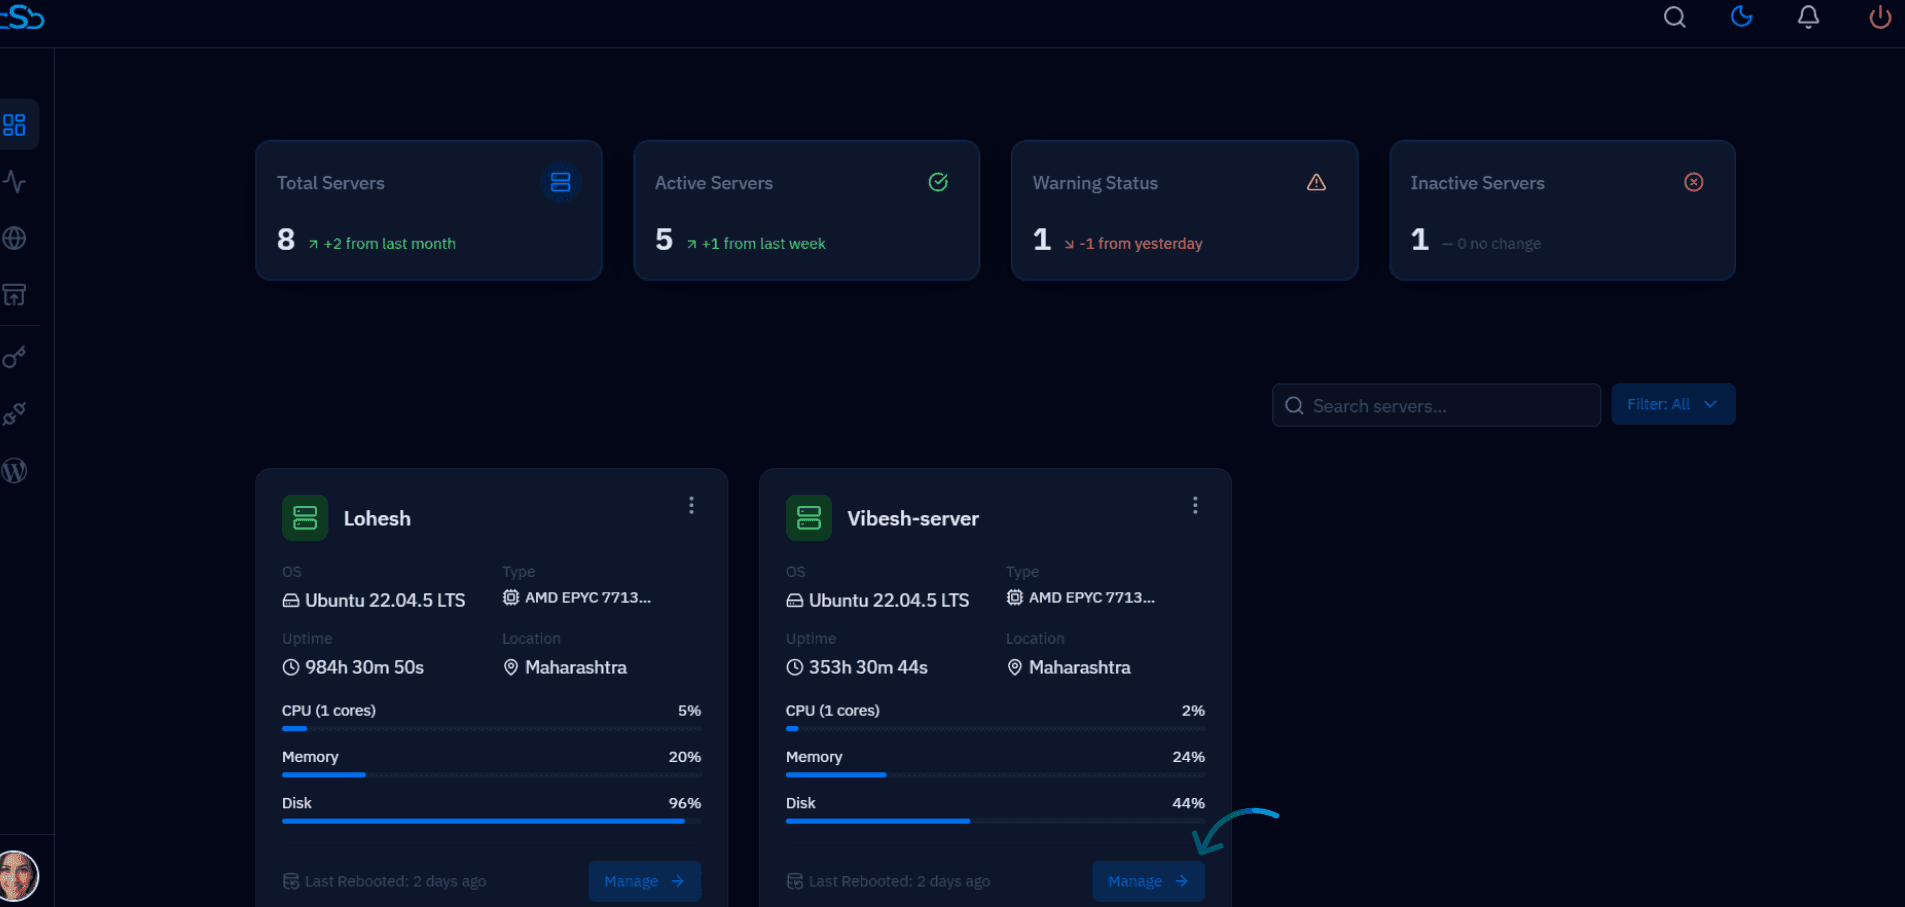
Fig. 01 — CloudStick dashboard showing the server list. Click a server to open its management panel.
3. Go to Websites: In the server panel, locate the Websites card under Server Resources and click it — or click Websites in the left-hand navigation.
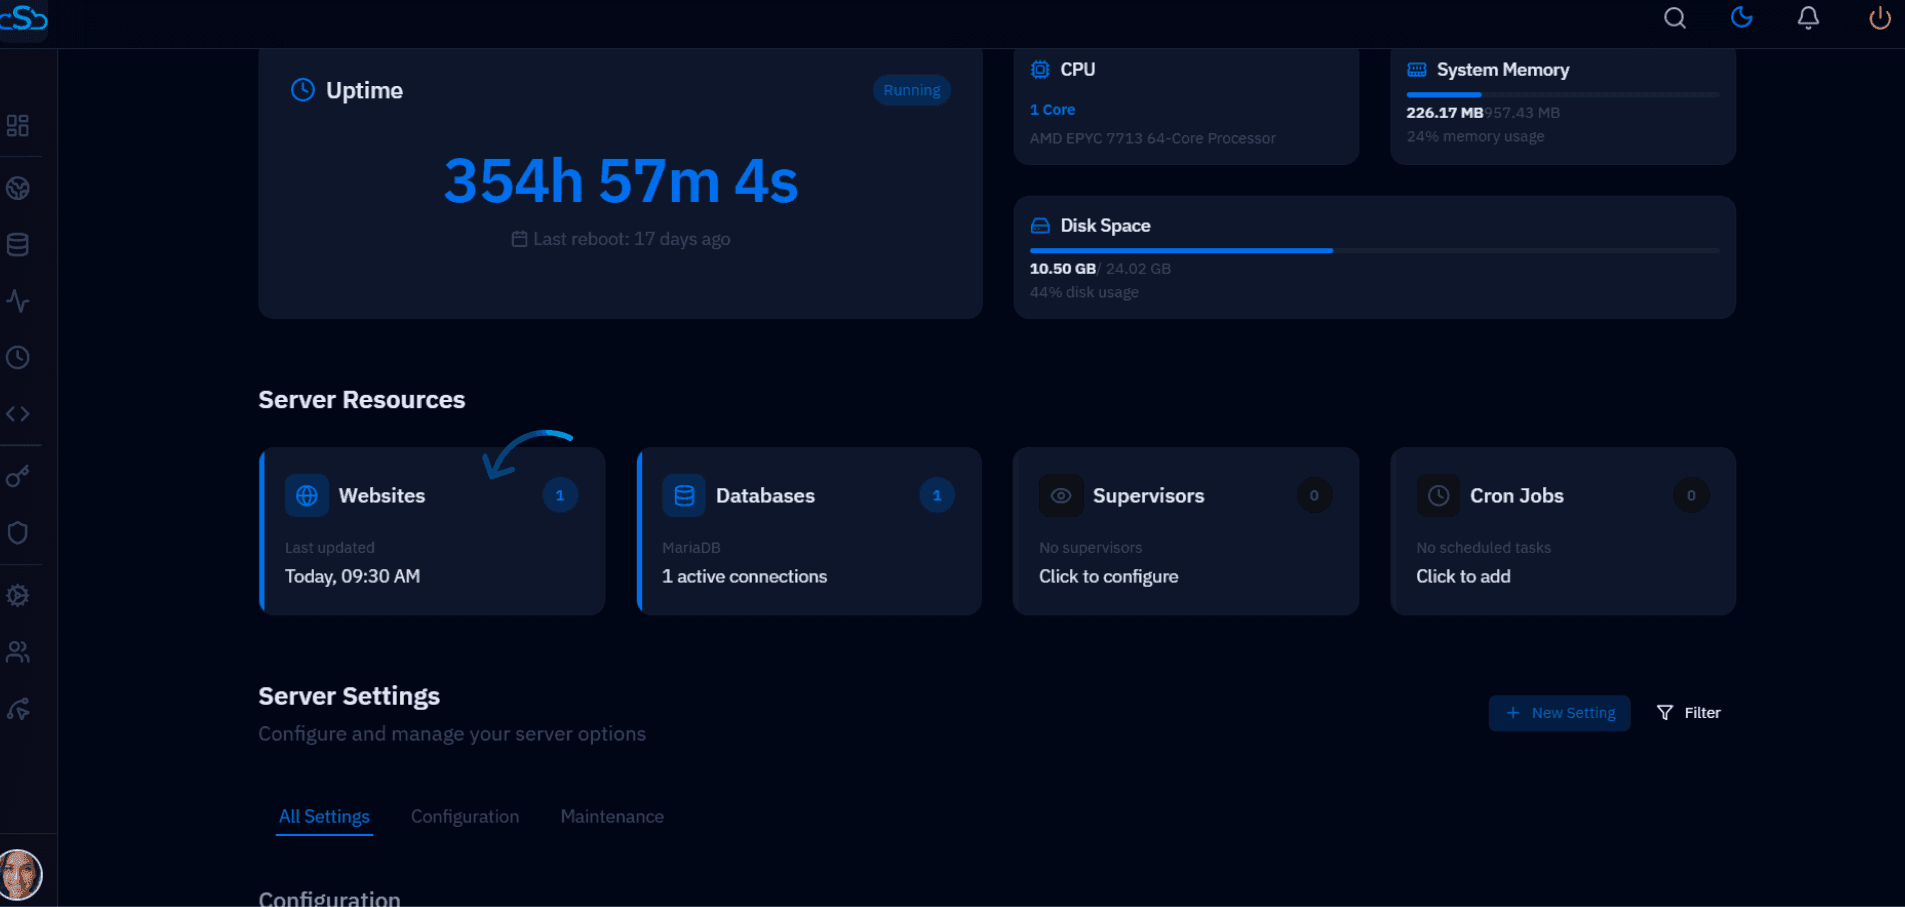
Fig. 02 — Server panel showing the Websites card under Server Resources.
Step 2: Create a New WordPress Website
From the Websites section, create a new site and select WordPress as the application type, then fill in all required configuration details.
1. Click + Add Website
On the WebApp List page, click the + Add Website button in the top right corner.
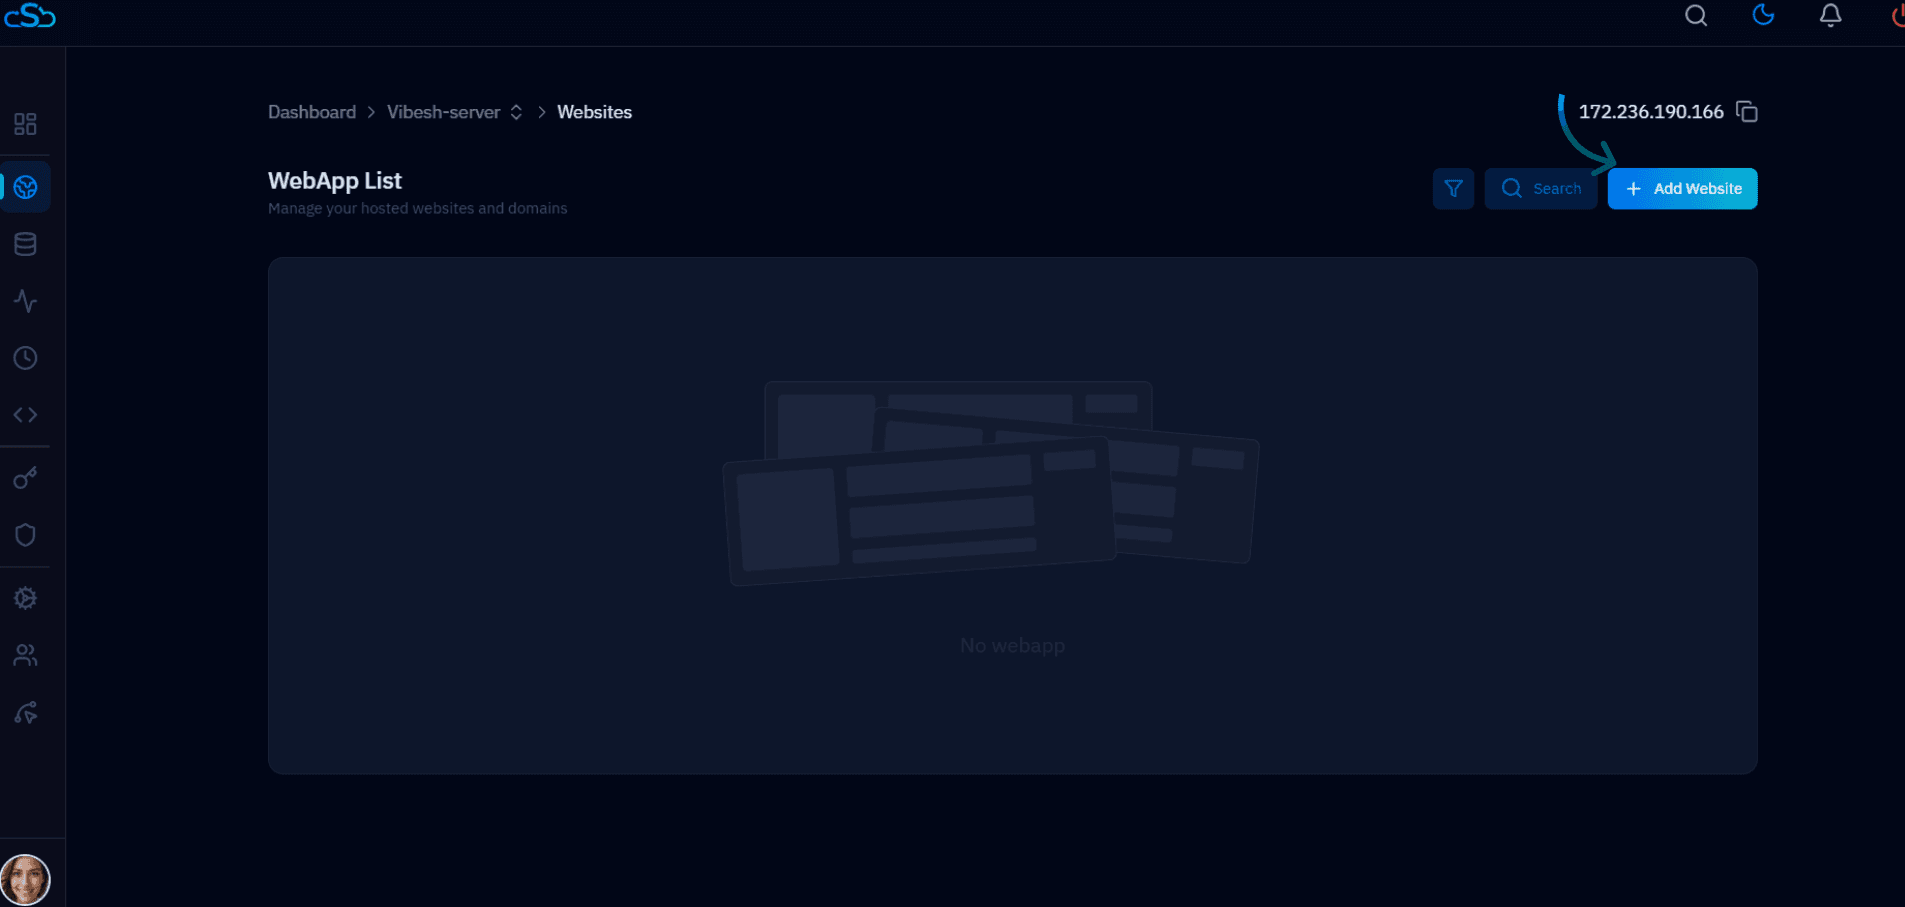
Fig. 03 — WebApp List page showing the + Add Website button. No websites are installed yet on this server.
2. Select WordPress
The Create New Website modal presents the available application stacks. Select WordPress to proceed with the WordPress-specific installation form.
Click the WordPress card, then click Select →.
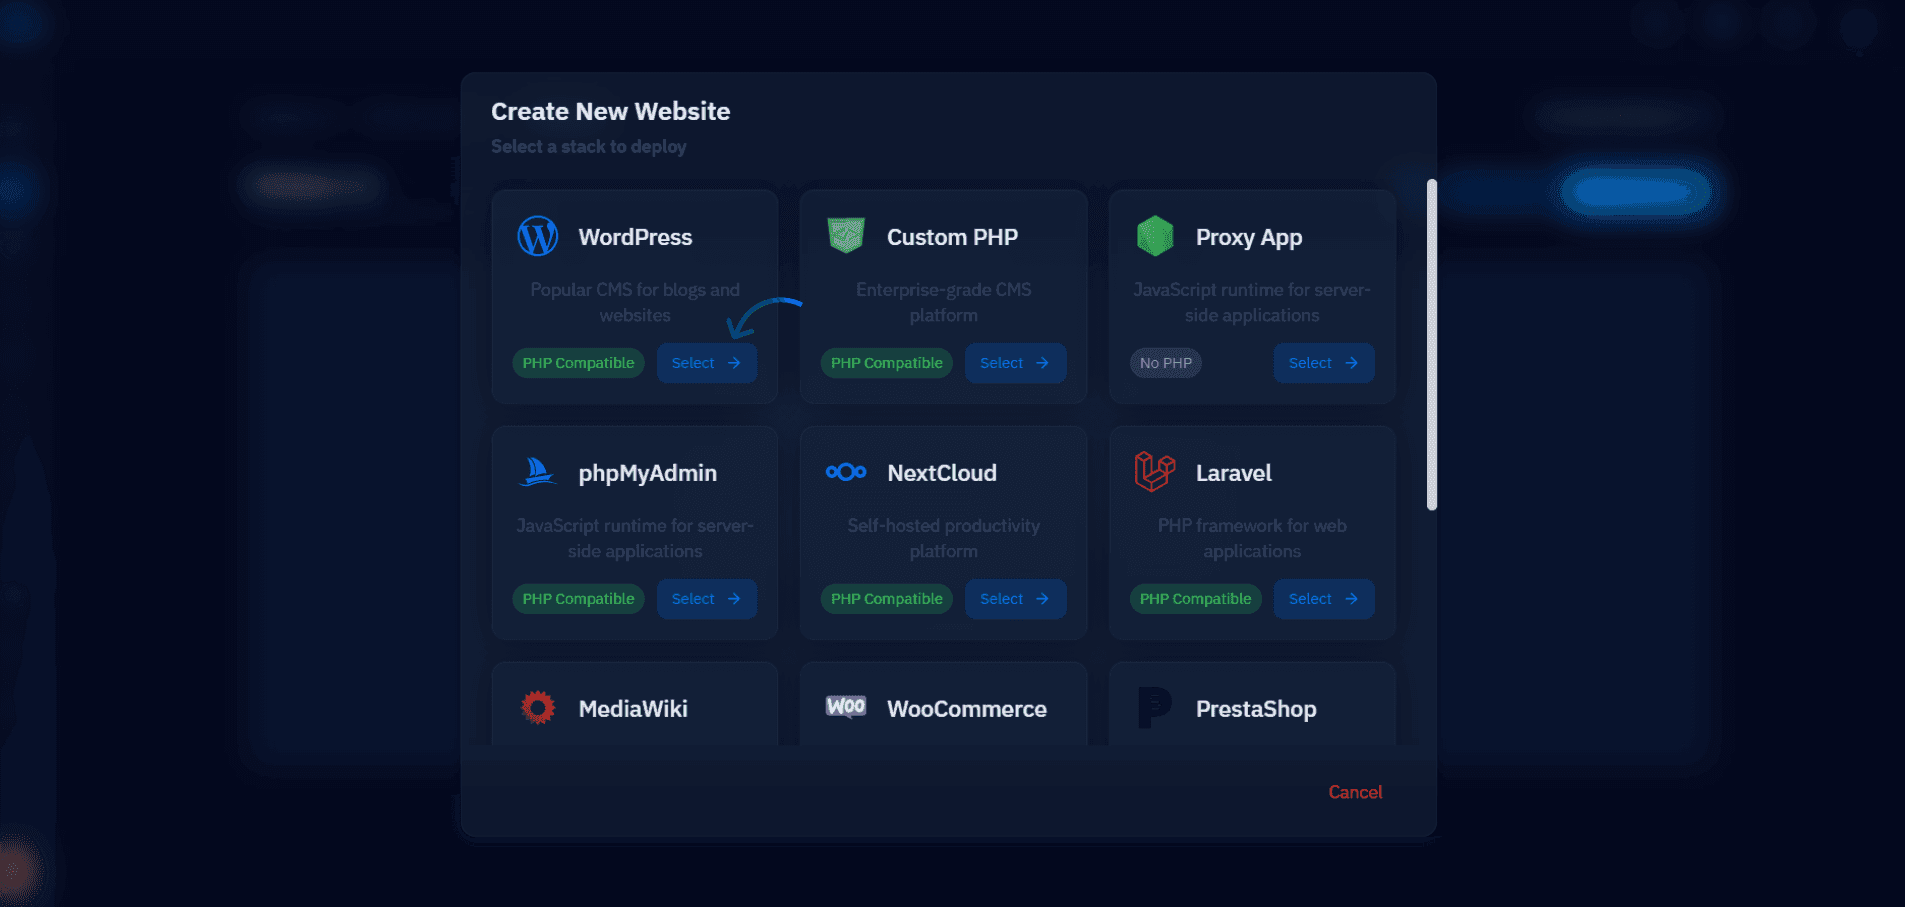
Fig. 04 — Create New Website modal with WordPress highlighted as the selected stack.
3. Enter website details
Fill in the WordPress installation form with your site's information. All fields marked with an asterisk are required.
Email Address: The admin email address for the WordPress account.
Website Name: A label to identify this site in CloudStick.
Domain Type: Choose Use My Own Domain (for a live domain) or Use Temporary Domain to test before pointing DNS.
Domain Name(s): Enter your domain, e.g. blog.example.com.
Site Title: The title displayed on the WordPress site.
Admin Username / Password: Credentials for logging into the WordPress admin dashboard.
PHP Version: Select the PHP version to run this WordPress site on.
Web Application Stack: Choose the web server stack (e.g. Nginx + Apache).
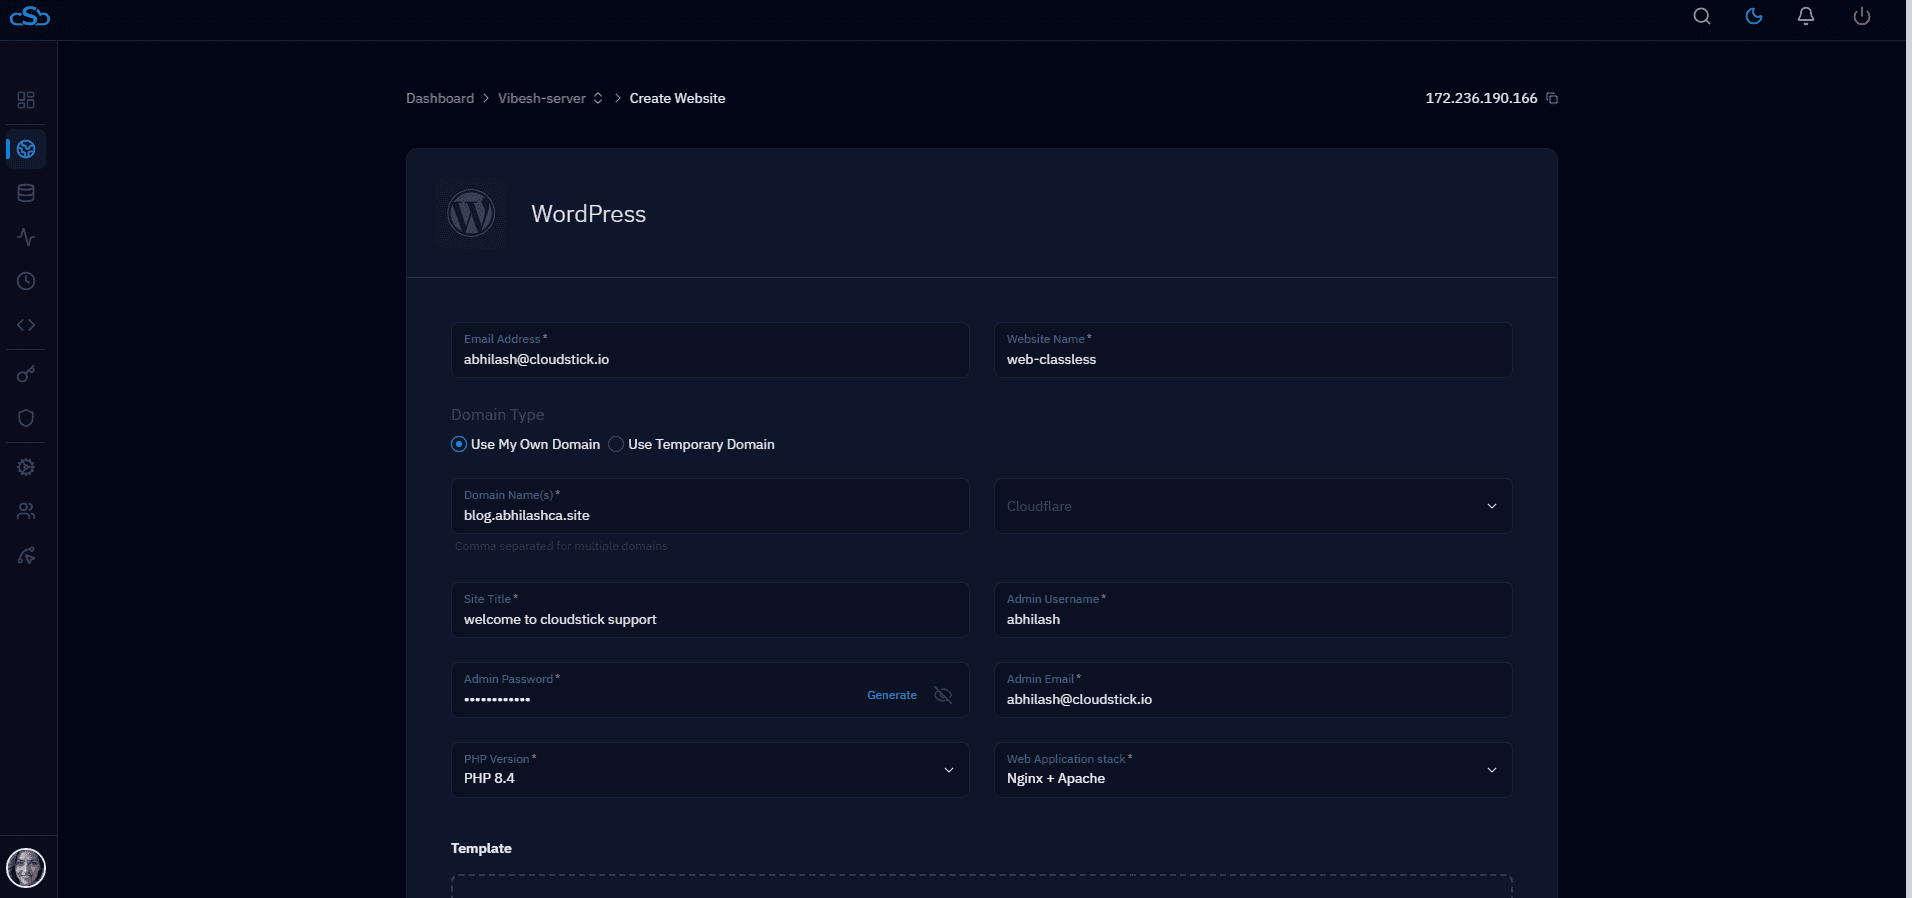
Fig. 05 — WordPress installation form showing the site details section.
4. Configure Advanced Settings (optional)
Click Advanced Settings to expand the database and system user configuration. CloudStick auto-generates secure values for all fields, but you can customise them if needed.
Database Name / DB User / DB Password: Credentials for the MySQL database that WordPress will use.
System User / System User Password: The Linux system user that owns the website files.
Table Prefix: The prefix for all WordPress database tables (default: wp_).
Once all details are filled in, click Install WordPress.
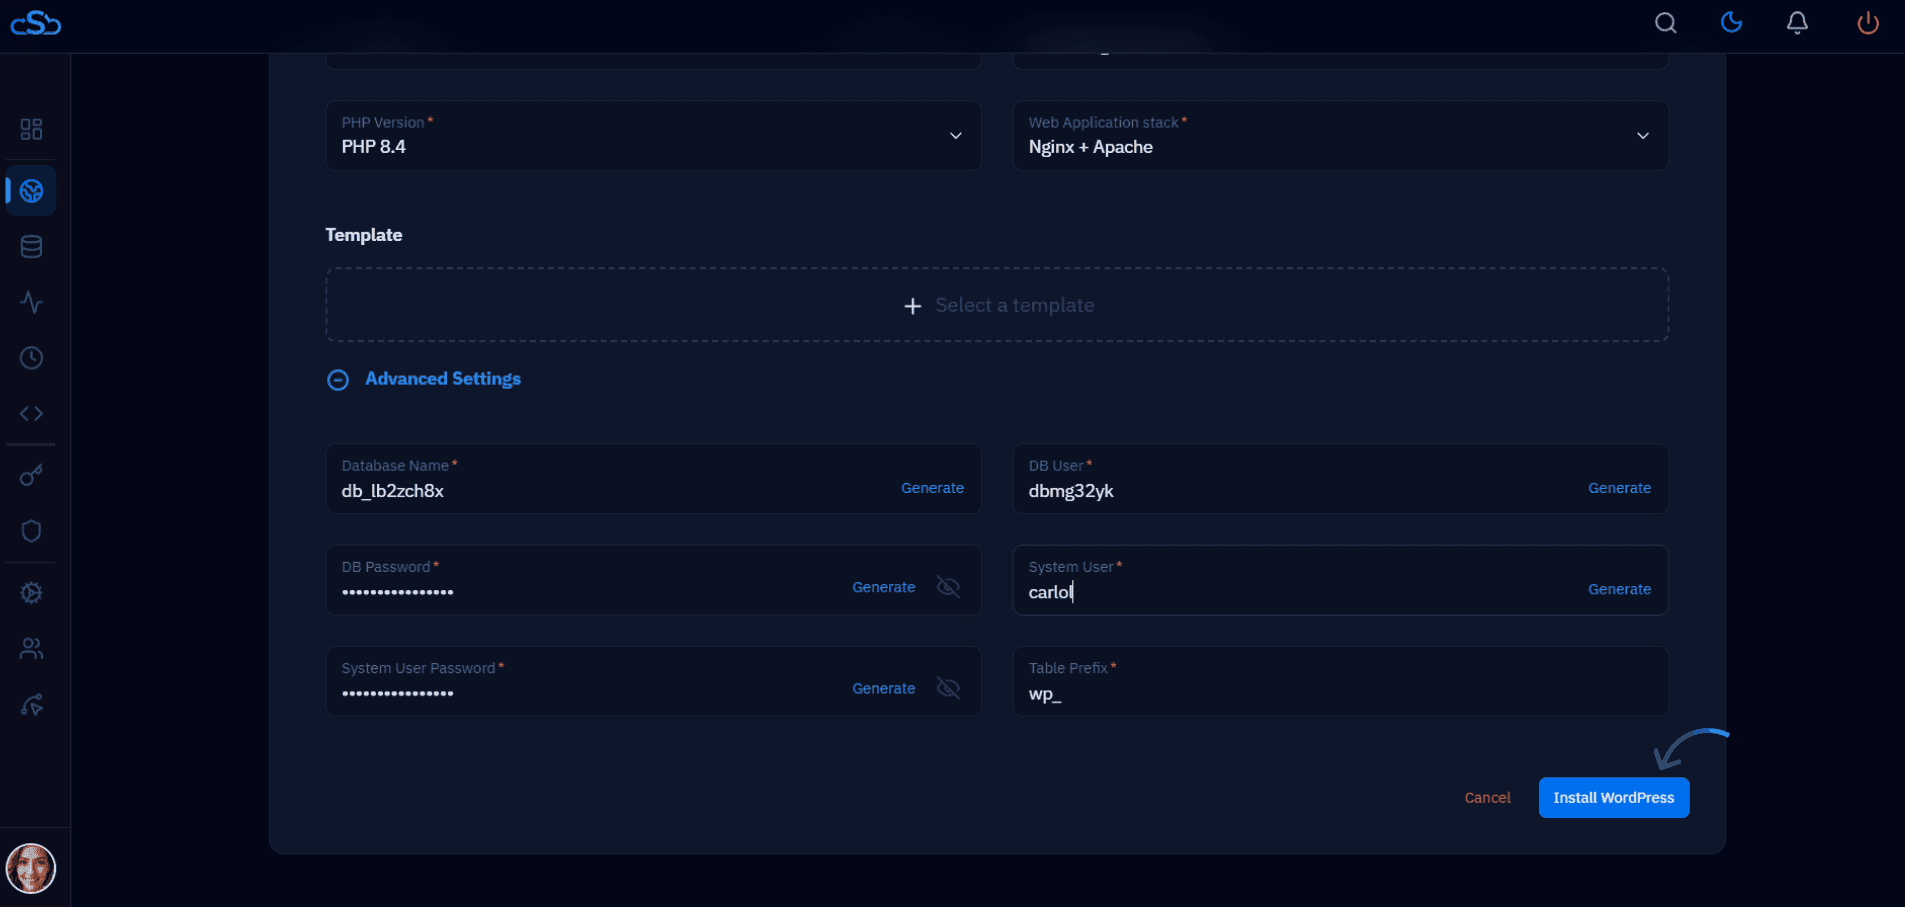
Fig. 06 — Advanced Settings expanded showing database and system user fields, with the Install WordPress button.
You can use the Generate button next to any field to let CloudStick create a secure random value automatically. This is recommended for the database password and system user password.
Step 3: Monitor the Installation
After clicking Install WordPress, CloudStick begins the automated setup process. A live installation log is displayed on screen so you can track each step as it completes.
Watch the log output as CloudStick creates the database, sets file permissions, configures the web server, and writes the WordPress configuration file.
When the installation finishes, an Installation Successful modal will appear confirming your website name, domain, admin user, PHP version, and public path.
Click See Website Details to go directly to the Website Summary, or click Complete to close the modal.
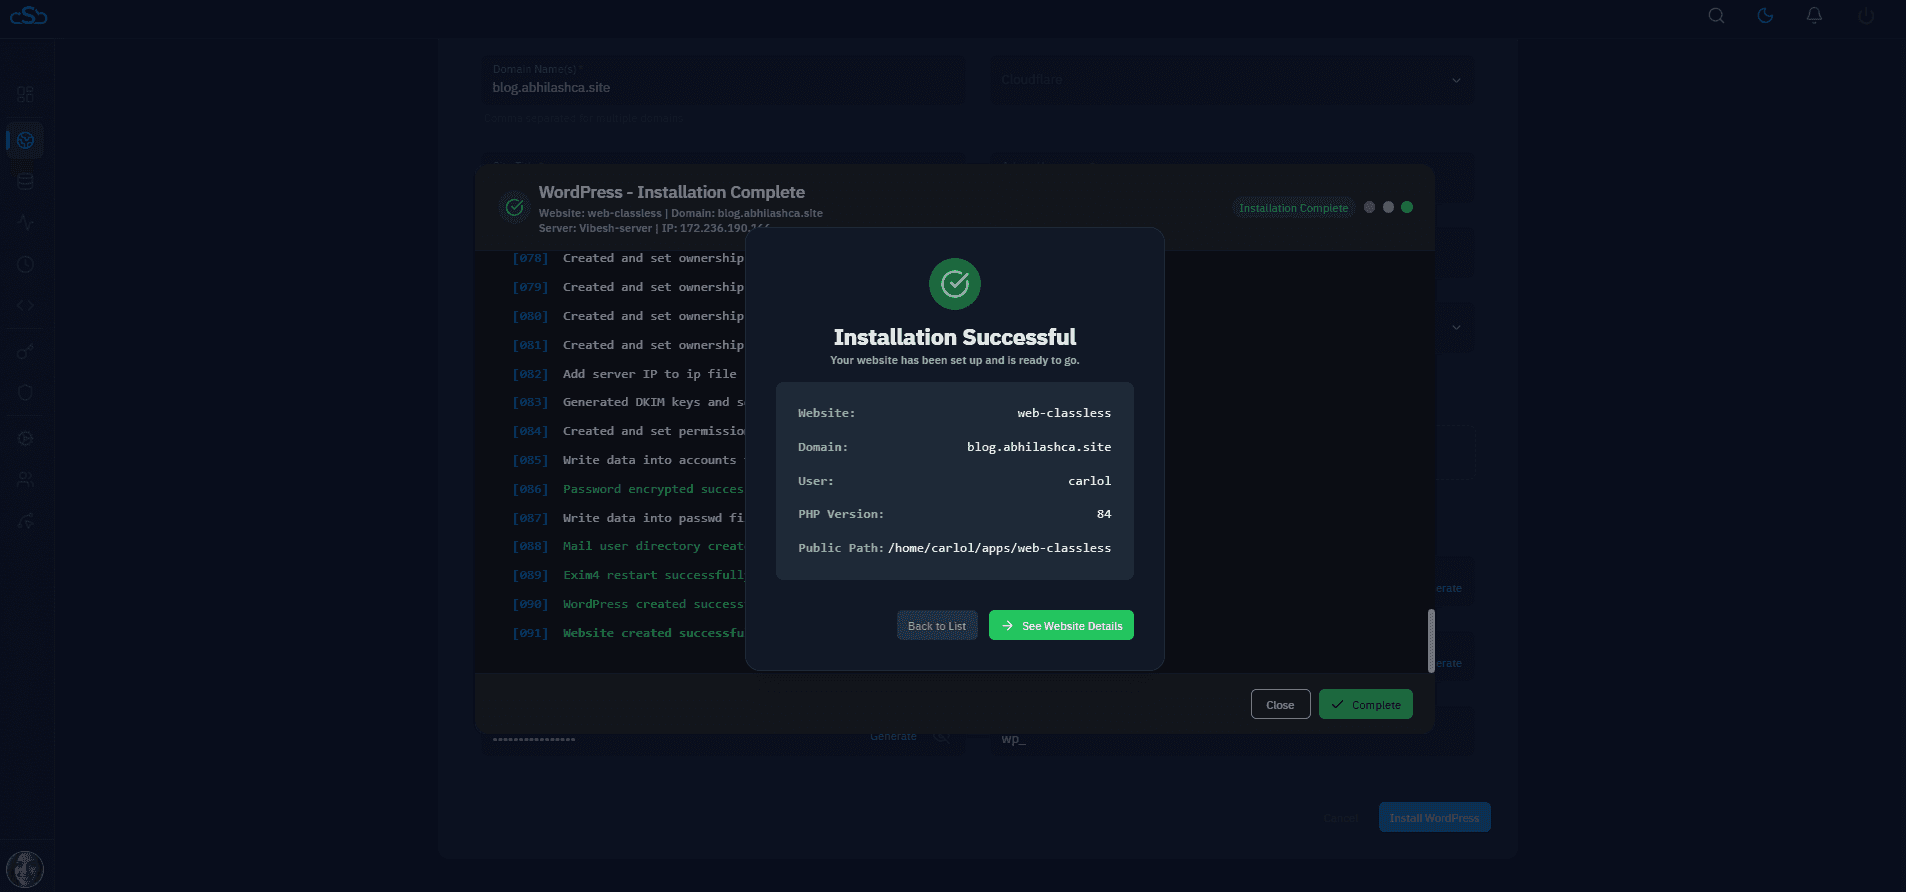
Fig. 07 — Installation logs with the Installation Successful confirmation modal showing site details.
If the installation log shows any errors, check that the domain is correctly pointed to your server's IP address and that no other website is already using the same domain on this server.
Step 4: Deploy SSL Certificate
Once the installation is complete you are redirected to the Website Summary page. From here, deploy a free Let's Encrypt SSL certificate to secure your site with HTTPS before sharing it publicly.
1. Review the Website Summary
The Website Summary shows your domain, PHP version, web server stack, root path, disk usage, and current SSL and backup status. SSL will initially show as Inactive.
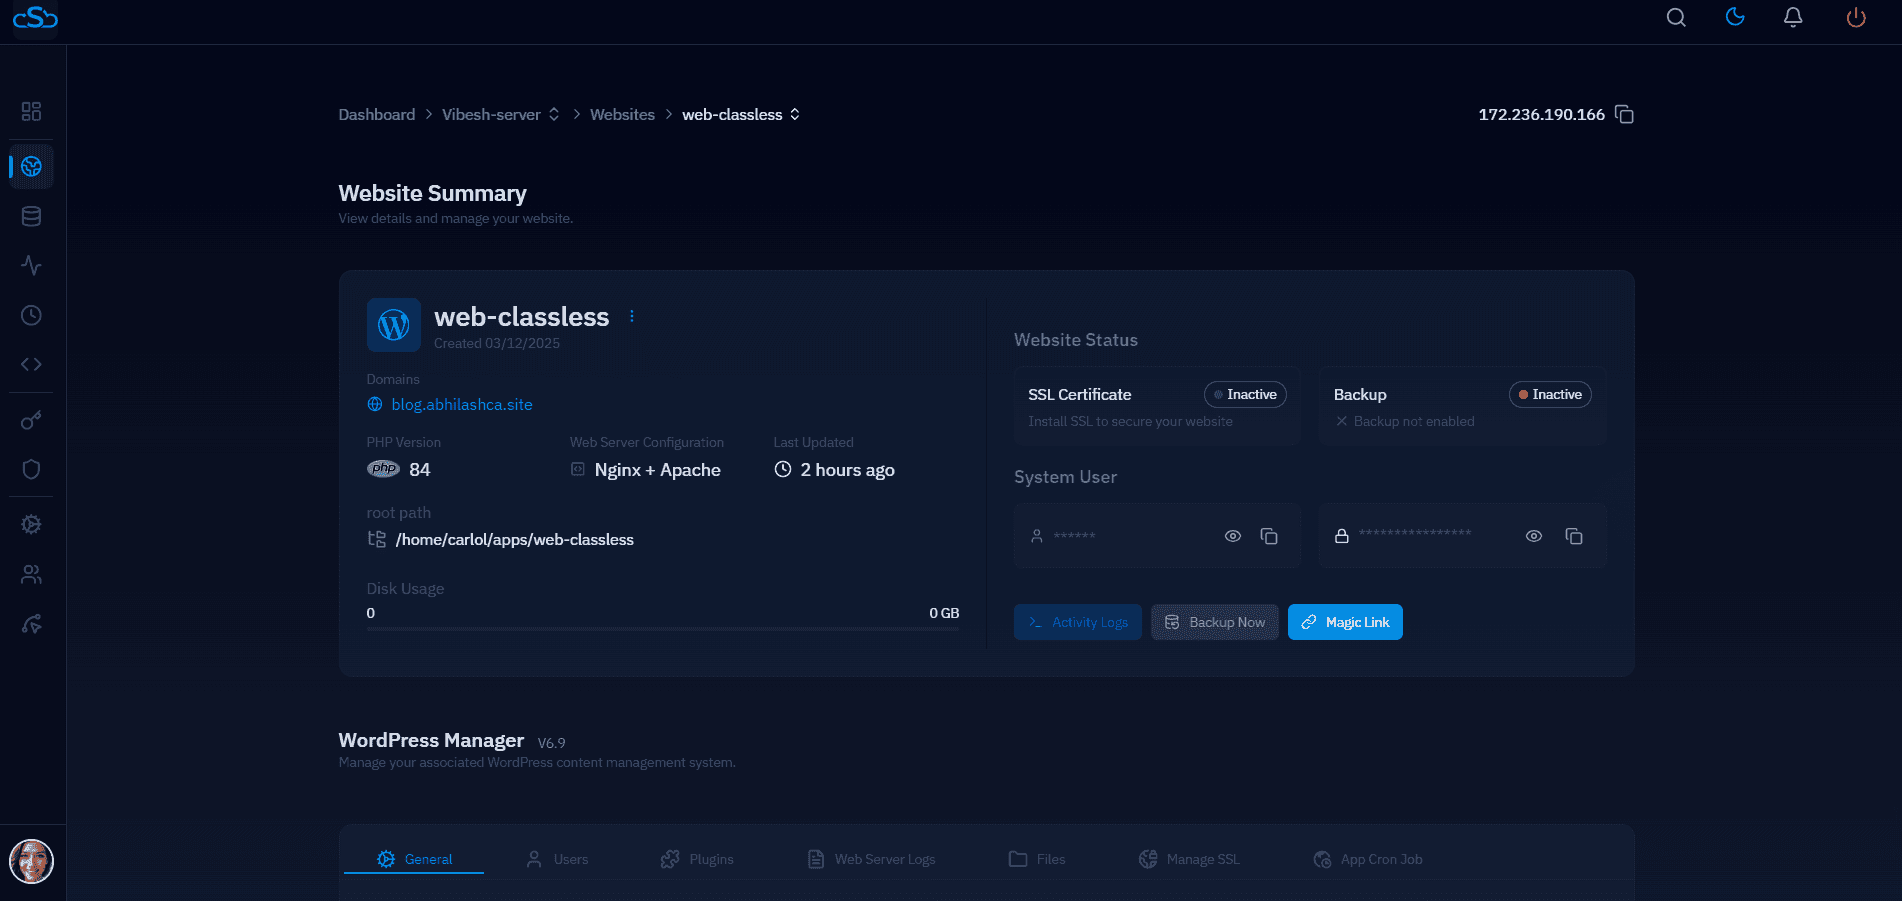
Fig. 08 — Website Summary page for the newly installed WordPress site, showing SSL status as Inactive.
2. Open SSL Management and deploy
Scroll down on the Website Summary page and click Manage SSL in the top navigation tabs.
The SSL Management page will show No SSL Found. Click Deploy New SSL to begin.
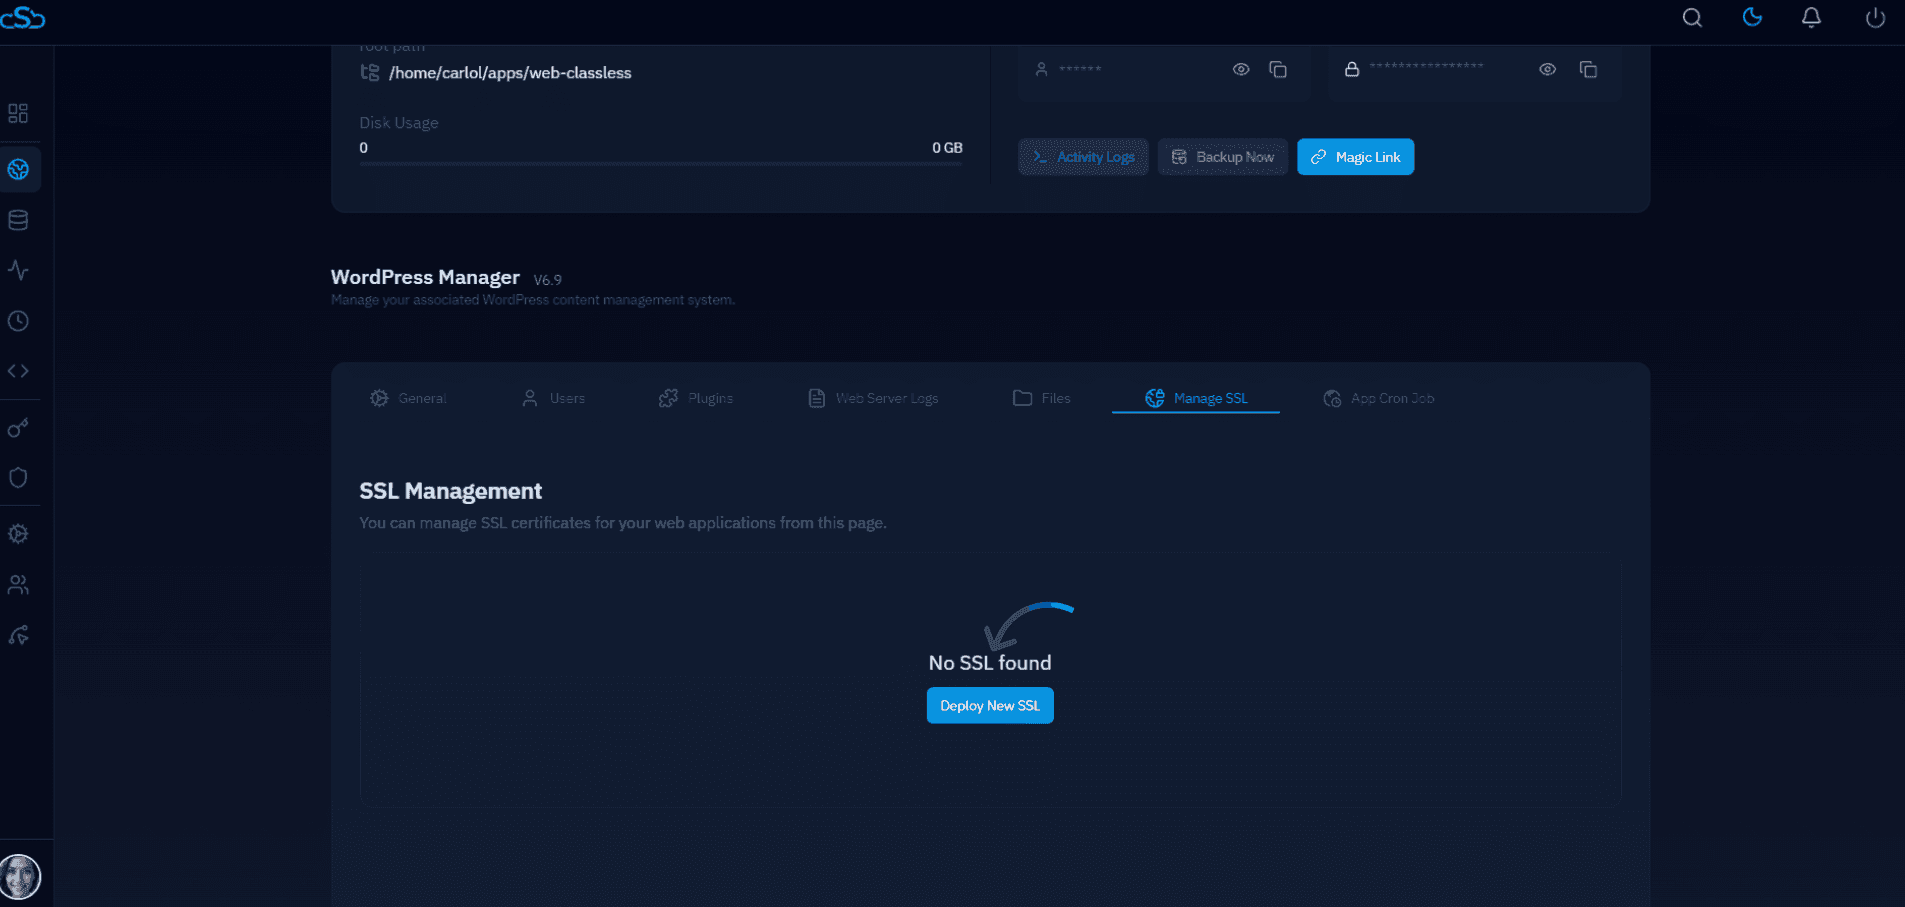
Fig. 09 — SSL Management page showing no certificate installed and the Deploy New SSL button.
3. Configure and save SSL
CloudStick uses Let's Encrypt by default. Select your preferred access method and HTTPS redirect mode, then save the configuration.
SSL Provider: Let's Encrypt (Free Certificate) is selected by default.
Authentication Method: Choose HTTP Verification (recommended for most setups) or DNS Verification.
Access Method: Select HTTPS Only to automatically redirect all HTTP traffic to HTTPS — the recommended setting for production sites.
Click Save SSL Configuration to issue the certificate and apply the settings.
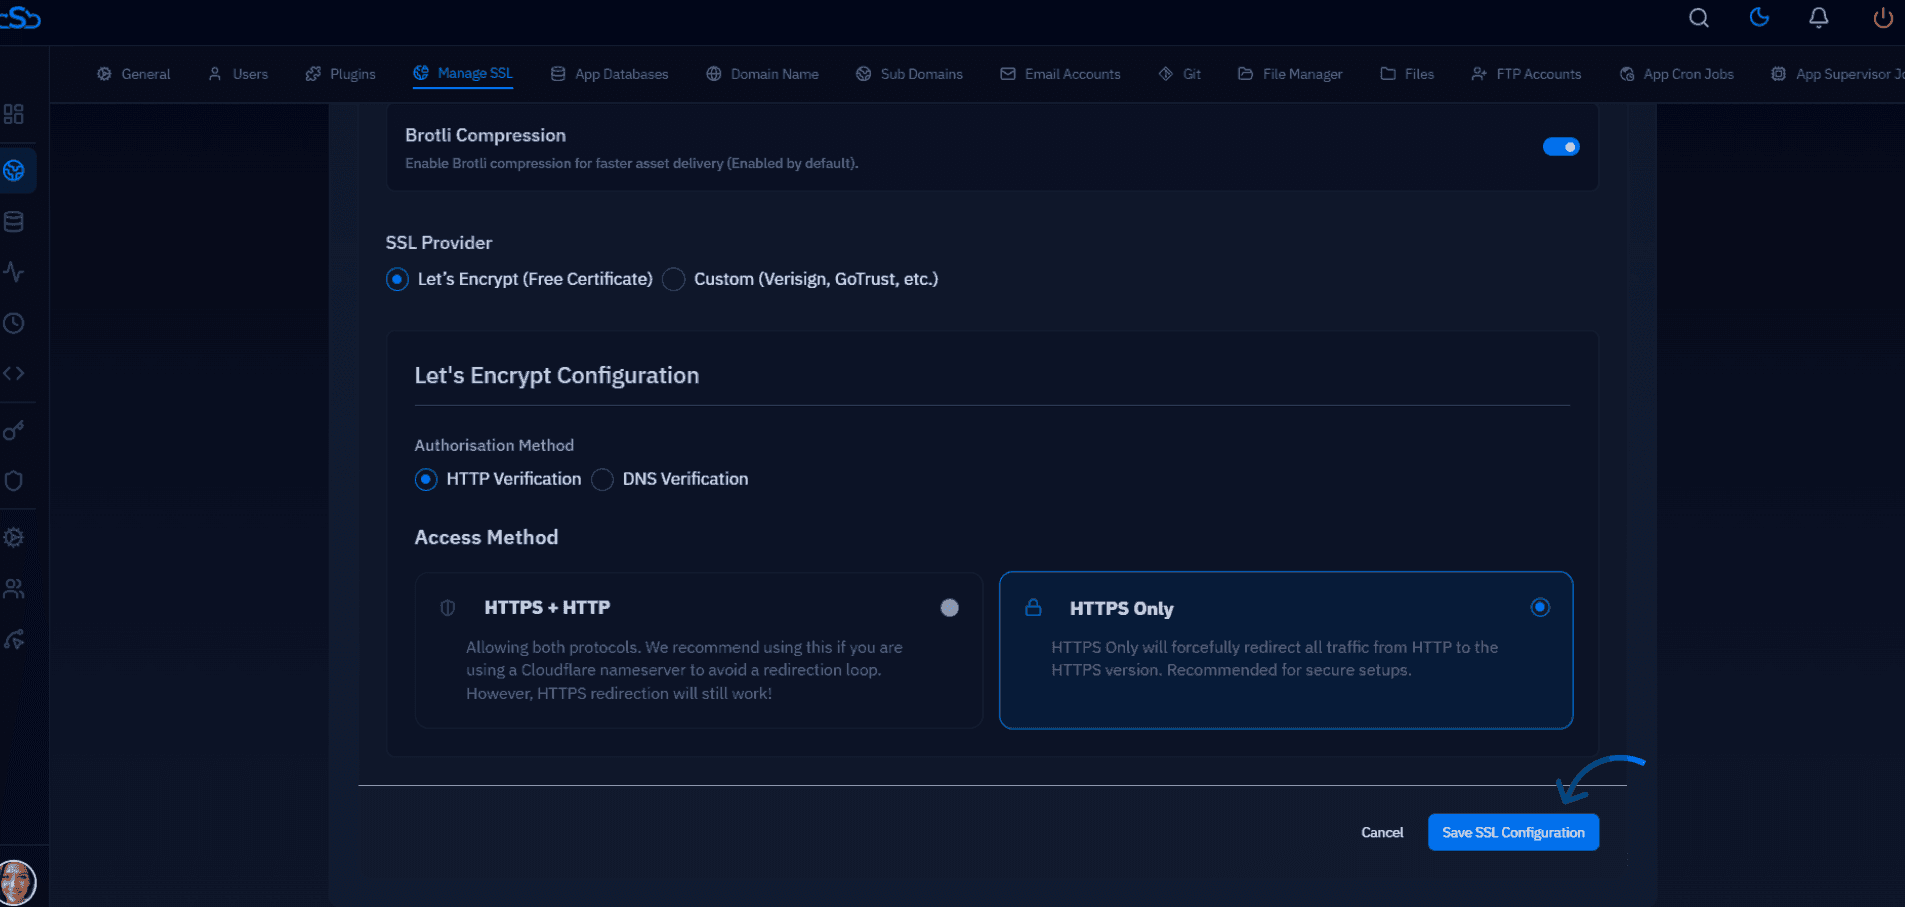
Fig. 10 — SSL configuration screen with HTTPS Only selected and the Save SSL Configuration button.
Your WordPress website is now installed and secured with SSL. You can begin customising your site, installing themes and plugins, and managing content through the WordPress admin dashboard at yourdomain.com/wp-admin.