The WordPress Security Checklist Every Agency Should Use


Server-Level Baseline
WordPress security is not one setting you toggle and forget — it is a layered checklist that spans the server, the application, and the process your team follows every time a client site goes live. Agencies that treat security as a single plugin install are the ones filing incident reports six months later. This is the checklist we give agencies managing more than a handful of WordPress installs, organized in the order it actually gets applied: server first, then access, then code, then maintenance, then incident readiness.
Everything downstream depends on the server layer being right. That means a configured firewall (not the distro default), SSH key-only authentication with password login disabled, and per-site process isolation so a compromised plugin on one client's site cannot touch the filesystem or database of another client hosted on the same box. We cover the full server hardening pass — including ufw rules, SSH config, and Linux user separation — in How to Harden WordPress Security on the Server Level. Treat that article as the foundation this checklist stands on.
Before you start, know which server setup you are actually running. A single shared VPS hosting a dozen client sites needs different isolation controls than a per-client dedicated server. If you are on CloudStick, confirm your plan — the FREE and BASIC tiers cap you at a single connected server, while the PRO plan supports unlimited servers, which matters the moment you are running this checklist across more than one client's infrastructure.
Access Control
Access control stops the two most common WordPress compromise vectors: credential stuffing against wp-login.php and automated bot scanning. Both are entirely preventable and neither requires a premium security plugin.
First, stop exposing the default login path to the open internet. Moving or gating the login screen removes it as a target for the credential-stuffing lists that scan every WordPress site on a subnet — see How to Hide and Protect the WordPress Login Page for the exact Nginx-level and plugin-level approaches. Second, add rate limiting and IP-based banning for repeated failed logins and known bot user agents, detailed in How to Stop WordPress Brute-Force and Bot Attacks. Enforce strong, unique passwords for every client admin account, and turn on two-factor authentication for any account with publish or plugin-install privileges — those are the accounts an attacker actually wants.
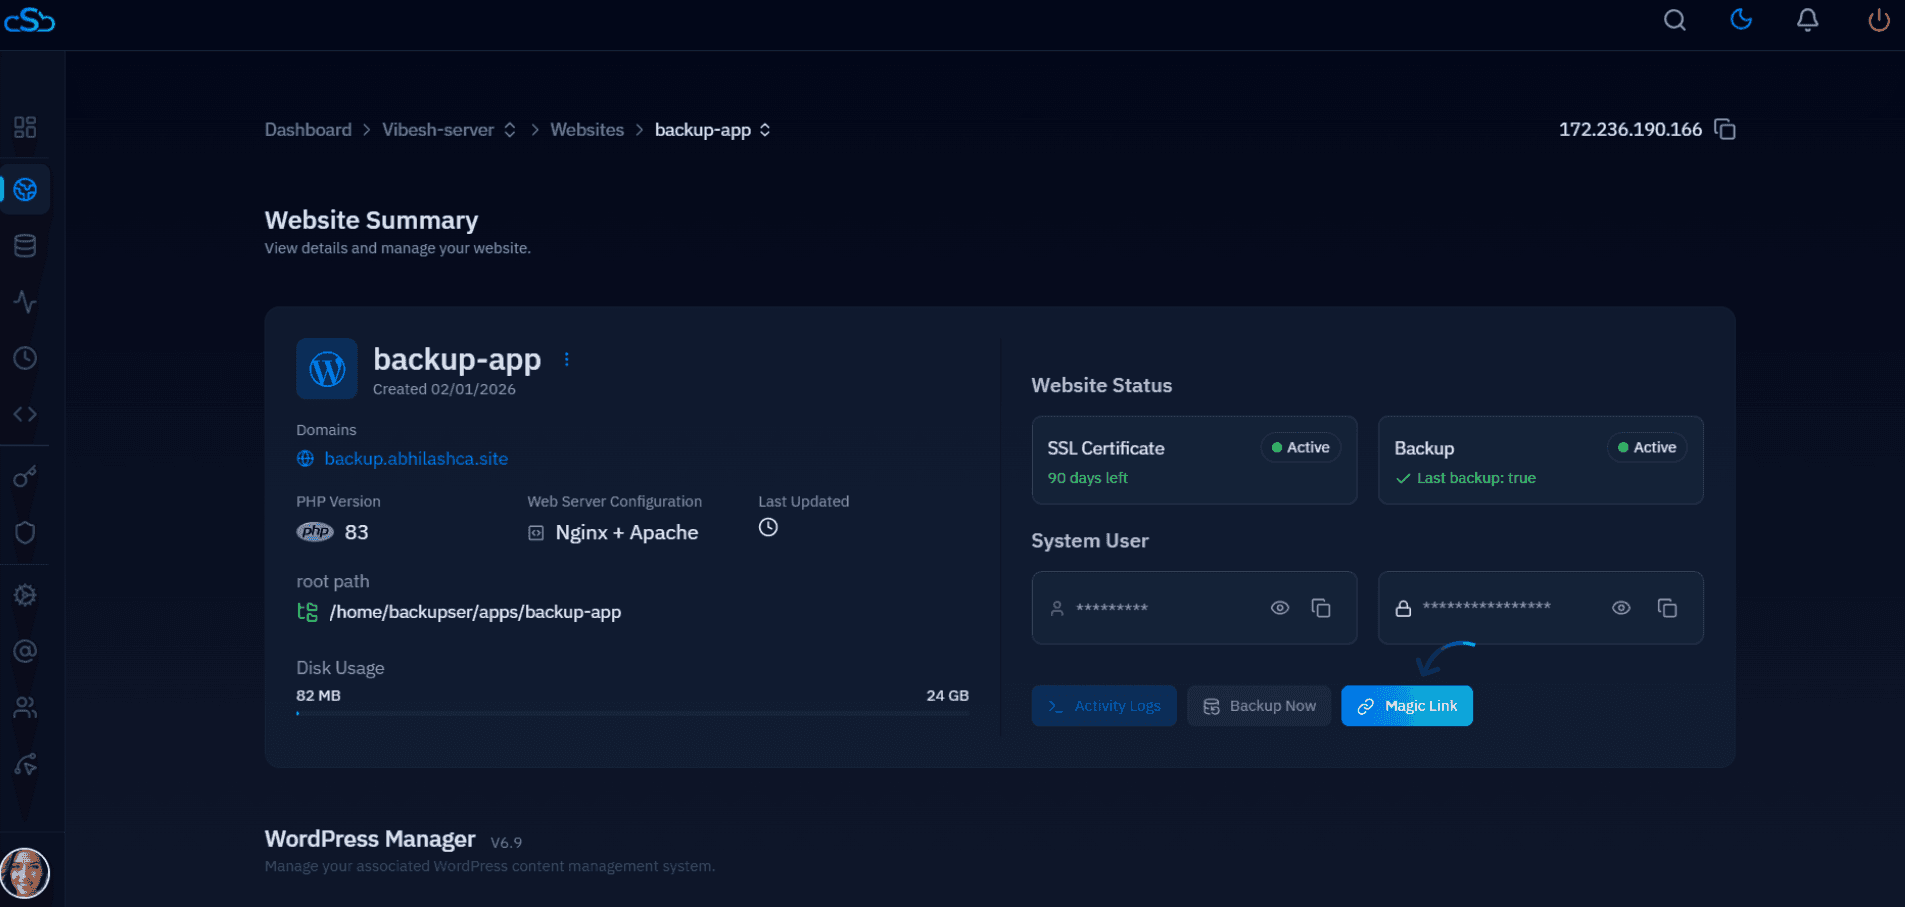
Agencies running dozens of client sites cannot reasonably configure login protection by hand on each one. This is where a control panel earns its keep: CloudStick's Team Seats let you assign role-based dashboard access per server or per website, so a junior team member can manage a client's WordPress install without ever holding root SSH credentials, and every login-protection rule you set gets applied consistently instead of drifting site to site.
File and Code Hygiene
Correct file permissions and a locked-down API surface remove entire classes of exploit before they can execute. Loose permissions on wp-config.php or world-writable upload directories are how a single vulnerable plugin turns into full site takeover.
Set directories to 755, files to 644, and wp-config.php to 600 — the full breakdown, including the ownership pitfalls that come from mixing FTP and SSH-created files, is in How to Set Correct File Permissions for WordPress. Alongside permissions, disable XML-RPC unless a client actively uses the WordPress mobile app or Jetpack — it is one of the most abused endpoints for both brute-force amplification and DDoS pingback attacks. How to Disable XML-RPC in WordPress Safely covers how to do this without breaking legitimate integrations that still depend on it.
Run this pass on every new client site during onboarding, not as a one-time audit. Permissions and endpoint exposure drift over time as plugins, migrations, and one-off FTP uploads reset ownership and re-enable defaults.
Ongoing Maintenance
Most WordPress compromises trace back to an outdated plugin, not a zero-day. Maintenance is not optional overhead — it is the single highest-leverage line item on this checklist.
Auto-update plugins and themes for minor and patch releases, with a staging step for major version bumps that could break a client's theme customizations — the full setup is in How to Keep WordPress Plugins and Themes Updated Automatically. Pair that with a recurring malware scan, not a one-time install-and-forget scanner — see How to Scan a WordPress Site for Malware for the tools and scan cadence we recommend for agency-managed sites.
If you are managing this across 15+ client sites by hand, the maintenance step is where checklists quietly fail — someone gets busy and a scan gets skipped. Standardizing on a control panel that applies the same update and scan schedule to every site, regardless of which team member set it up, is what actually keeps the checklist enforced instead of aspirational.
Incident Readiness
Every control above reduces risk, none of them eliminate it. Incident readiness is the checklist item agencies skip until the first client site actually gets hacked at 11pm on a Friday.
Two things need to be true before an incident happens: you need a recent, verified-restorable backup for every client site, and your team needs a written response process so nobody is improvising cleanup steps under pressure. If a site is compromised anyway, How to Fix a Hacked WordPress Site (and Prevent Re-Infection) walks through isolating the site, identifying the entry point, cleaning infected files, and — the step most cleanups skip — closing the actual vulnerability so the same backdoor doesn't reappear a week later.
Backup verification matters as much as backup existence. A backup nobody has test-restored is a hope, not a plan. Schedule a quarterly restore test on at least one client site to confirm your backup chain actually works end to end, from database to uploads directory.
The One-Page Checklist
Print this, paste it into your onboarding runbook, or turn it into a template in whatever project tool your agency uses. Every item traces back to a section above.
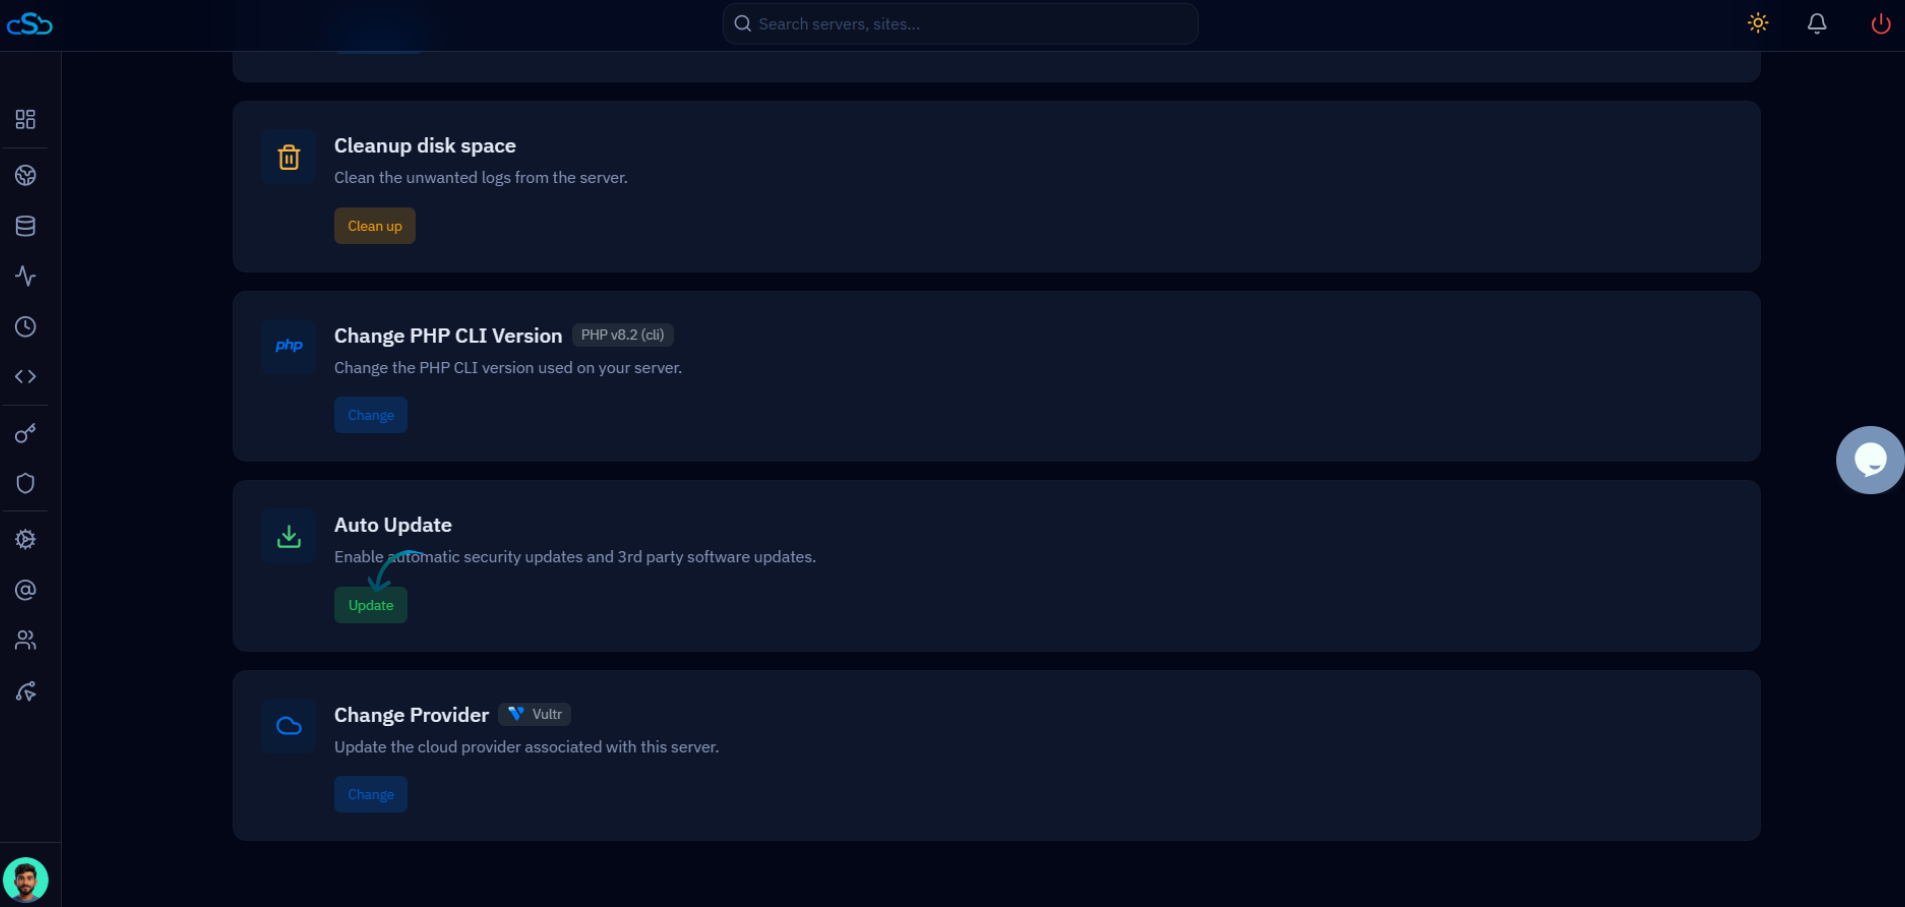
The hardest part of this checklist is not any single item — it's applying all nine consistently across every client site, every time, regardless of which team member handled the setup. That's the actual gap between an agency that has a security checklist and one that enforces it. CloudStick was built for exactly this: connect every client server to one dashboard, and firewall rules, PHP hardening, backup schedules, and access controls apply the same way whether you have three sites or three hundred. The PRO plan removes the server-count ceiling for agencies scaling past a single box, and the Business plan's White-Label option lets you present the entire security-managed hosting stack under your own agency's brand, with Team Seats controlling exactly who on your team can touch what. A checklist enforced by tooling survives staff turnover. A checklist enforced by memory does not.