How to Install Joomla on Ubuntu 18.04 | 20.04

Joomla! is a free and open-source content management system for publishing web content. Written in PHP and packs a ton of features that can be extended with free and premium extensions and themes.
With Joomla, you can easily build your eCommerce store, personal website, social site, or blog
Deploying Joomla is always a nightmare for developers. Thanks to CloudStick. ! Just click on the feature, fill up necessary fields, click submit, that’s all, you are done.
Note: Please ensure the File System Quota is enabled prior to performing this.
Here are the step by step instructions to install Joomla on your CloudStick controlled server:
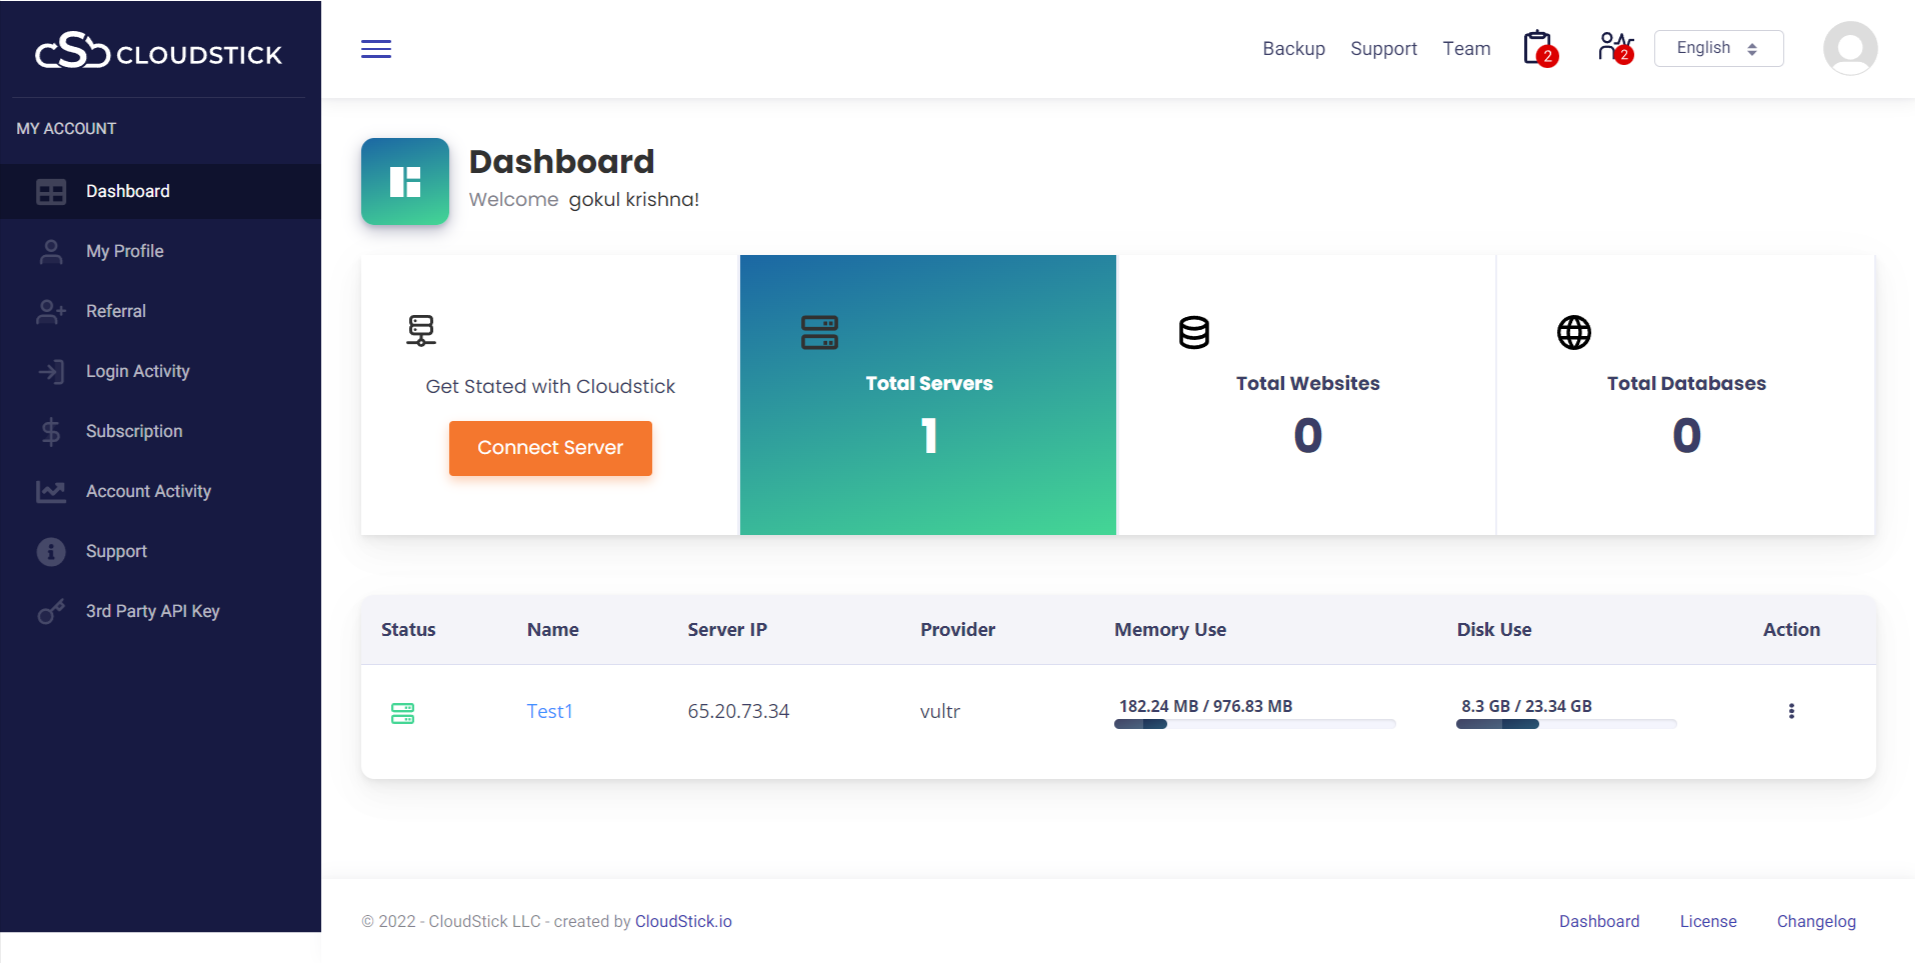
Step1: Login to the CloudStick dashboard and go to the server.
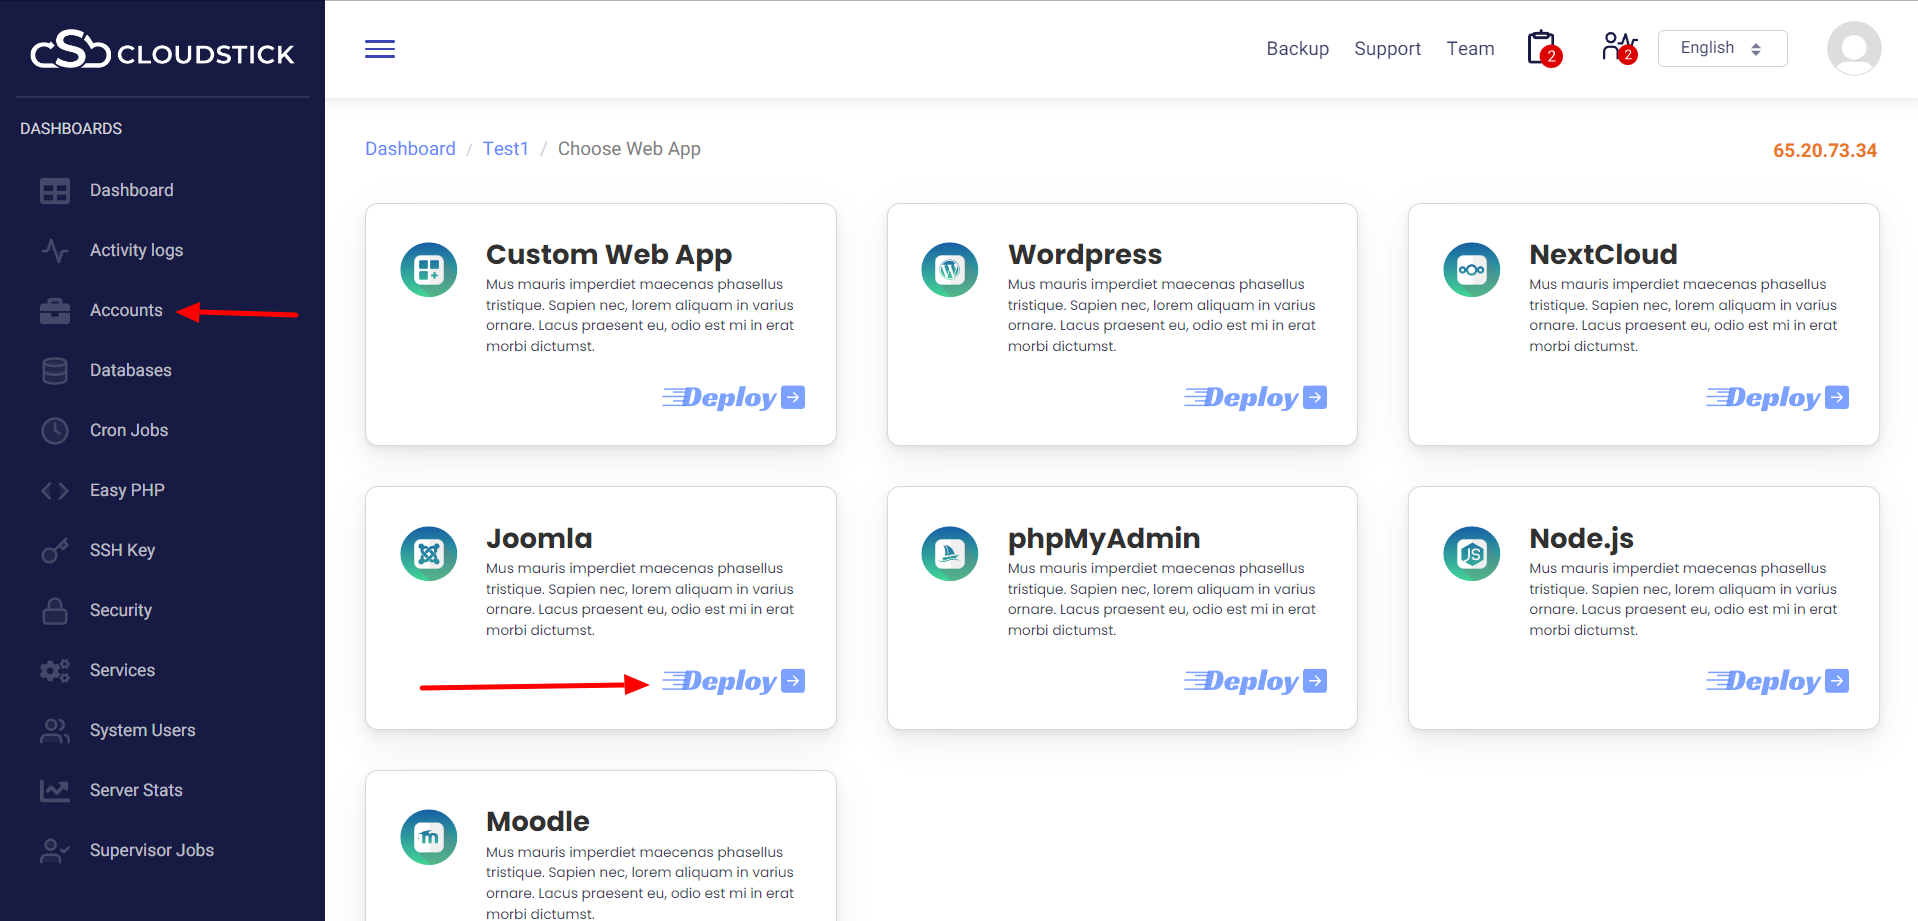
Step2: Click on the ‘Accounts’ option from the left side menu and click on next to Joomla
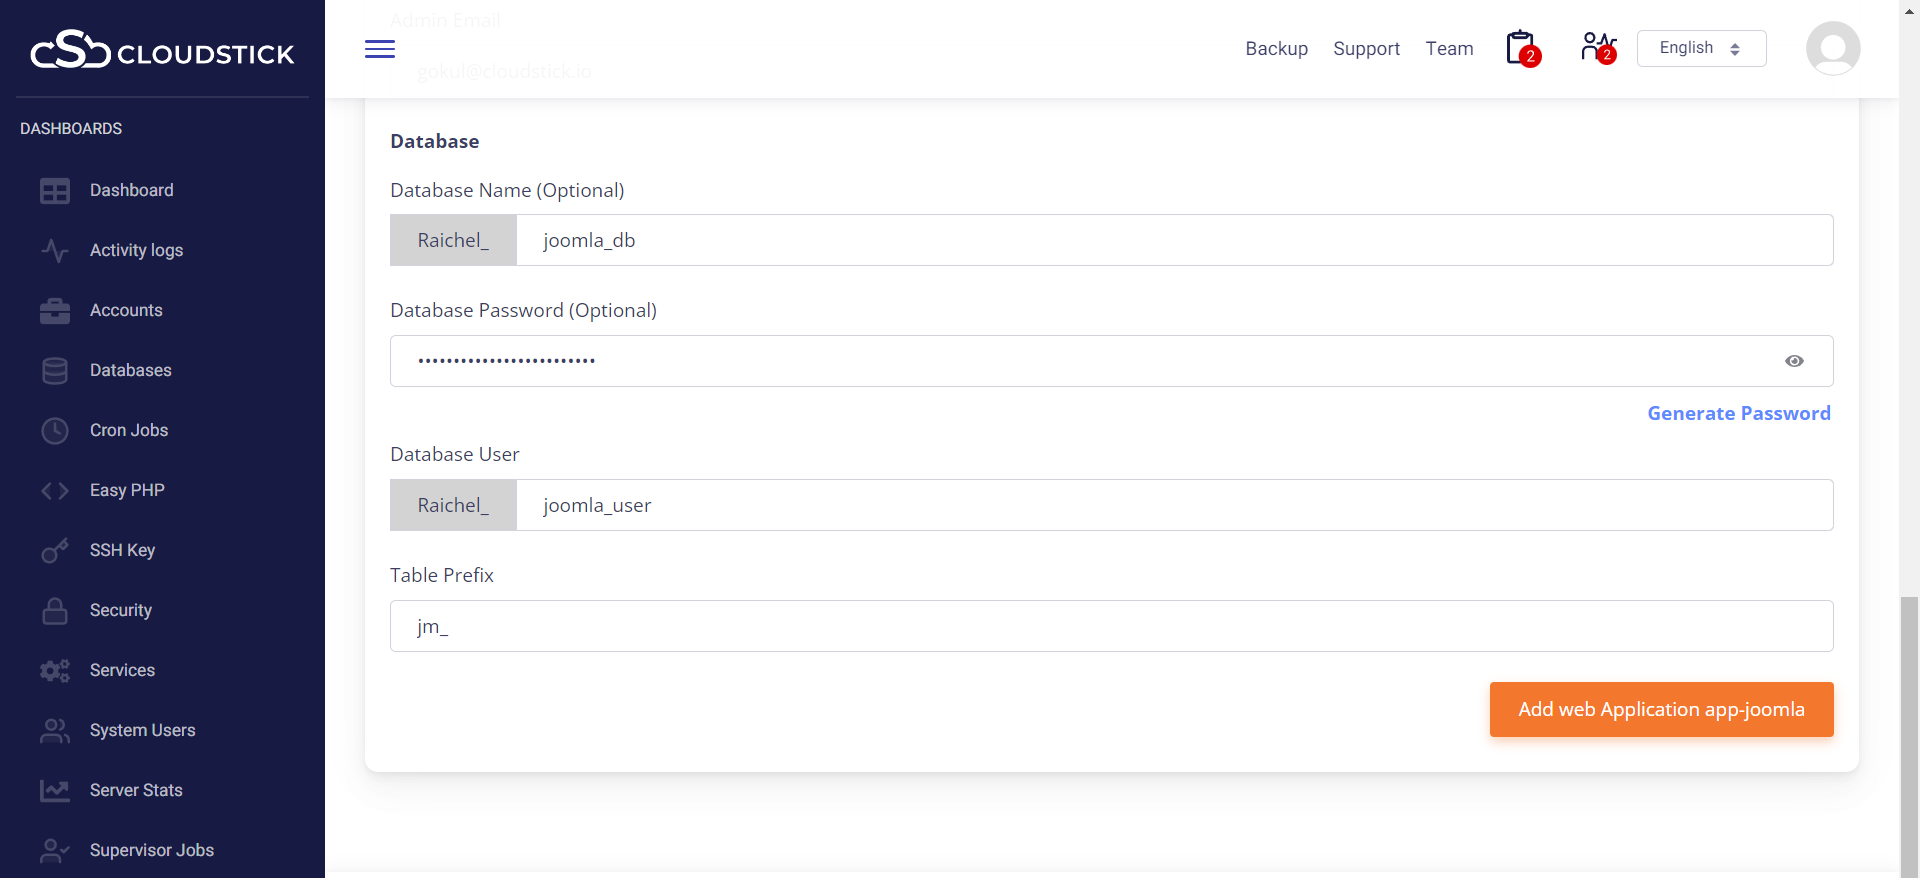
Step3: All you would require is to enter the relevant details and preferences.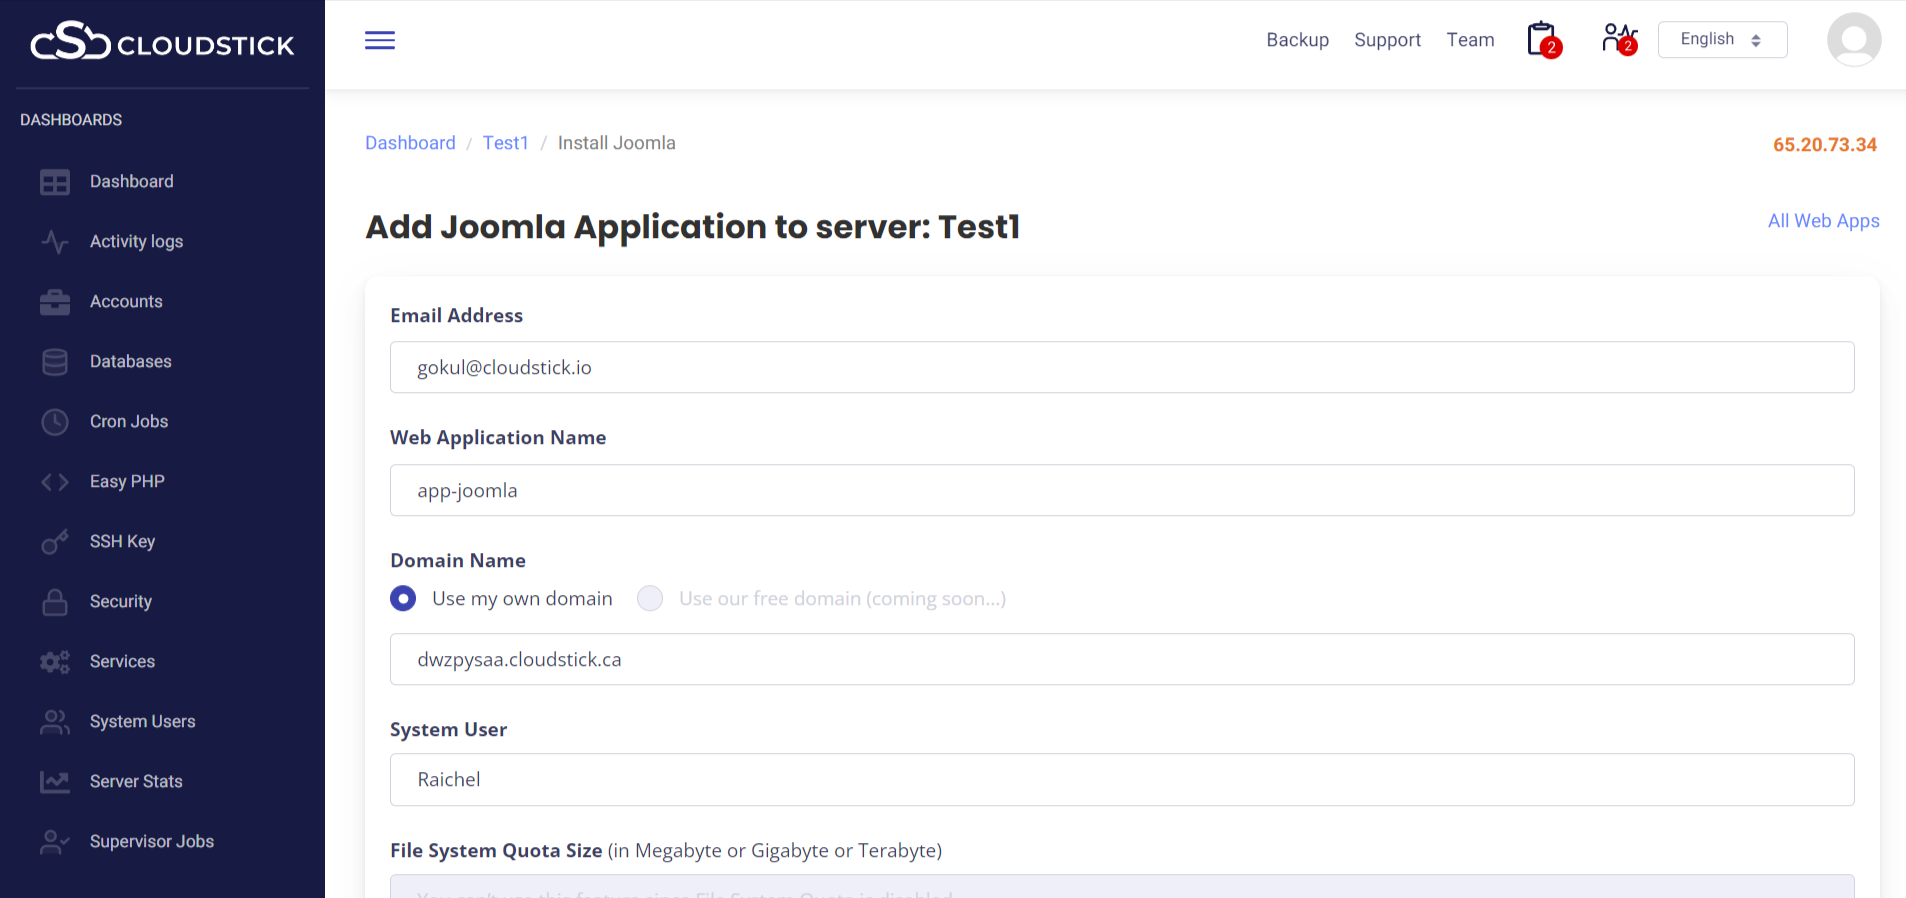
further scrolling down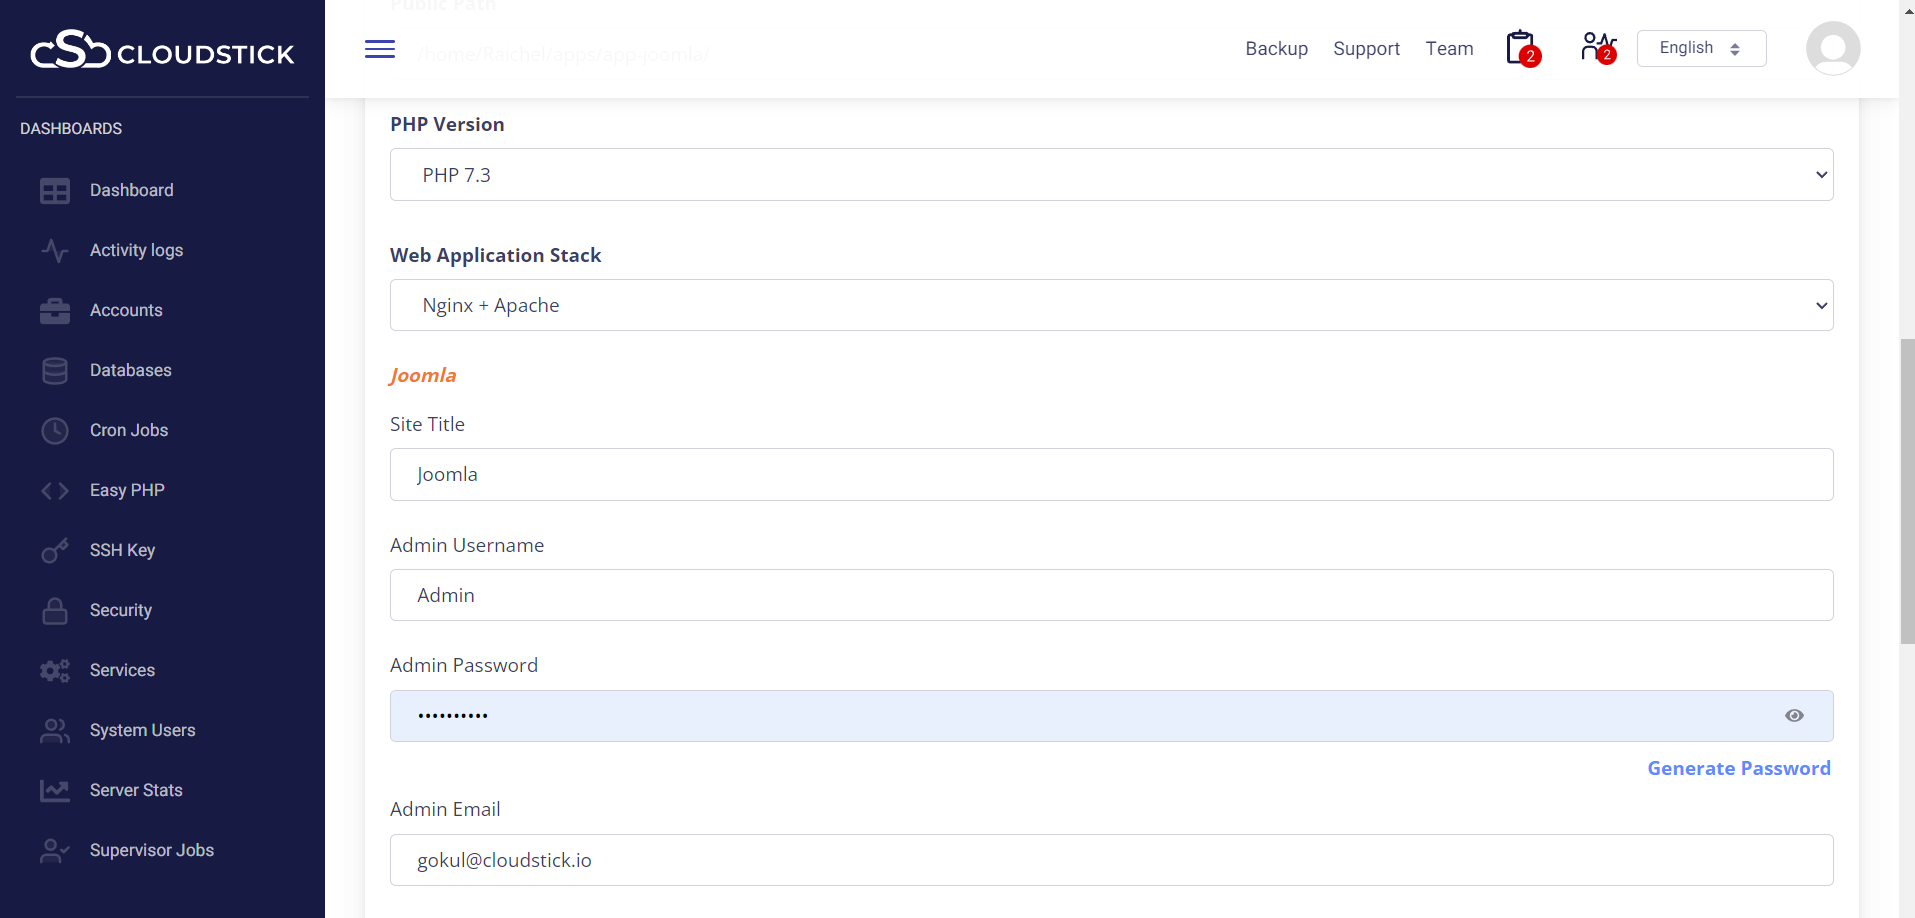
Step 4: Click on the “Add web application” button to initiate Joomla deployment.
Once clicking the “Add Web Application” button, you will be directed to the page listing web applications: Where you can access the newly created Jommla web app by simply clicking on the domain name.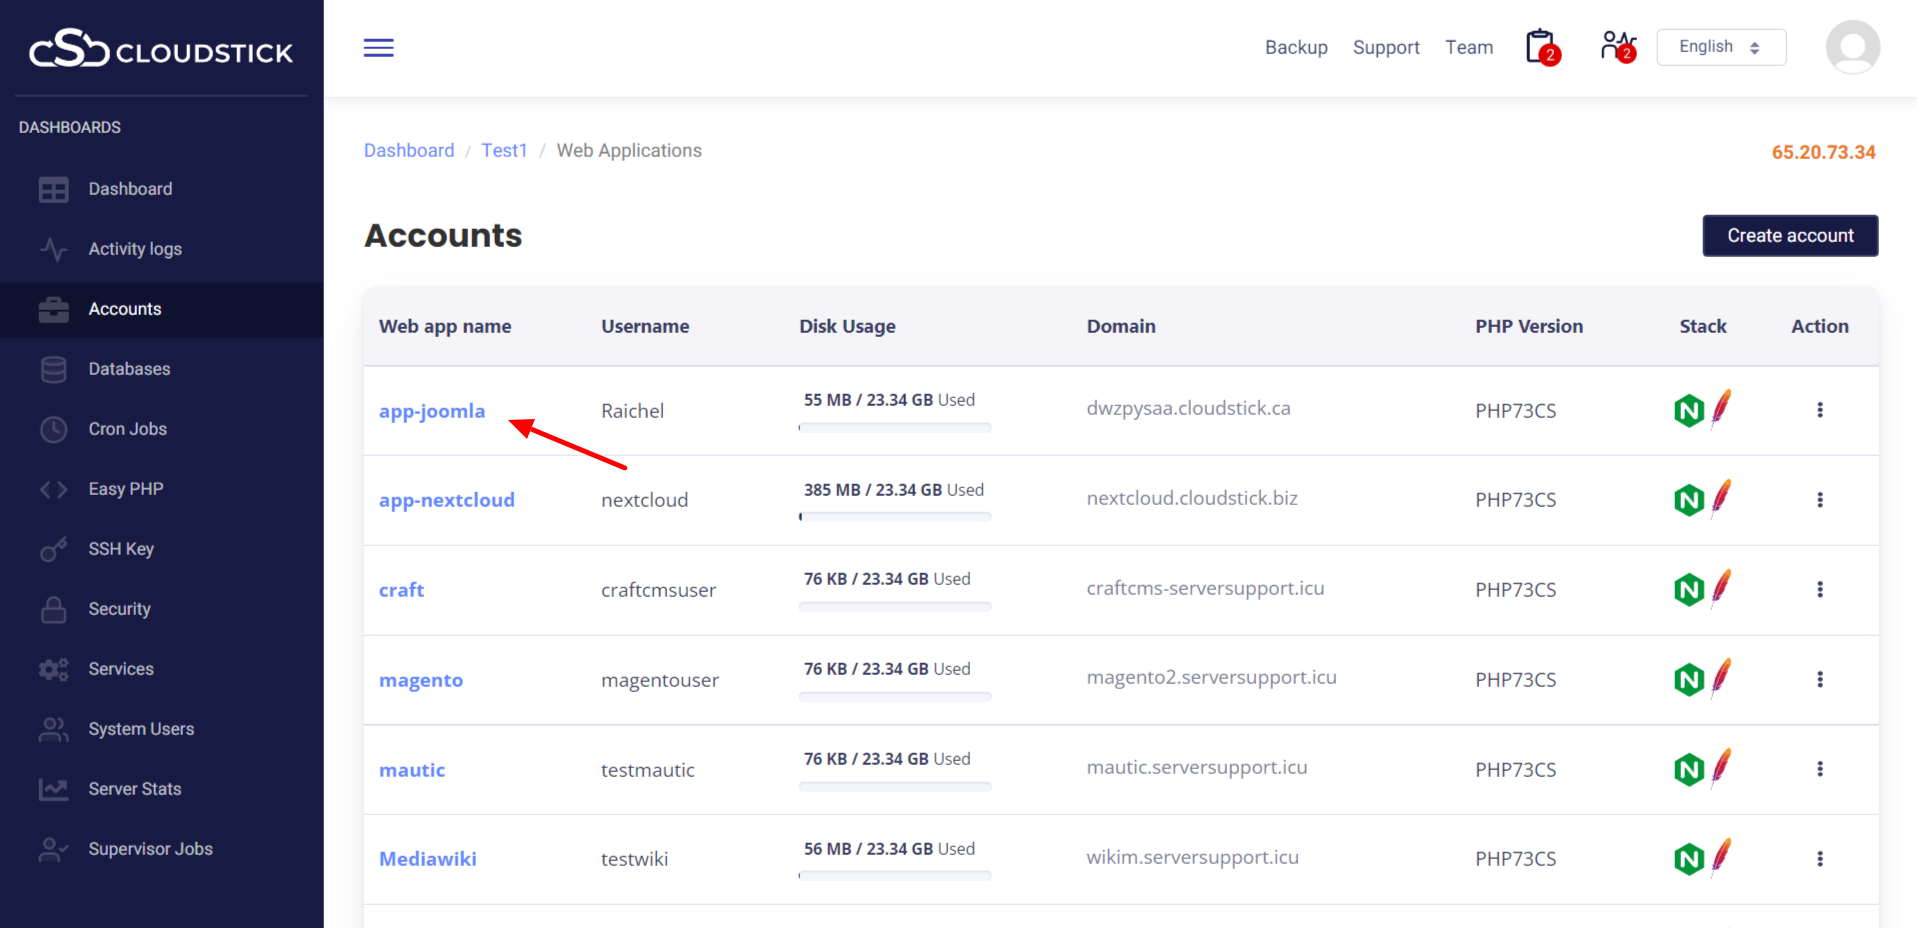
On clicking domain name, you will be taken to the Joomla app and from there you can log in as an Administrator.
Then, you can now create your blog and use various plugins and settings to improve its appearance.
You may be interested in :
Learning Management Systems Introduction The digital transformation of education has escalated the need for robust, scalable,…
Introduction: WordPress 6.5 marks another milestone in the evolution of the world’s most popular content management…
Changing Mysql root passwords are easy when it comes to CloudStick, you do have to fill…
