Install PrestaShop 1.7 on Ubuntu 18.4 | 20.04

PrestaShop is a freemium, open-source e-commerce platform. It allows entrepreneurs and companies to create and develop their own e-commerce sites.
Here in this tutorial, we are going to discuss how to install PrestaShop on CloudStick.
Follow the step by step procedure.
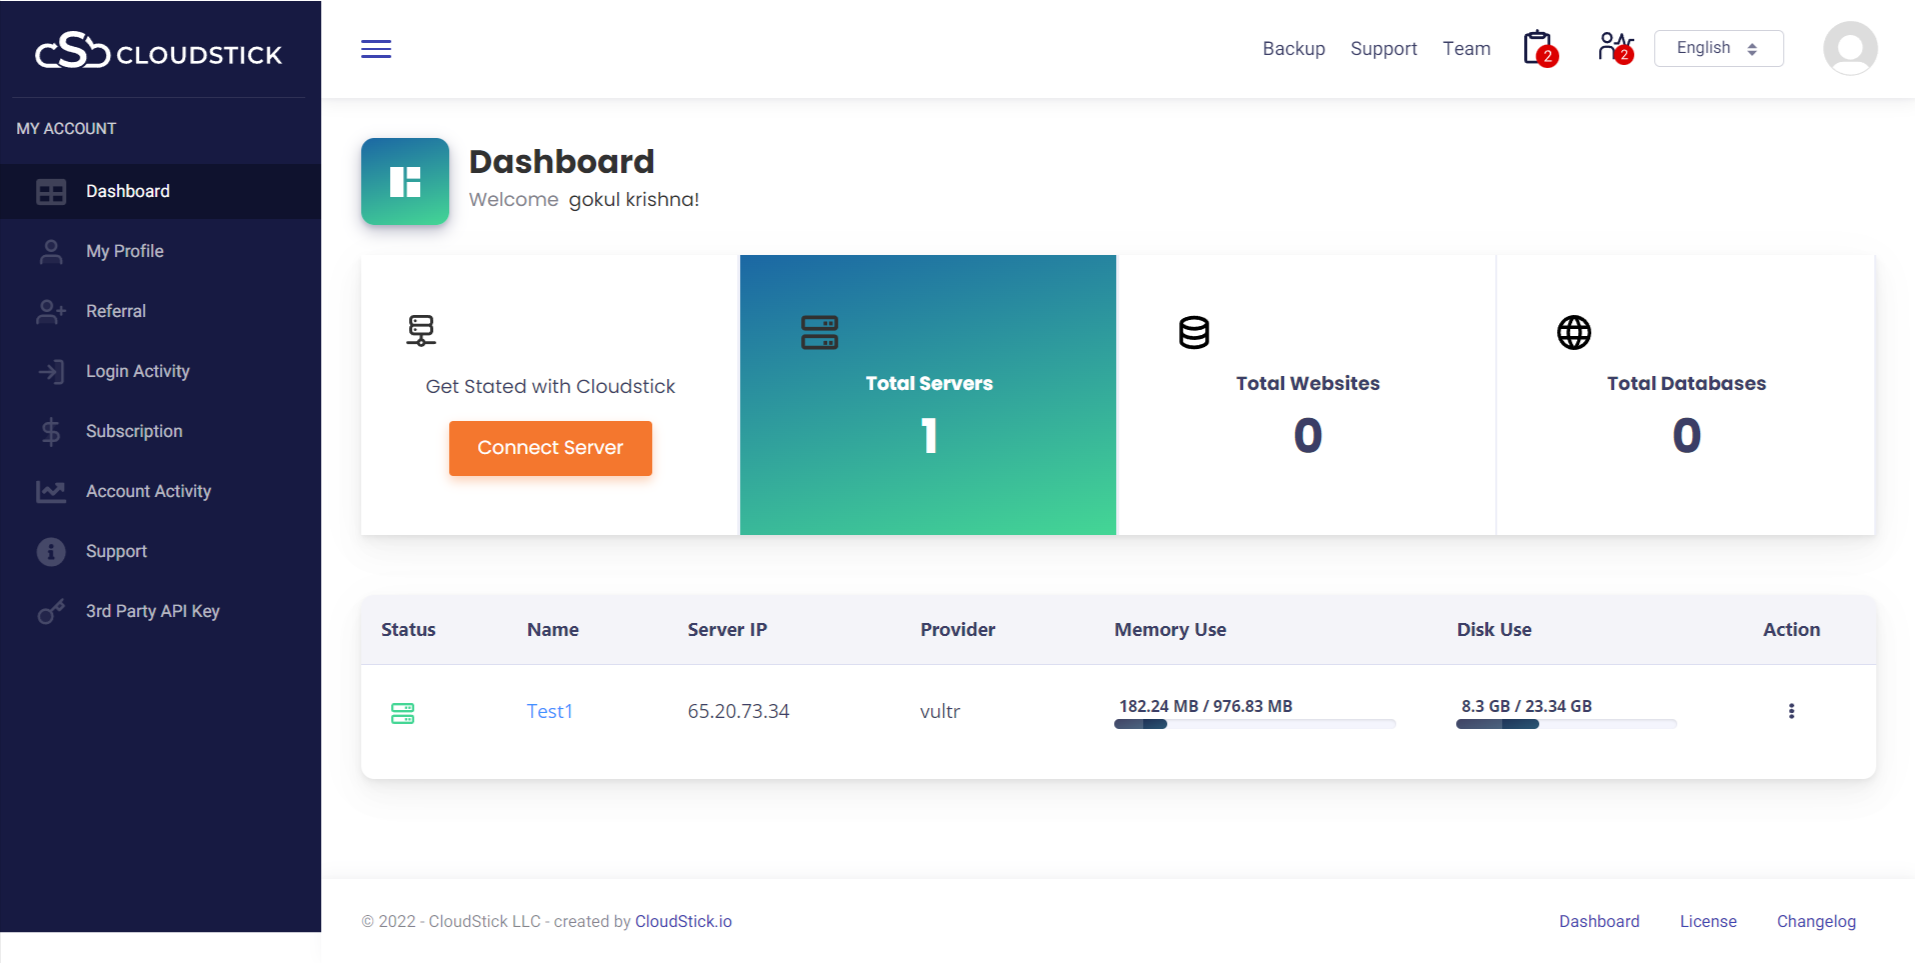
Step 1: Log in to your CloudStick account and select the server
Step 2: Create a custom PHP web application to install PrestaShop
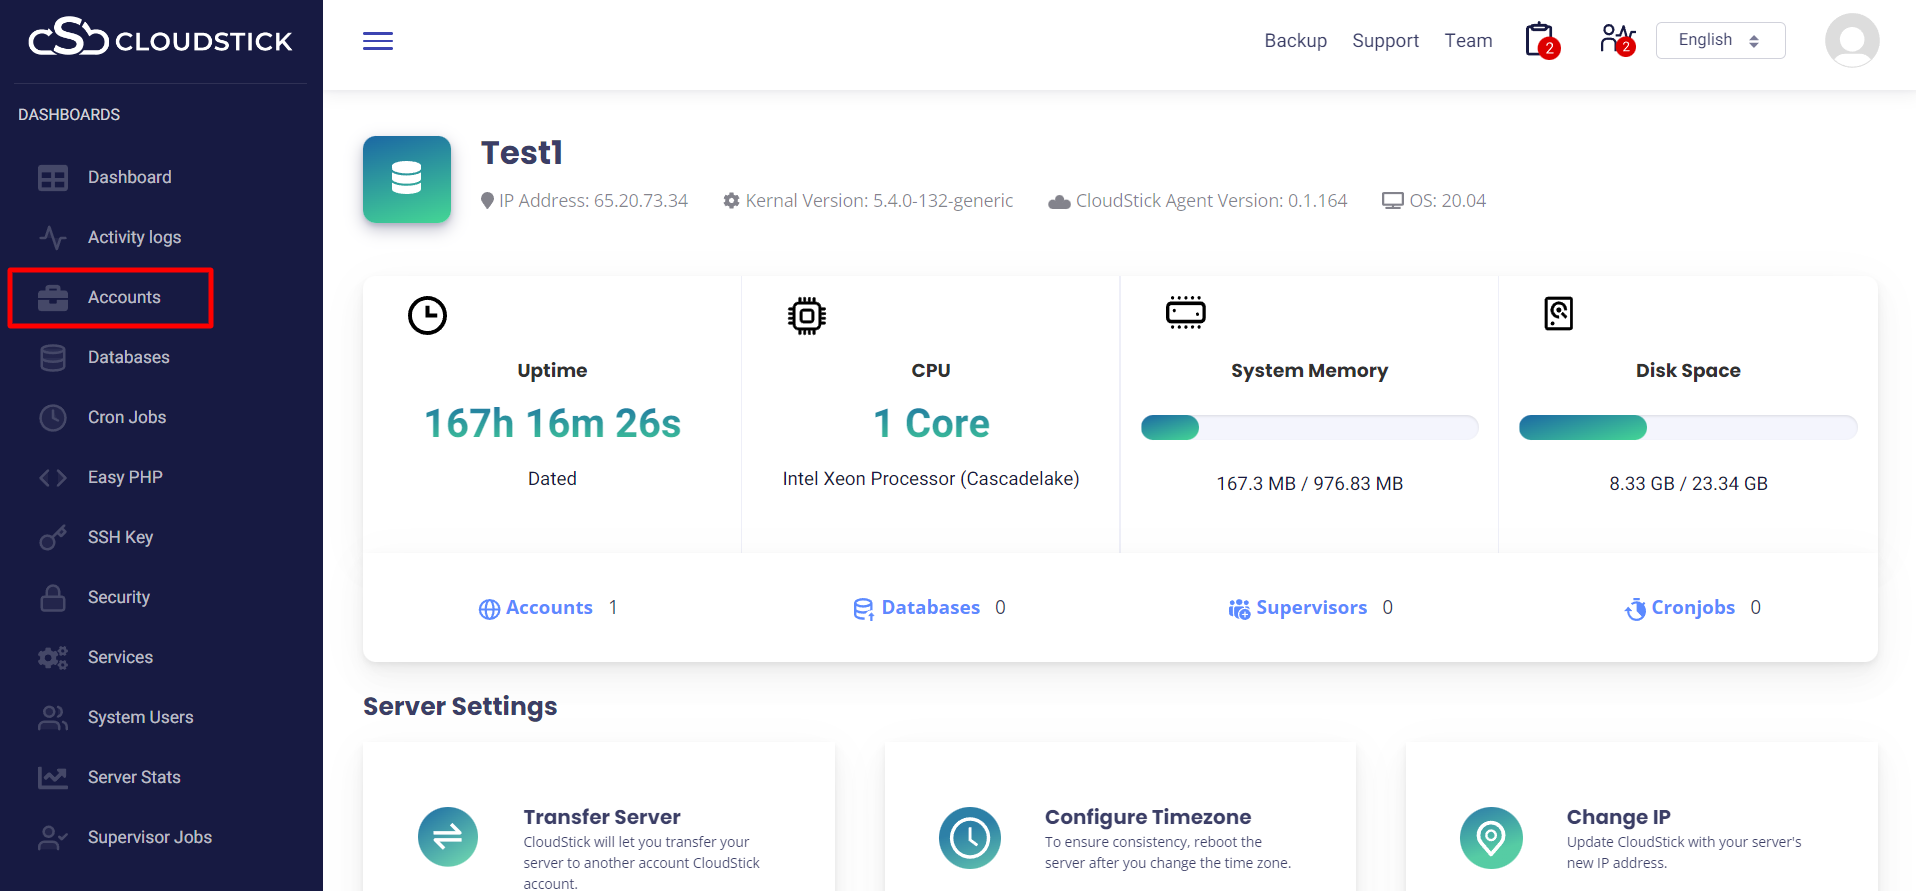
After selecting the server, click on the ‘Accounts’ tab from the left side menu.
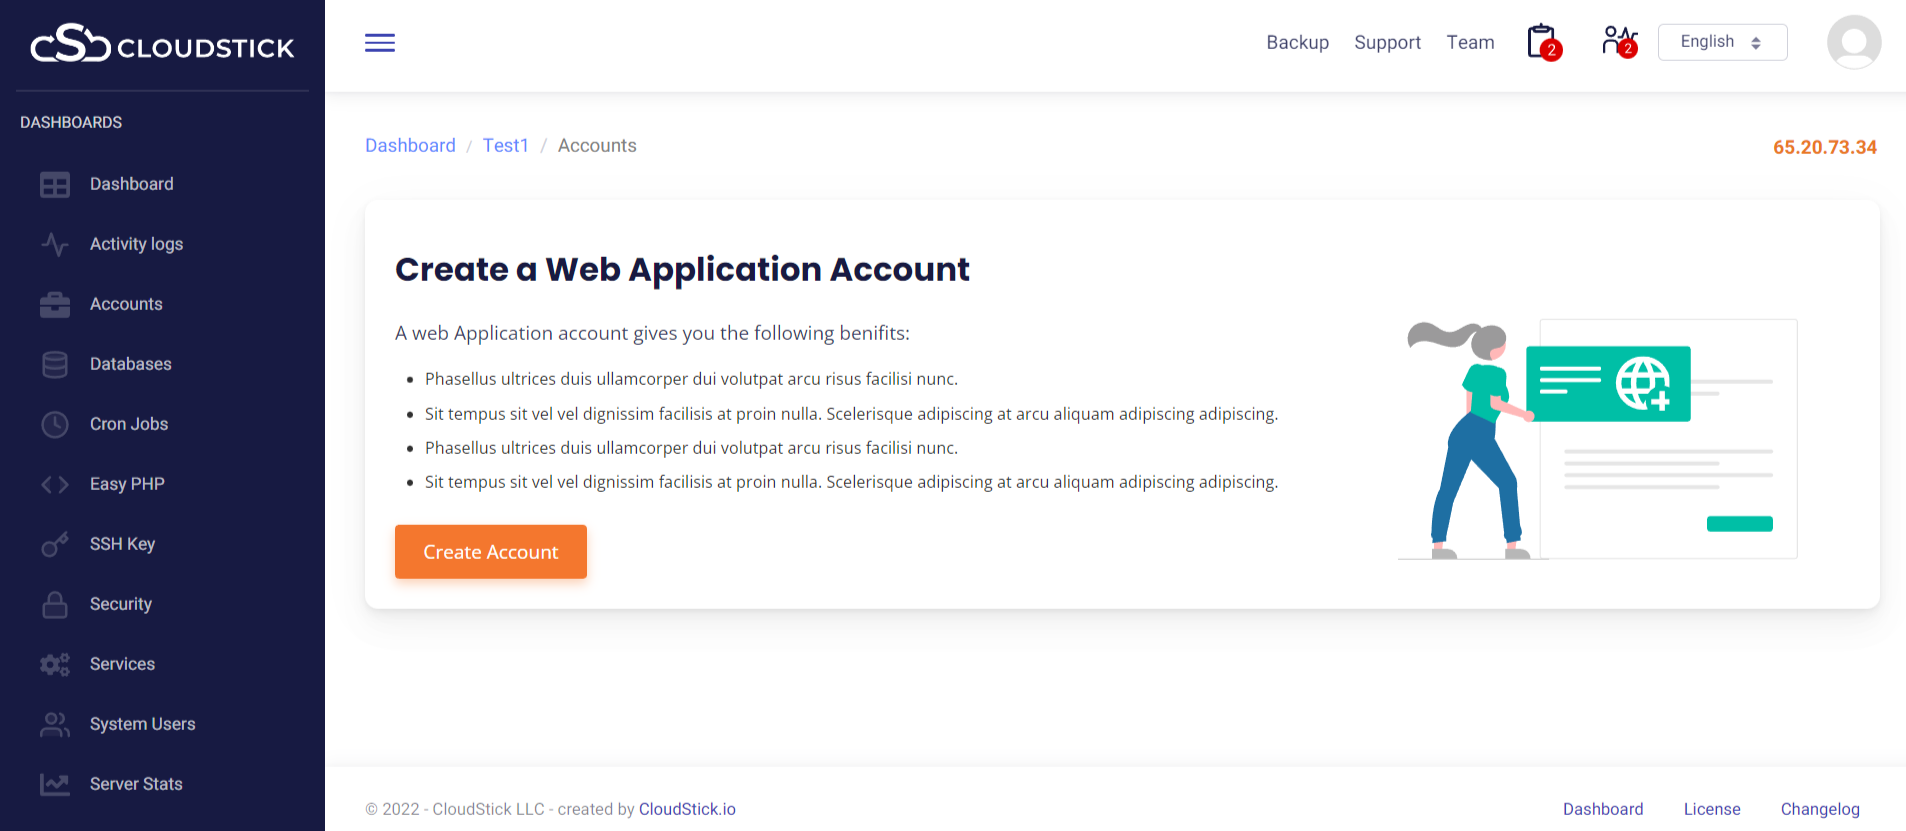
Then, click on the ‘Create account’ option.
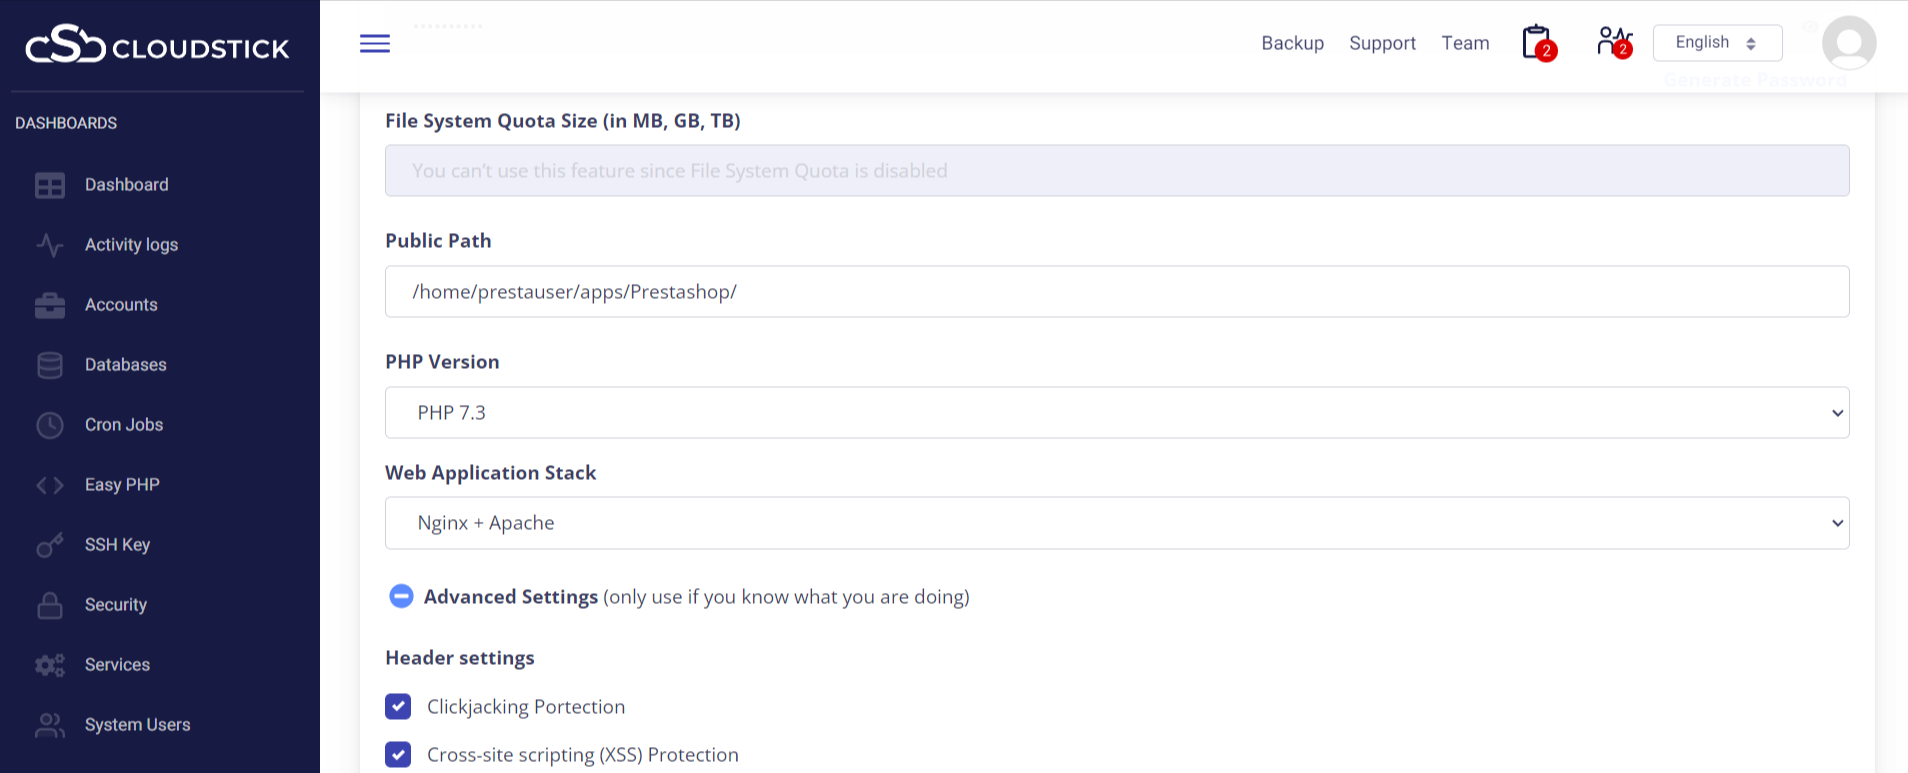
NOTE: Please ensure that the File system quota is enabled prior to performing this procedure.
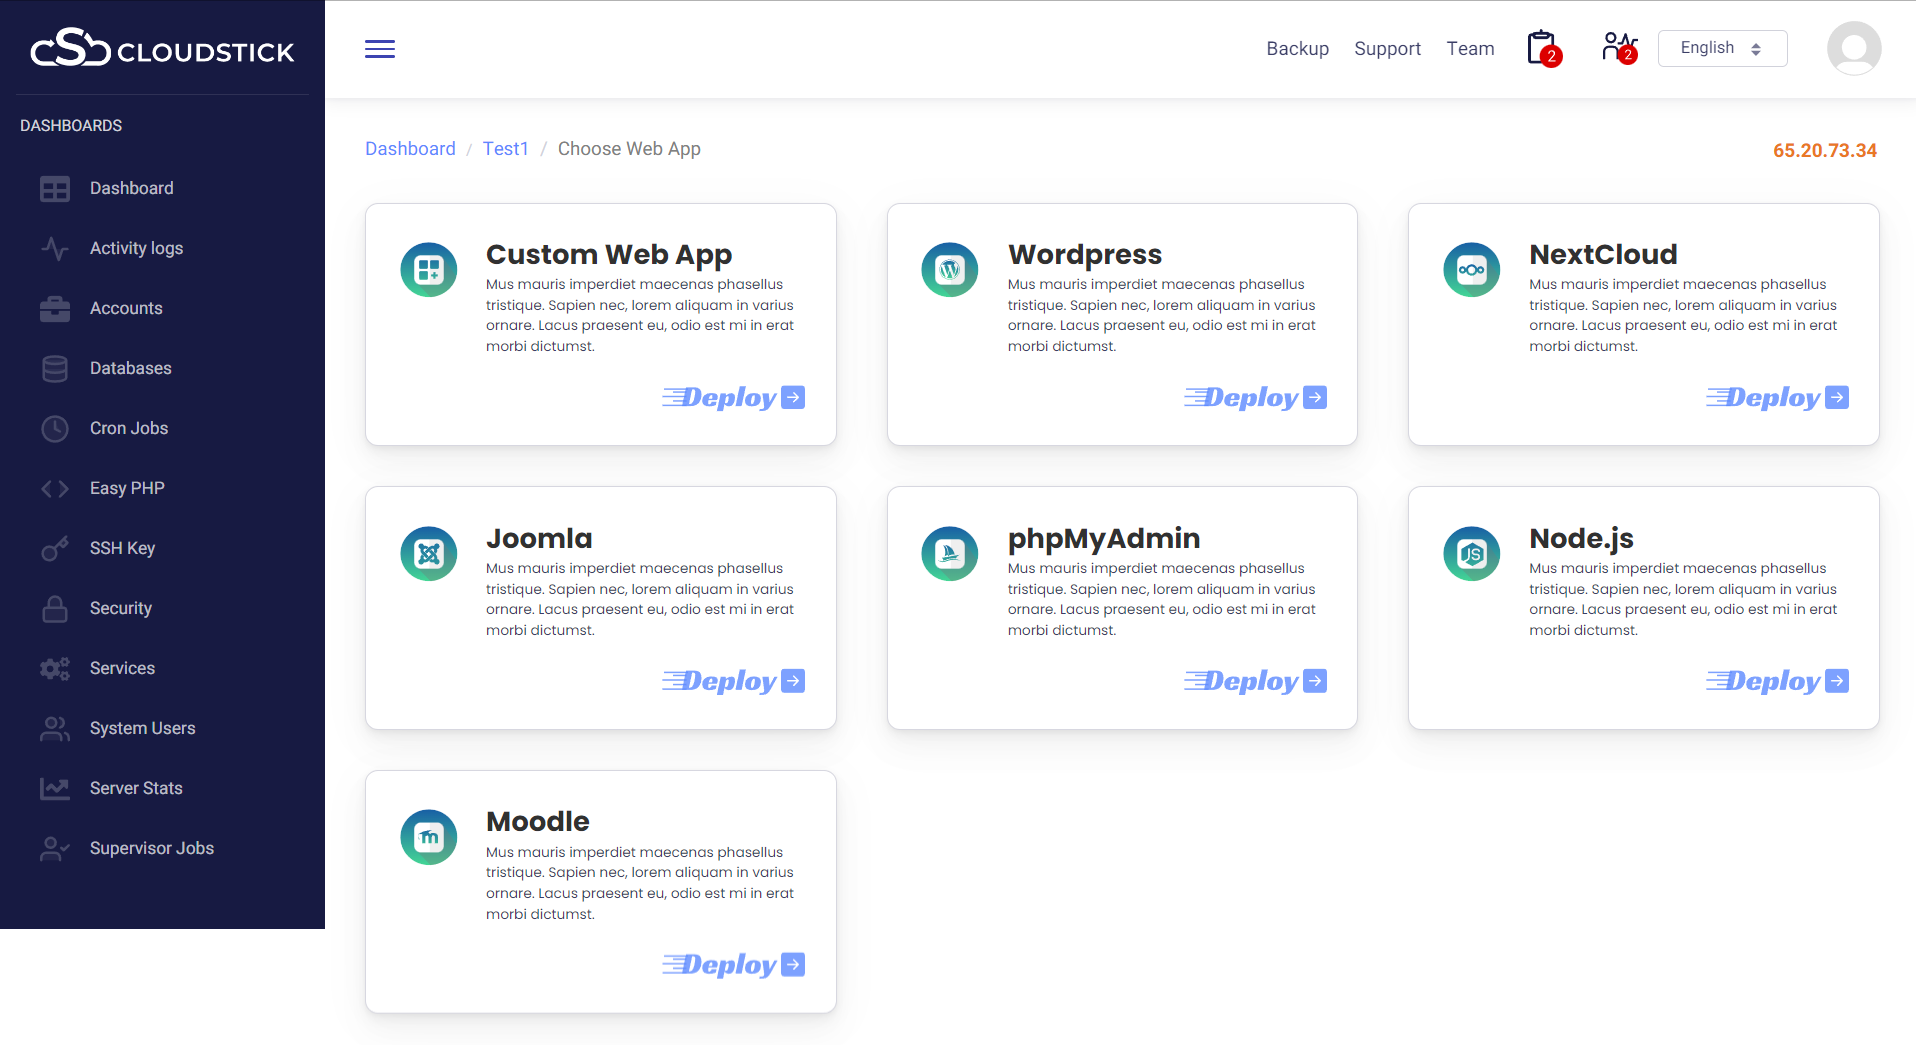
Select the Custom web application from the list.
Fill in the required details.
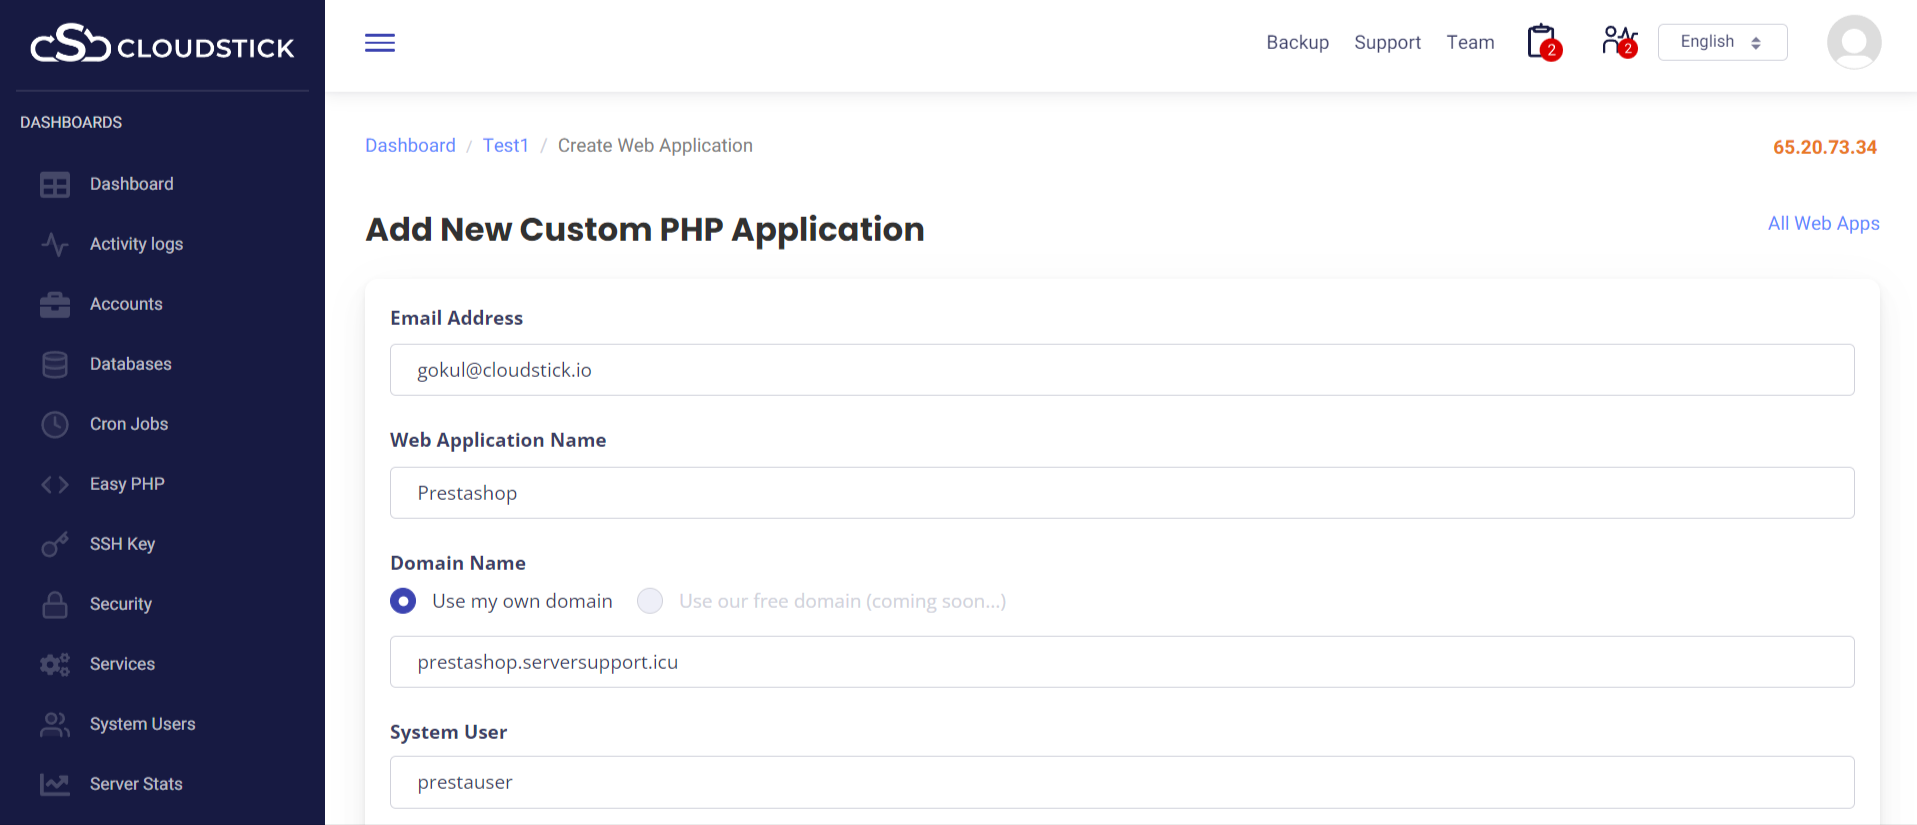
Start with your email address. Provide a valid email address in the specified area.
For the ‘Web application name’, here we are using ‘Prestashop’. You can use any name you like.
For ‘Domain name’, you can use either your own domain or a CloudStick free domain. If you are using your own domain, make sure you configure the DNS record for the same.
Note: If you use your own domain, you can install an SSL Certificate for your website.
Here we are using ‘prestauser’ as the username.
Next is to set a password for the web application, then enter the quota size you want. Here, we are setting it as 1024M (1GB).
We suggest using anything above PHP 7.1 for PrestaShop. Here we are using PHP 7.3.
For ‘Web Application Stack’, choose ‘Nginx + Apache’ which will allow you to use the .htaccess file.
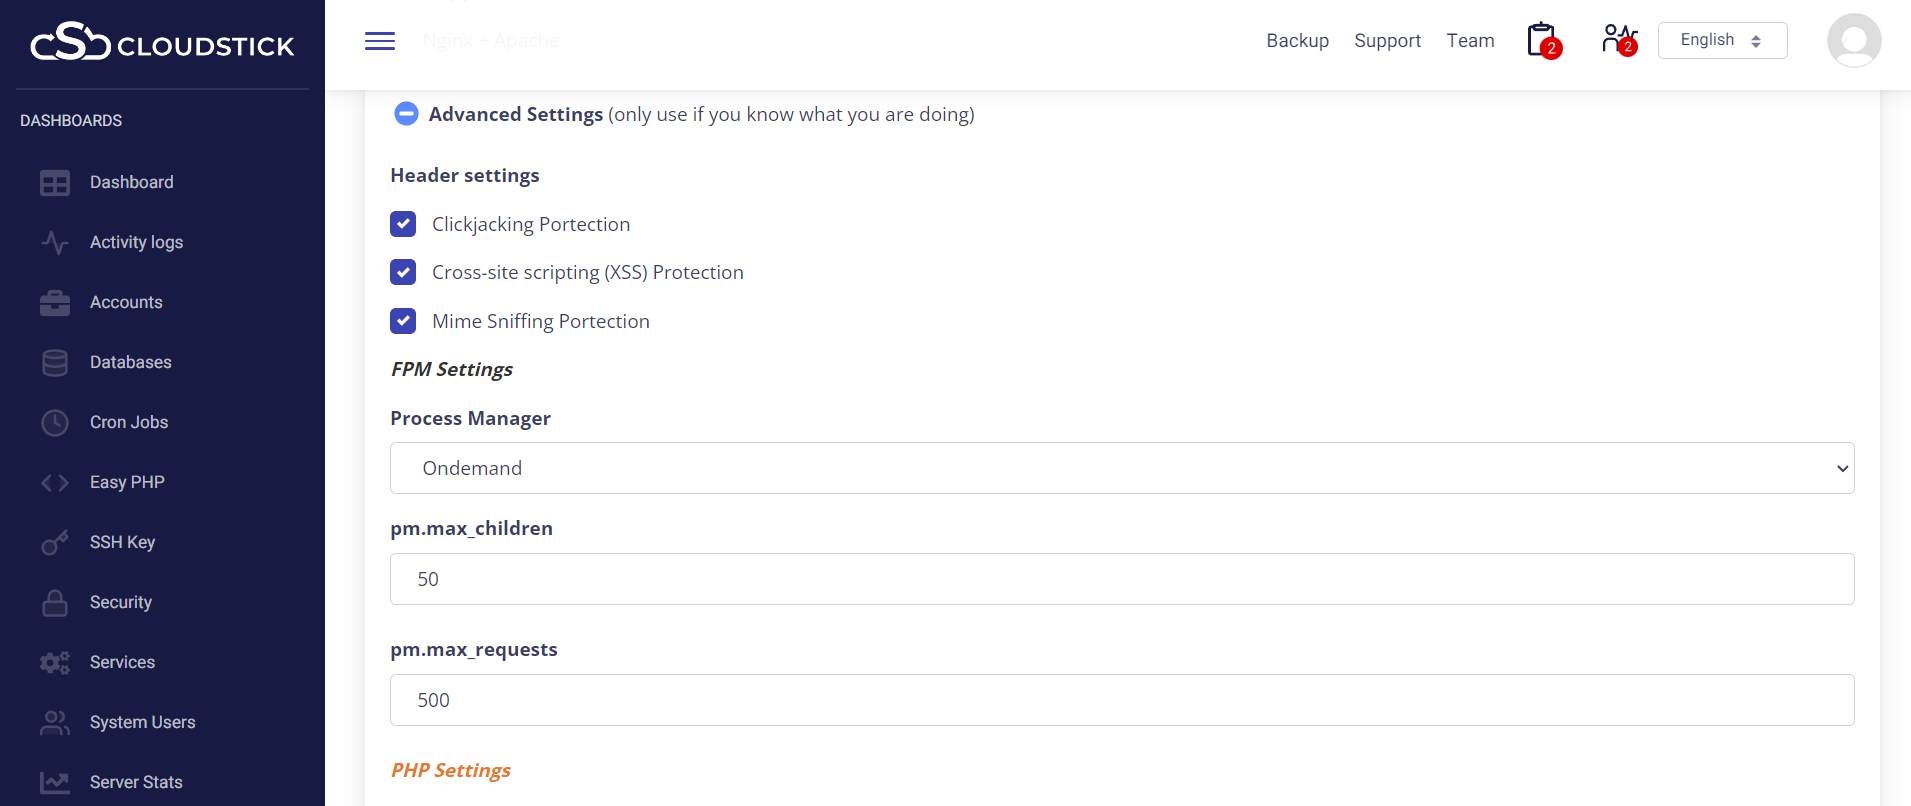
Click the ‘Advanced Settings’ checkbox to configure any extra settings.
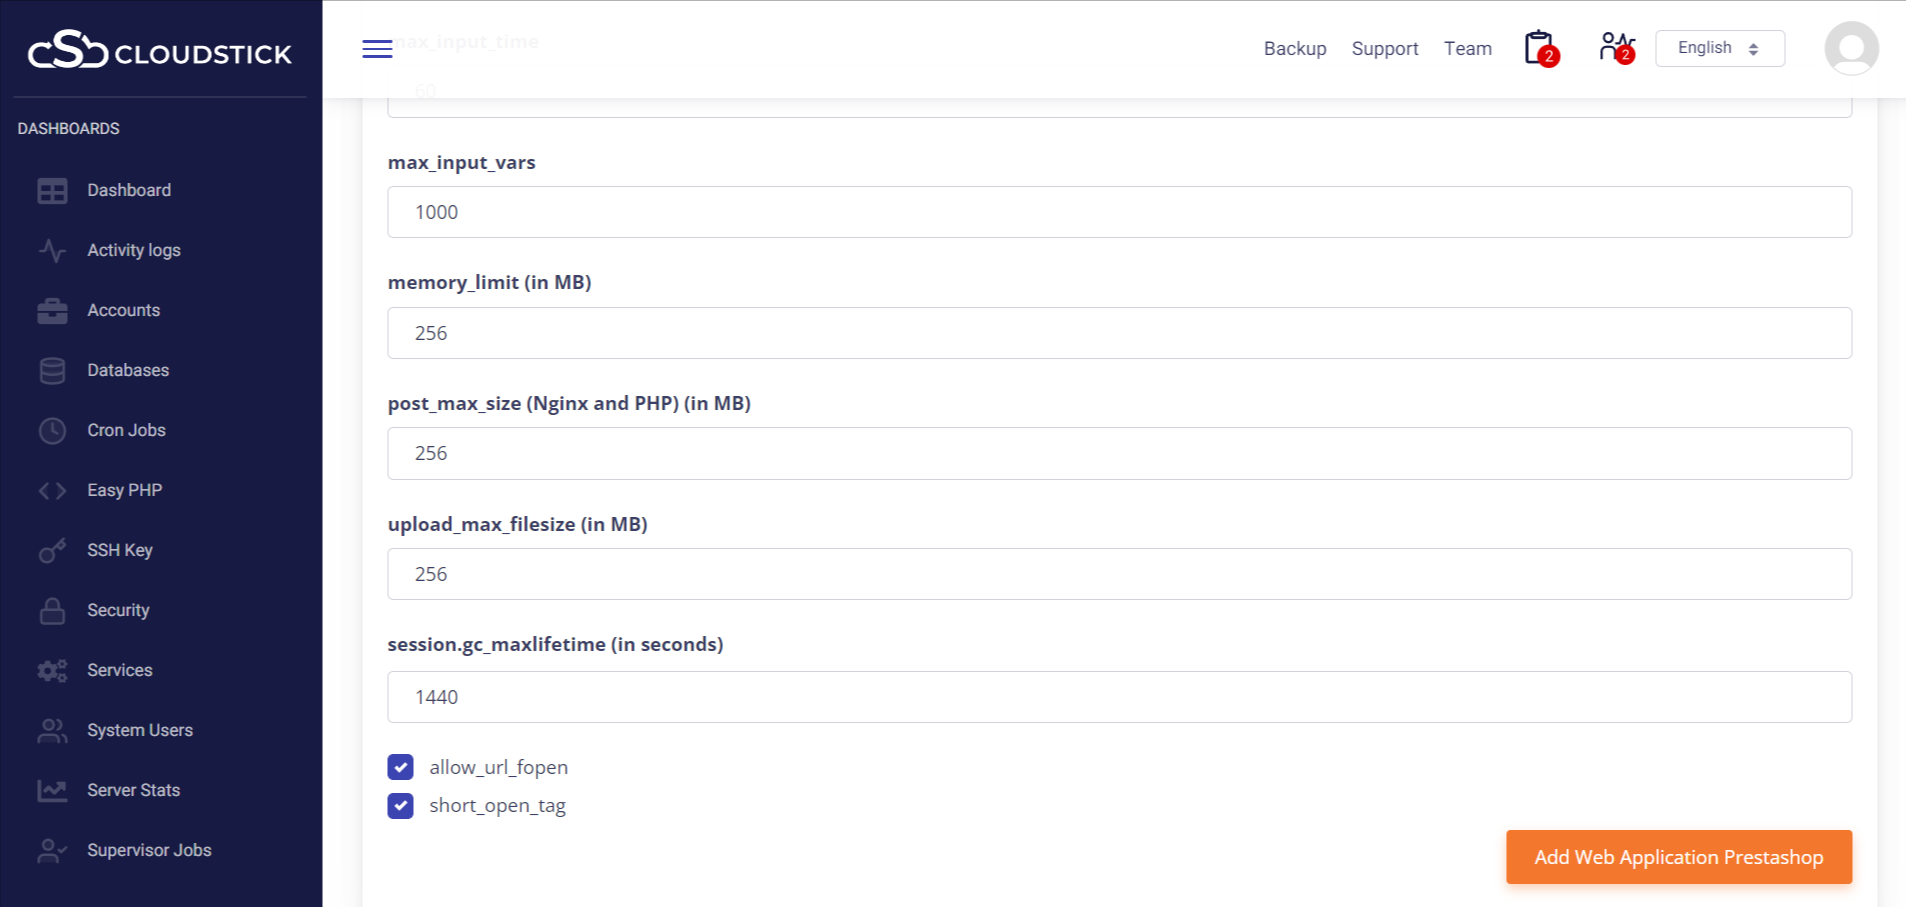
Then click on “Add web application Prestashop”.
Perfect, now we have created a web application for PrestaShop.
Step 3: Database Setup
For PrestaShop, we need to create a database. You can easily do this from the CloudStick dashboard.
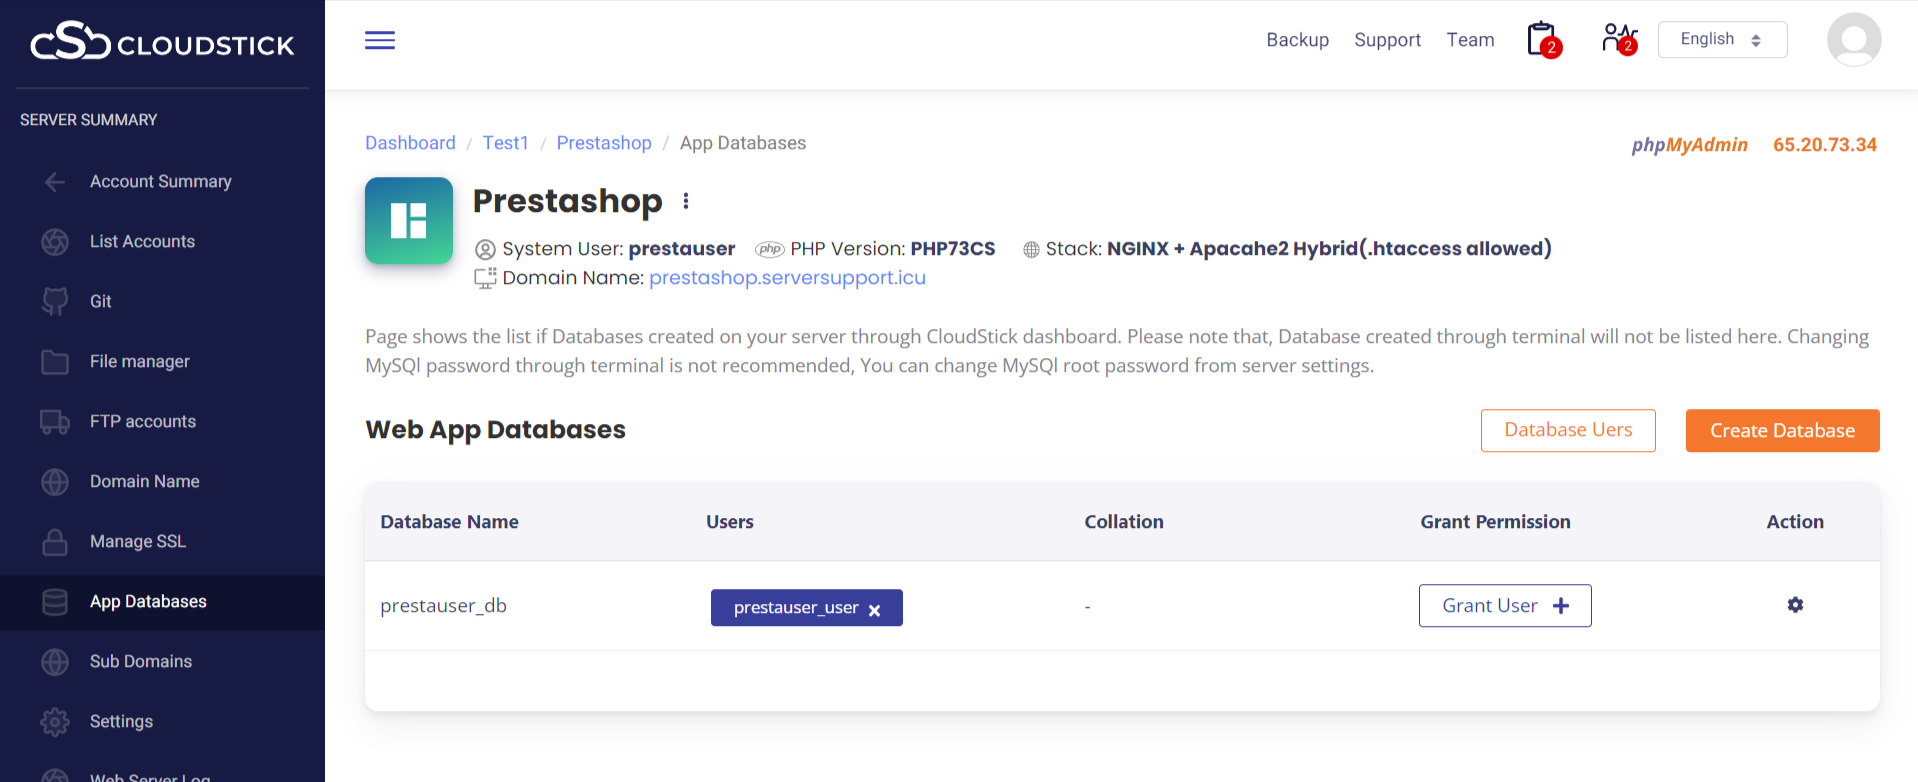
Click on the ‘App Databases’ tab from the side menu. Create a database and a database user.
Then click on the ‘Grant User’ option to connect the user with the database. You can also set a password for the database user from the dashboard.
Here, we have created a database ‘prestashopdb’ and database user ‘prestashopuser’.
Step 4: Install PrestaShop
Here, we are installing PrestaShop via SSH. For this, you need to log in to your server using SSH from either Terminal / Putty (for a Windows PC).
Log in as the system user with which you created the Web application. In this case, it is ‘prestauser’. If you need the password for the system user to log in, you can simply reset it from the ‘System Users’ tab.
If you are using Terminal, you can run the following command to log in to your server. Please do not log in as “root”, to avoid any file/folder permission issue.
ssh <username>@<ipaddress>
Here the <username> is ‘prestauser’’, remember to replace <ipaddress> with your server IP.
Change the working directory to the PrestaShop web application root directory.
cd /home/prestauser/apps/Prestashop
Download PrestaShop. At the time of writing this, the latest version is 1.7.7.1
wget https://download.prestashop.com/download/releases/prestashop_1.7.7.1.zip
Then, extract the downloaded file. We can easily extract the downloaded file from the CloudStick dashboard.
For this, go to ‘File Manager’ under the web application.
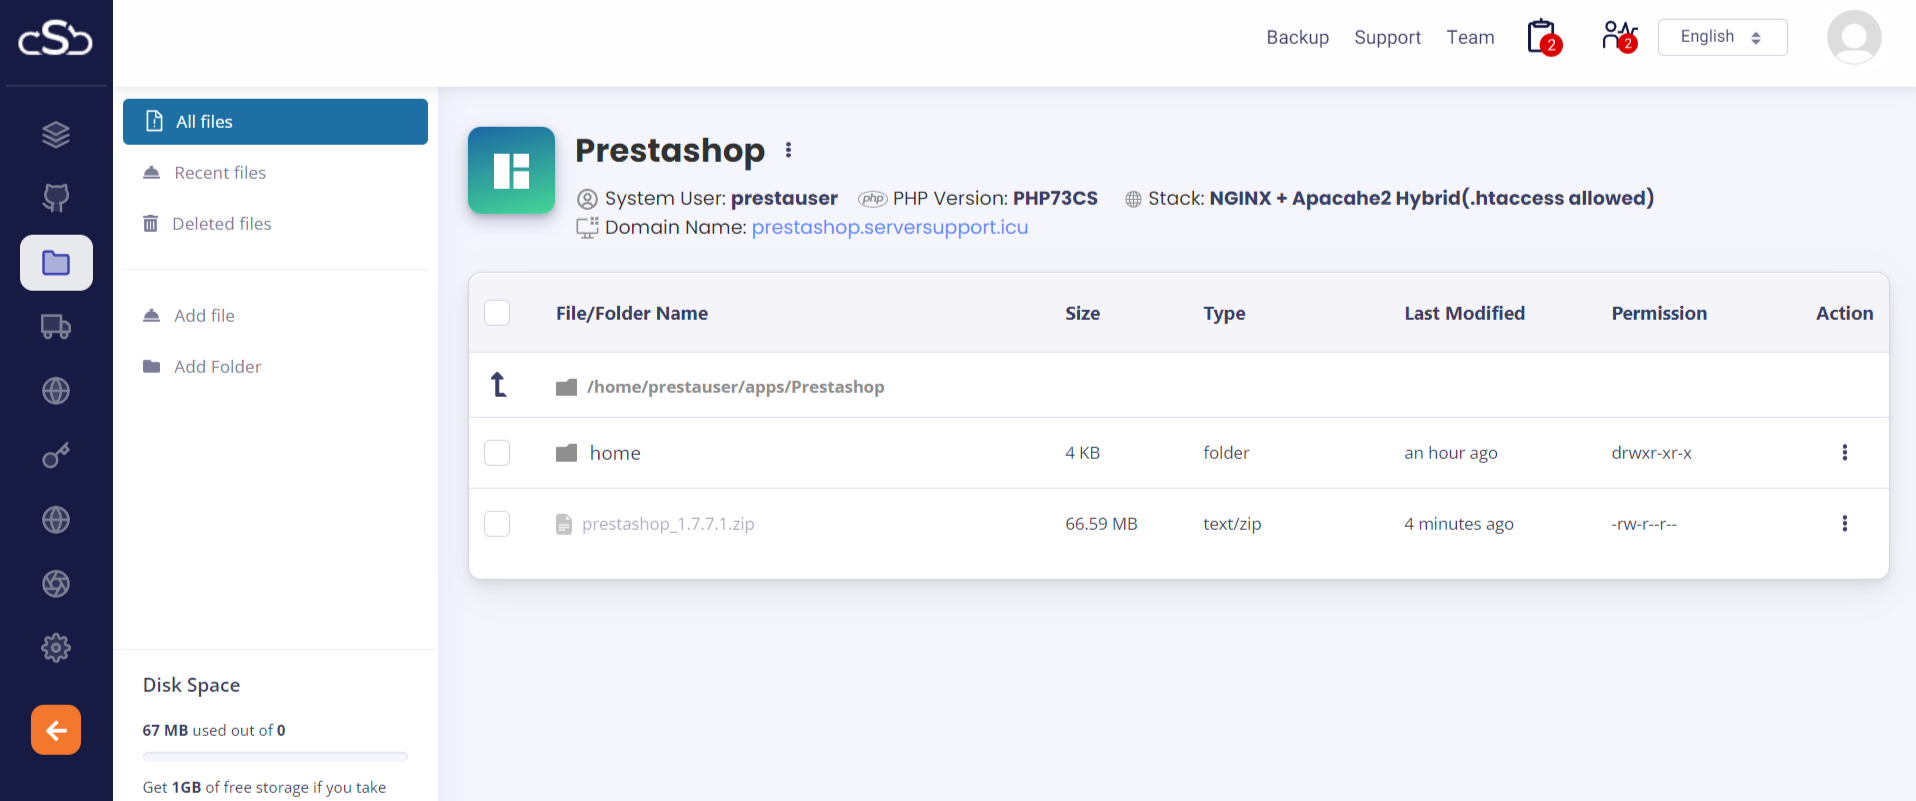
Select the file you want to extract.
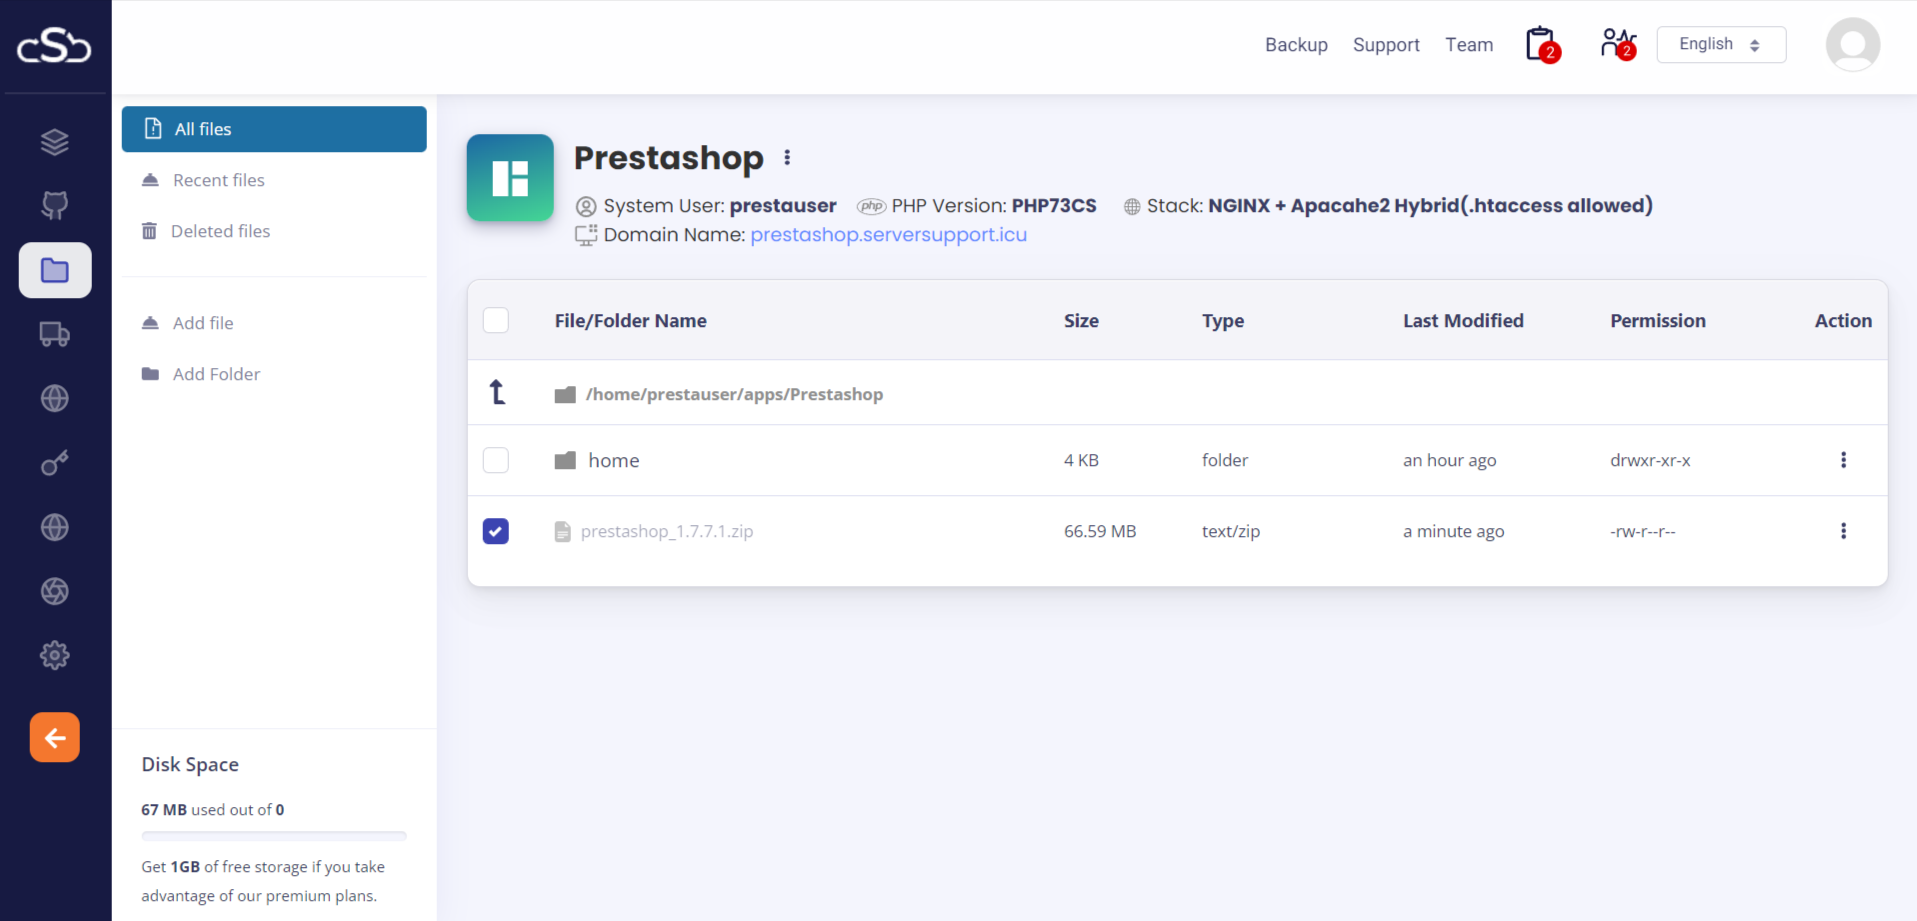
Click on ‘Extract’ from the top menu.
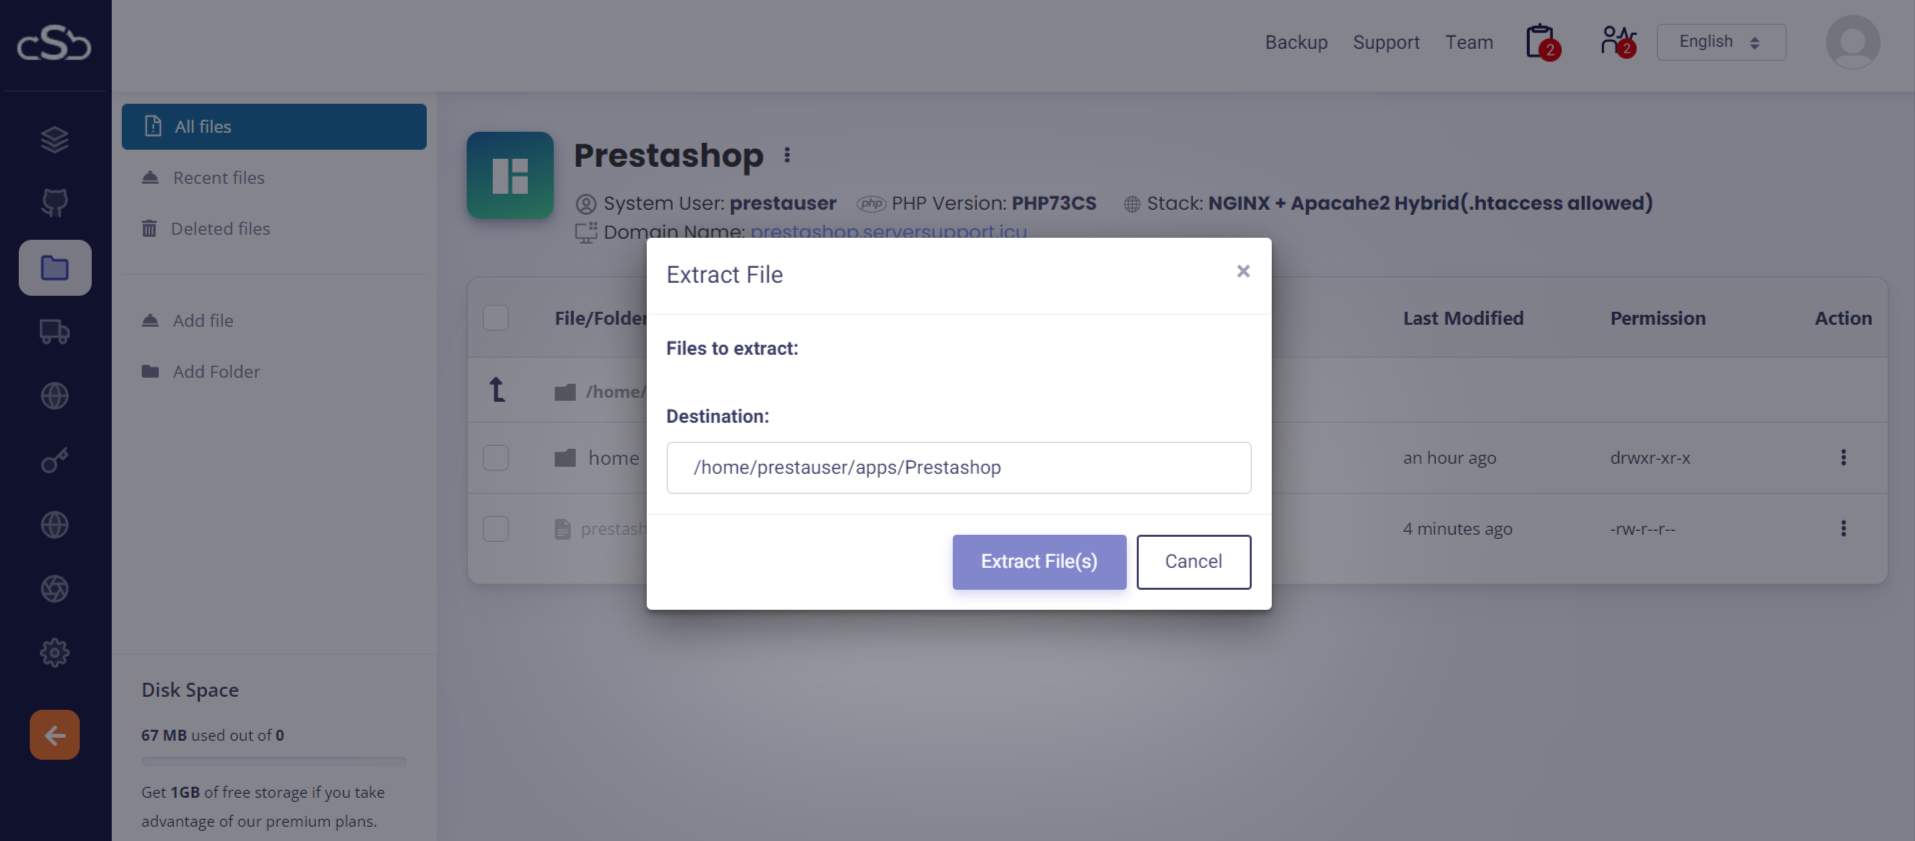
Then, click ‘Extract File’. The file will be now extracted.
Step 5: Complete the Setup Wizard
After downloading and extracting the PrestaShop source code, visit your domain where you installed PrestaShop to proceed further with the installation.
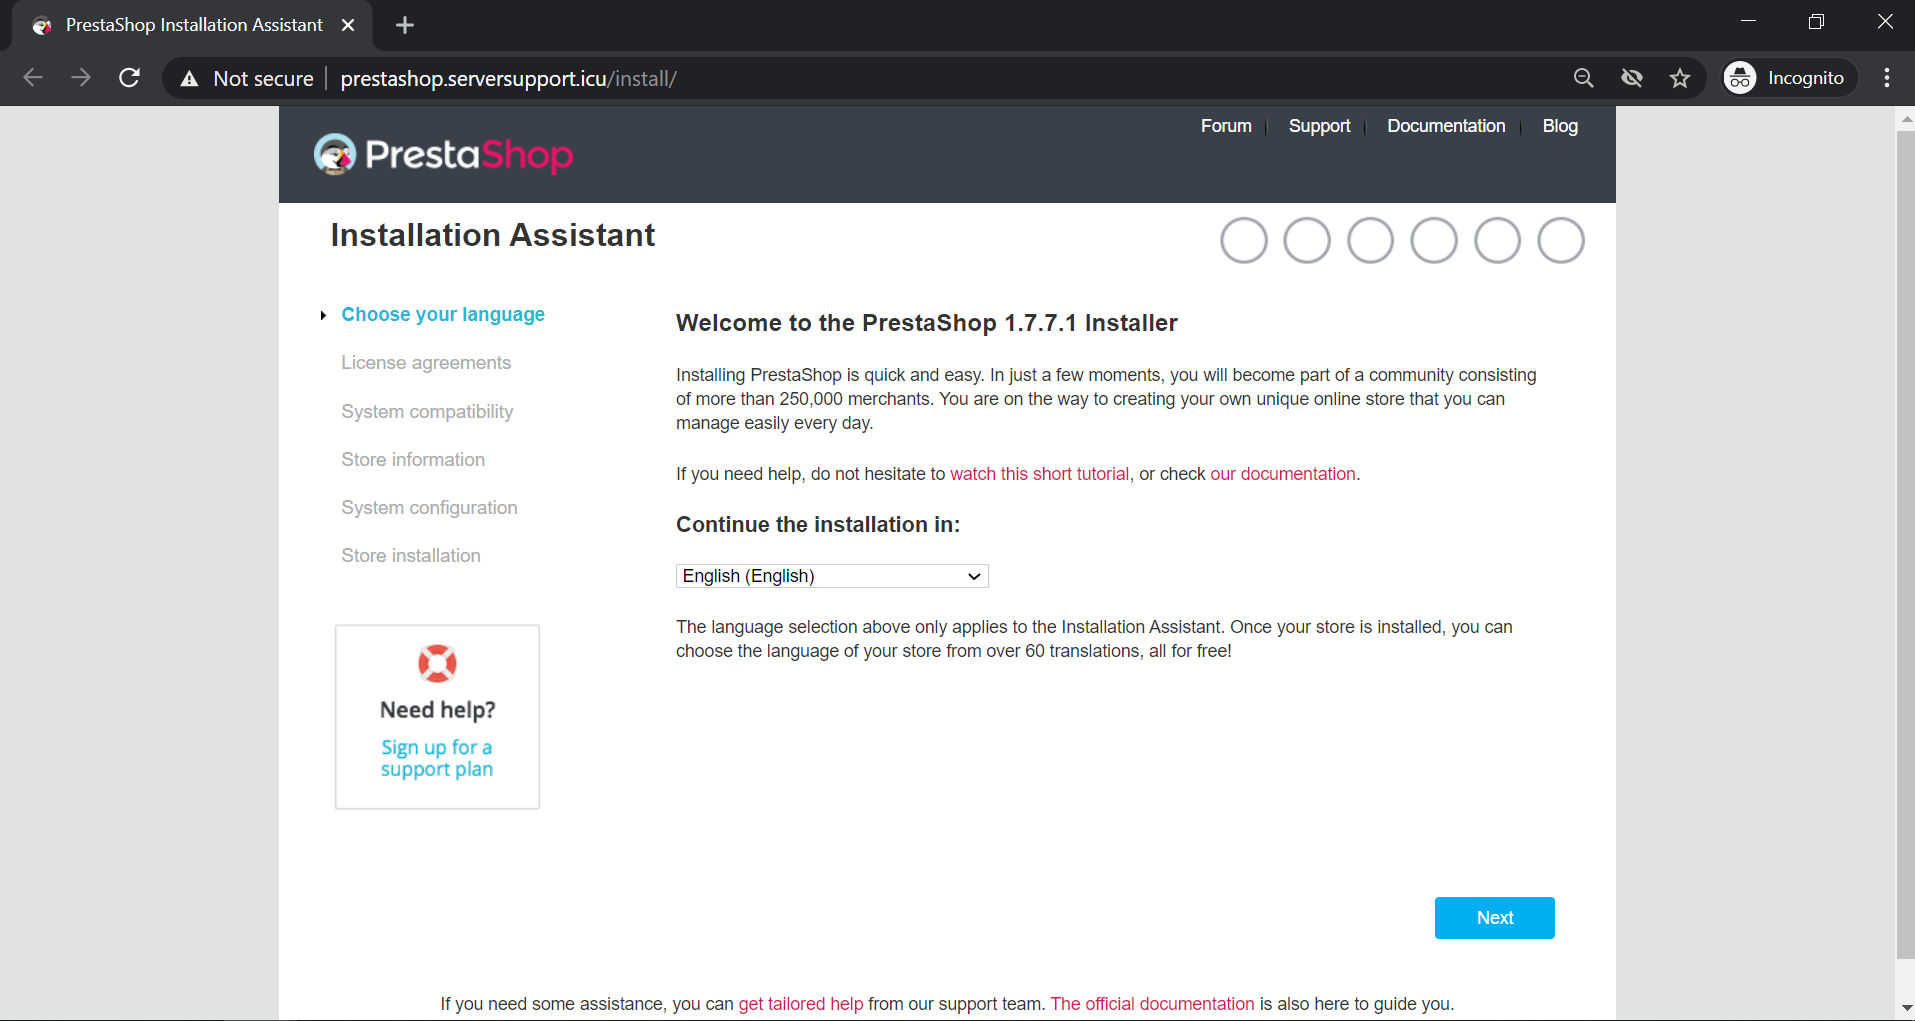
Click ‘Next’ to complete the installation.
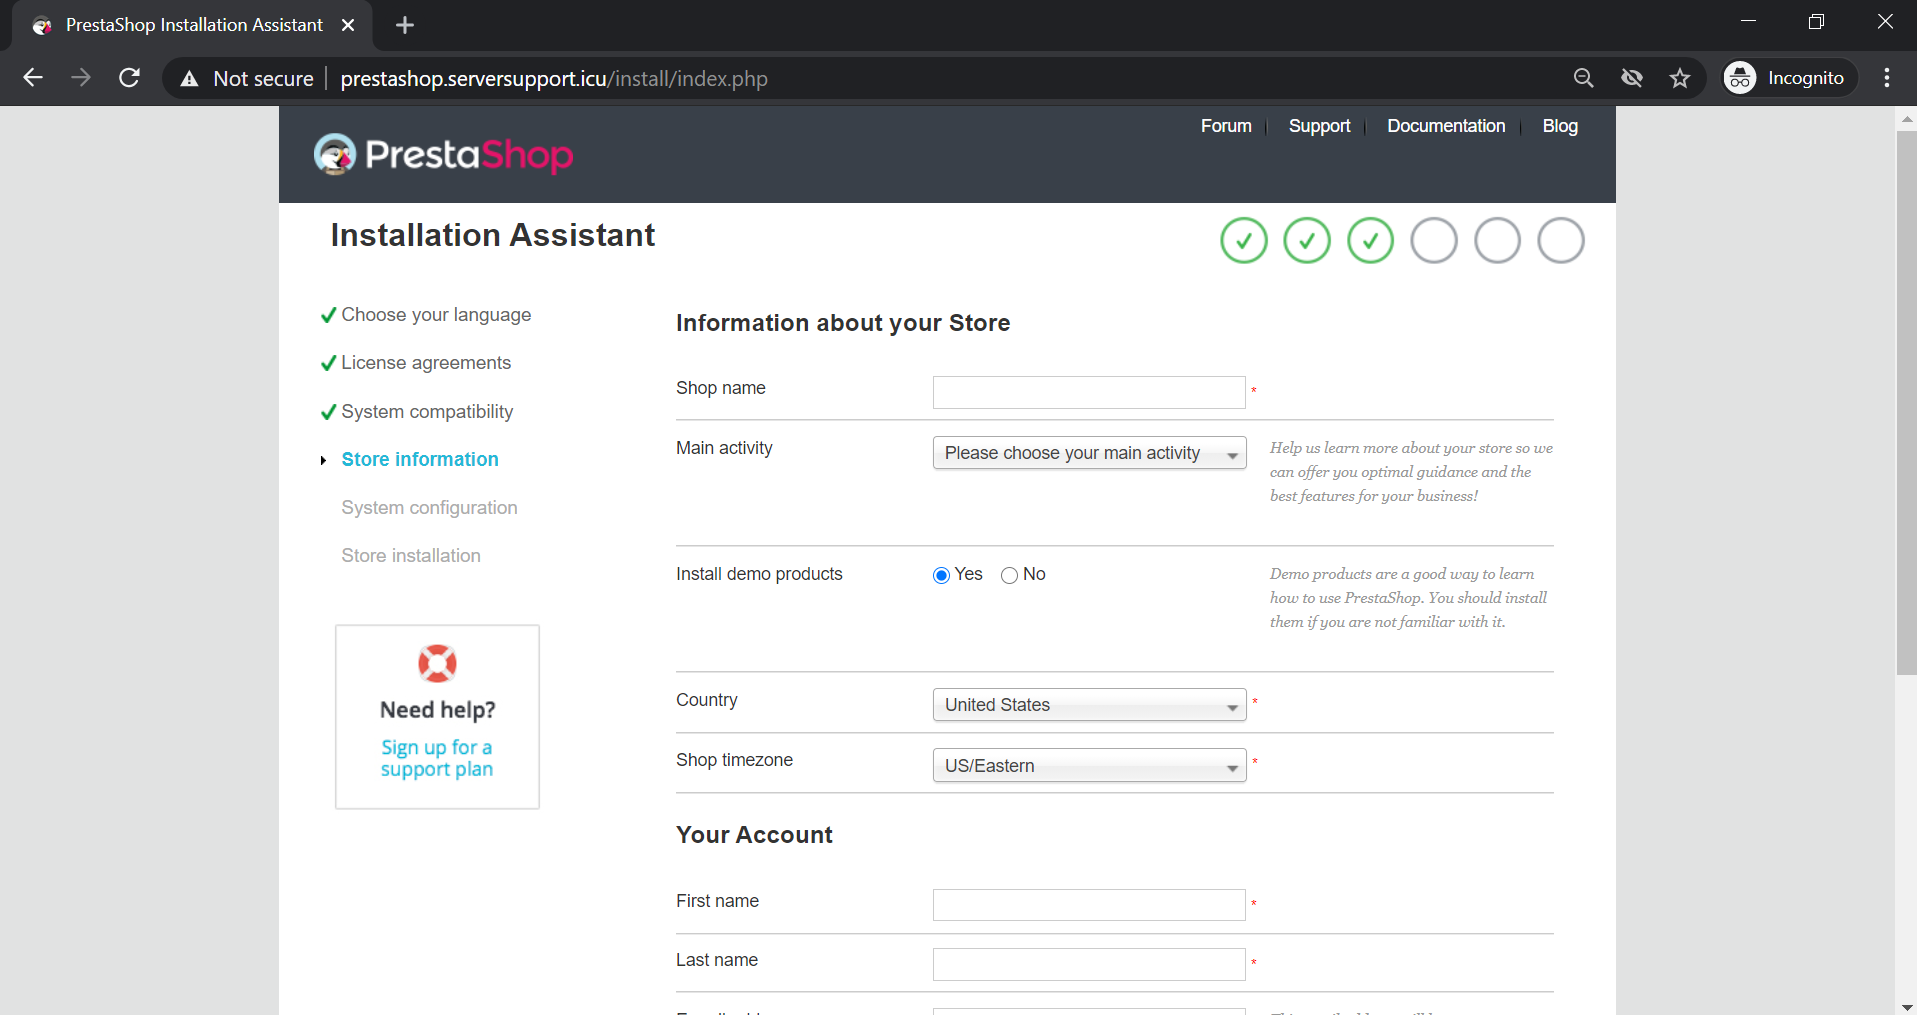
Provide all of the necessary information about your store and then proceed to the next step.
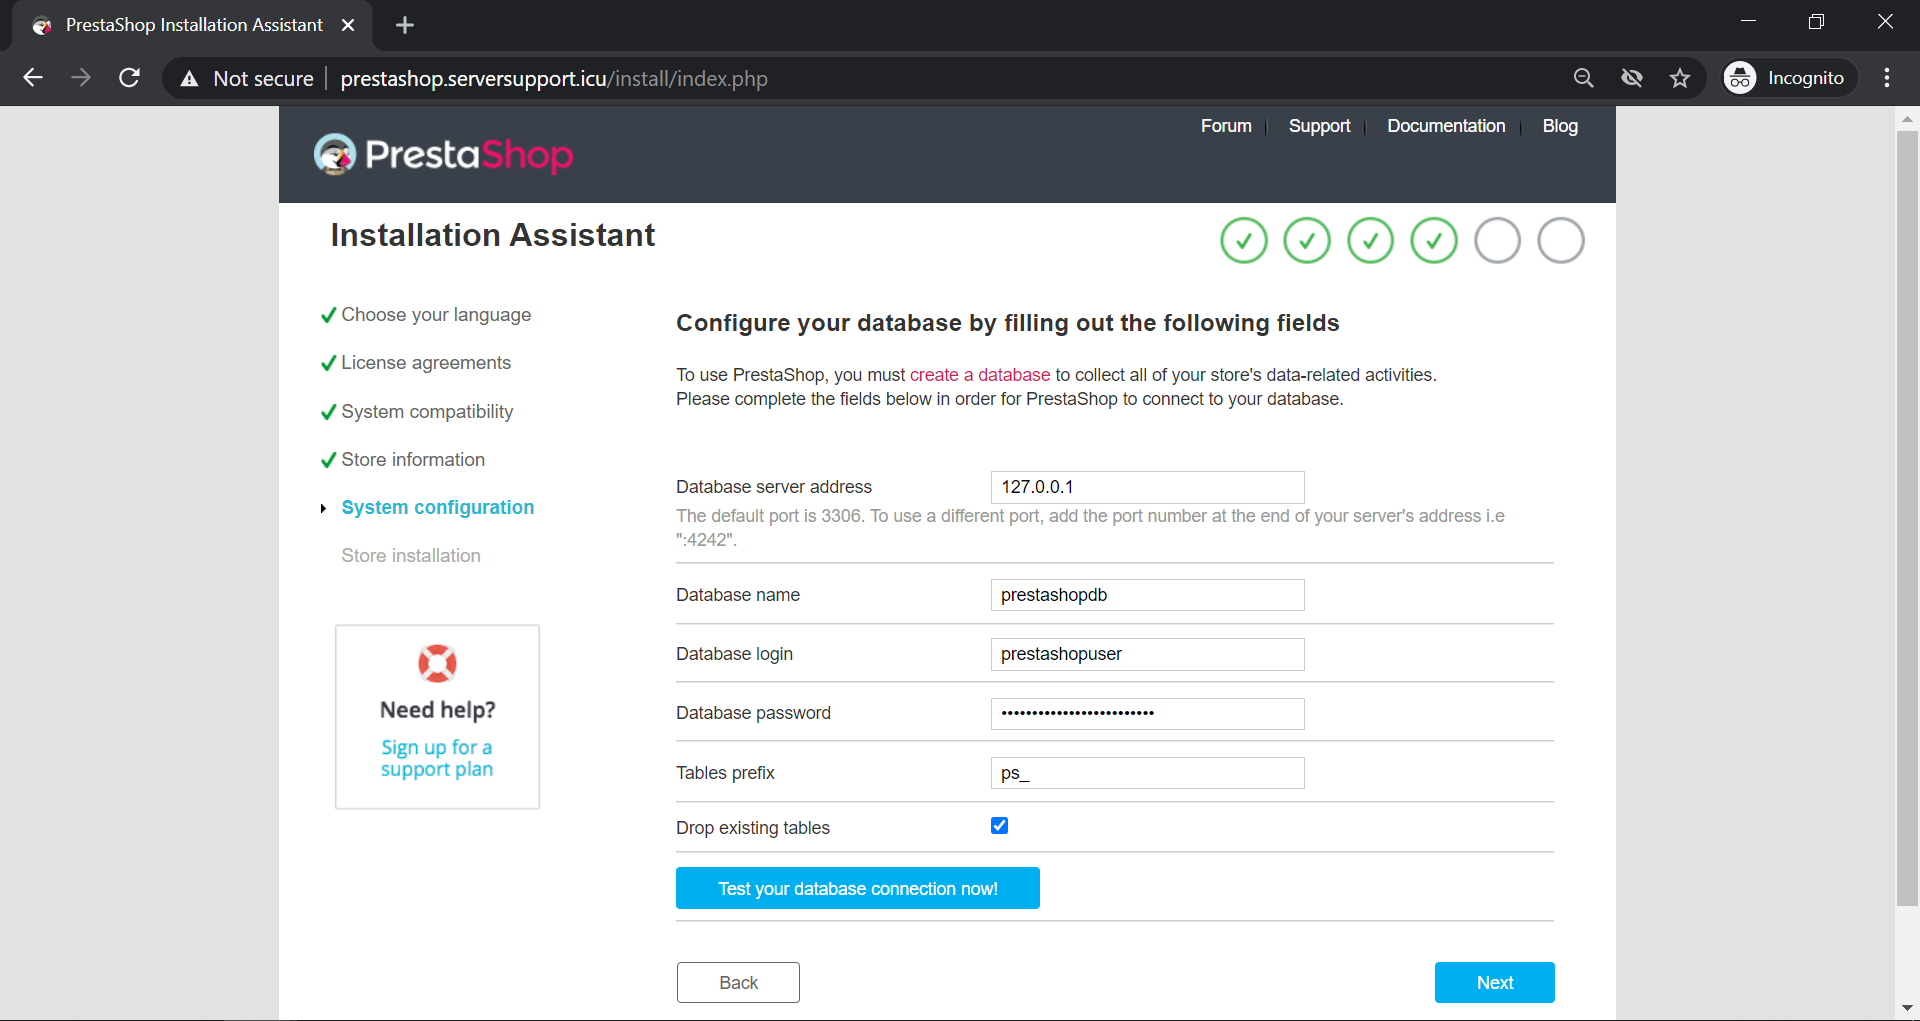
As you proceed through the installer, enter the database name, username, and password you created earlier from the CloudStick dashboard.
That’s it, Prestashop installation is now complete.
When the installer has finished, navigate back to your PrestaShop app’s root folder from the file manager and delete the install folder. For security purposes, this must be done before you configure the store.
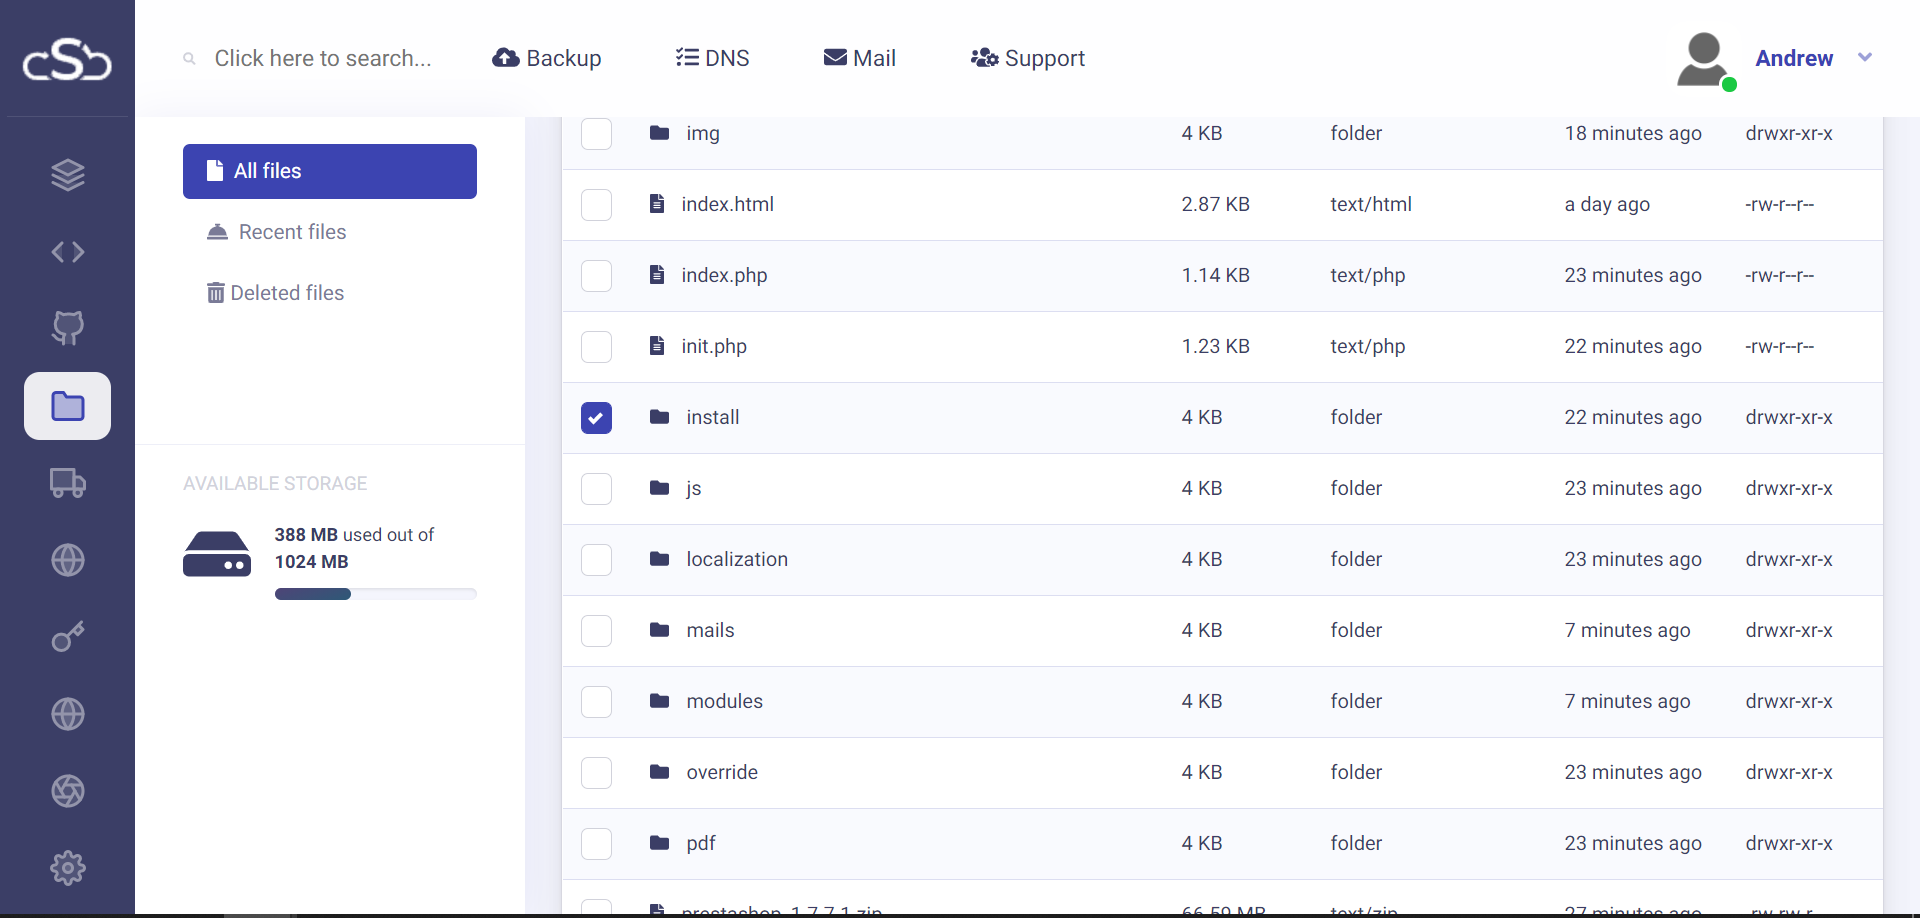
For this, go to ‘File Manager’ under your web app in CloudStick. Select the file and click on the delete icon.
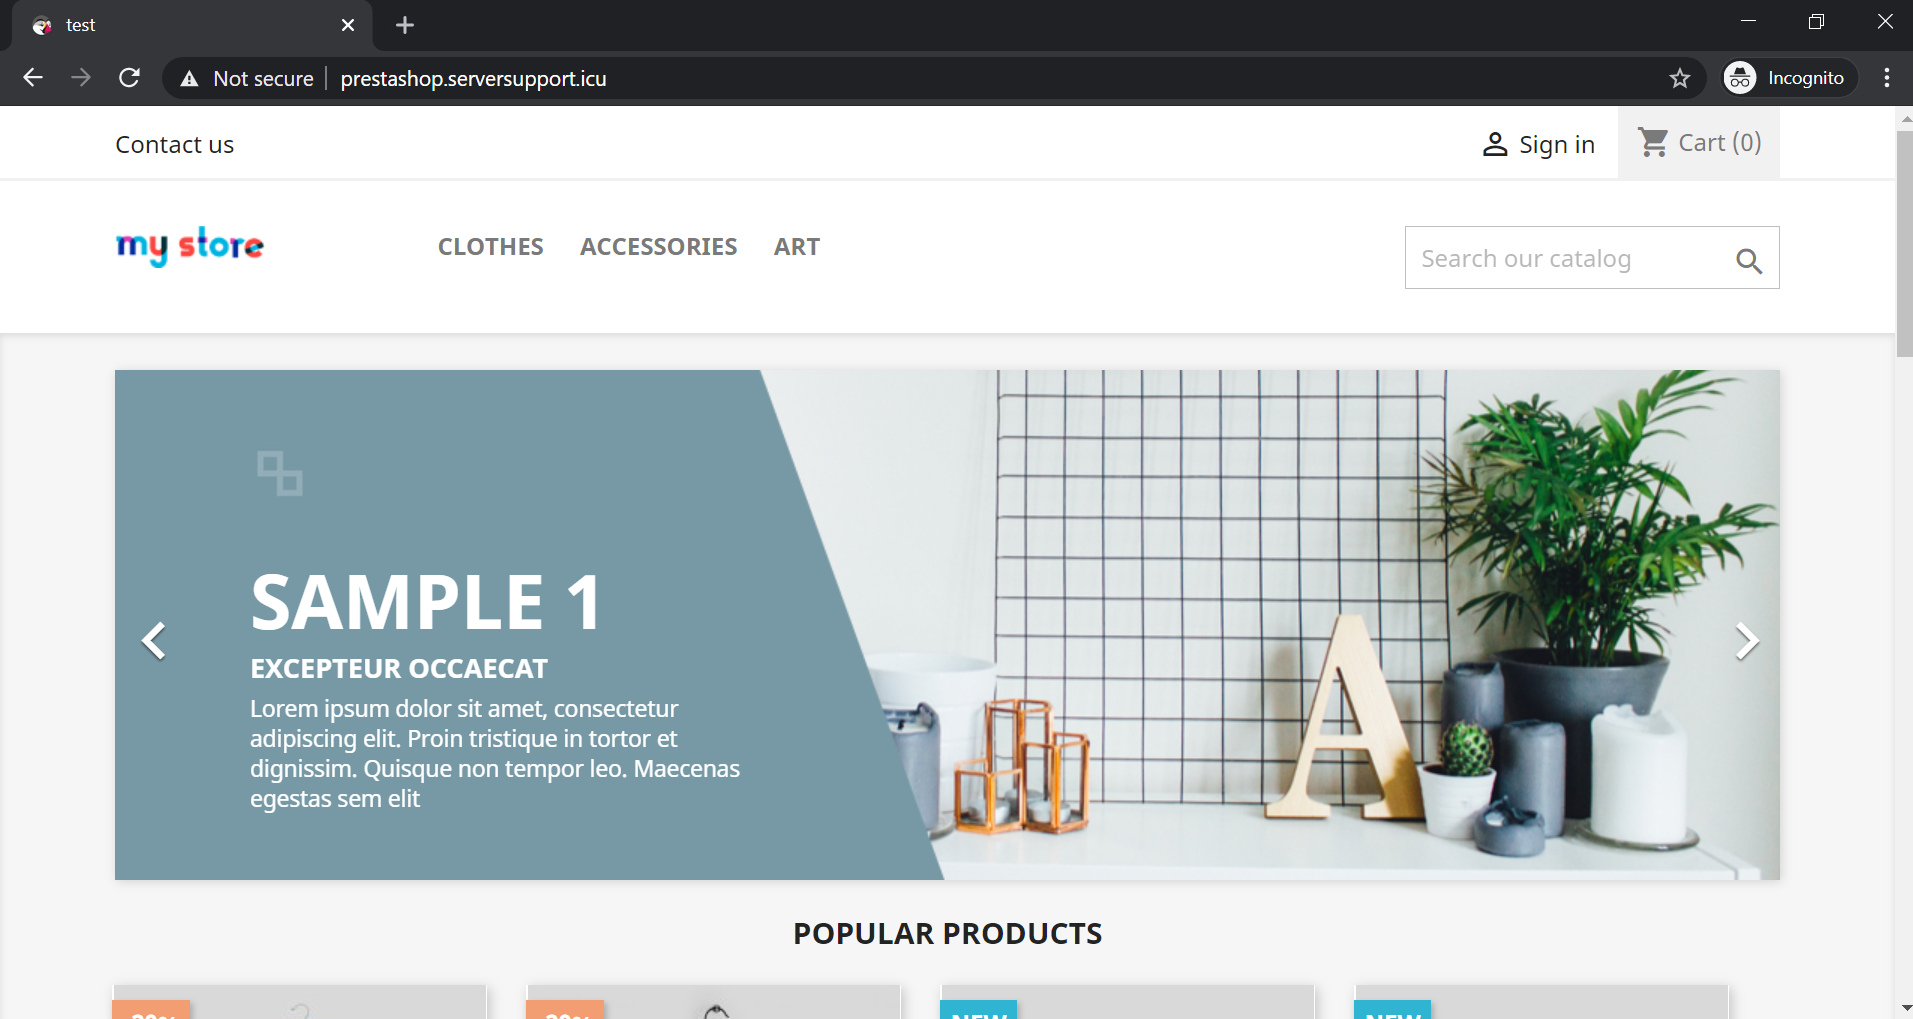
Perfect! Your new PrestaShop is now ready to use.
You may be interested in :

6 Must Know Learning Management Systems of 2024: Why Moodle Tops the List
Learning Management Systems Introduction The digital transformation of education has escalated the need for robust, scalable,…


Exploring the Innovative Features of WordPress 6.5: A Comprehensive Guide
Introduction: WordPress 6.5 marks another milestone in the evolution of the world’s most popular content management…

How to change MYSQL root password from CloudStick dashboard.
Changing Mysql root passwords are easy when it comes to CloudStick, you do have to fill…