How to deploy WordPress with 1-click Installation?

As explained here this is a simple way for users to install WordPress without knowing technicalities such as location of install and users, how to add connect to database, themes and plugins etc. Just click on feature, enter the fields, click submit and you are done. Note: Please ensure the disk quota system is enabled prior to performing this procedure <Hyperlink> Here are the step by step instructions to install WordPress on your web application: Step1: Login to CloudStick dashboard and go to the server: 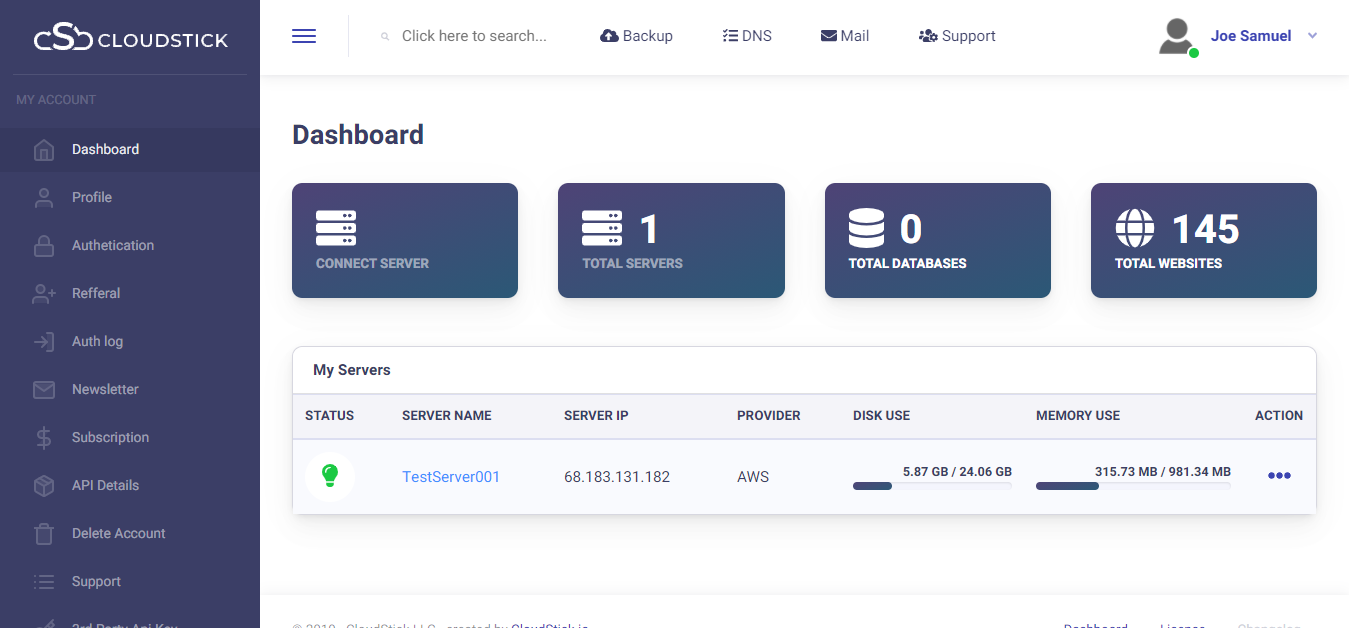 Step2: Click on the server and enter the Server page: You will be able to see the server parameters specified, scroll down and check for the web applications
  Step3: Click on the web application where you will be directed to the page of installation:
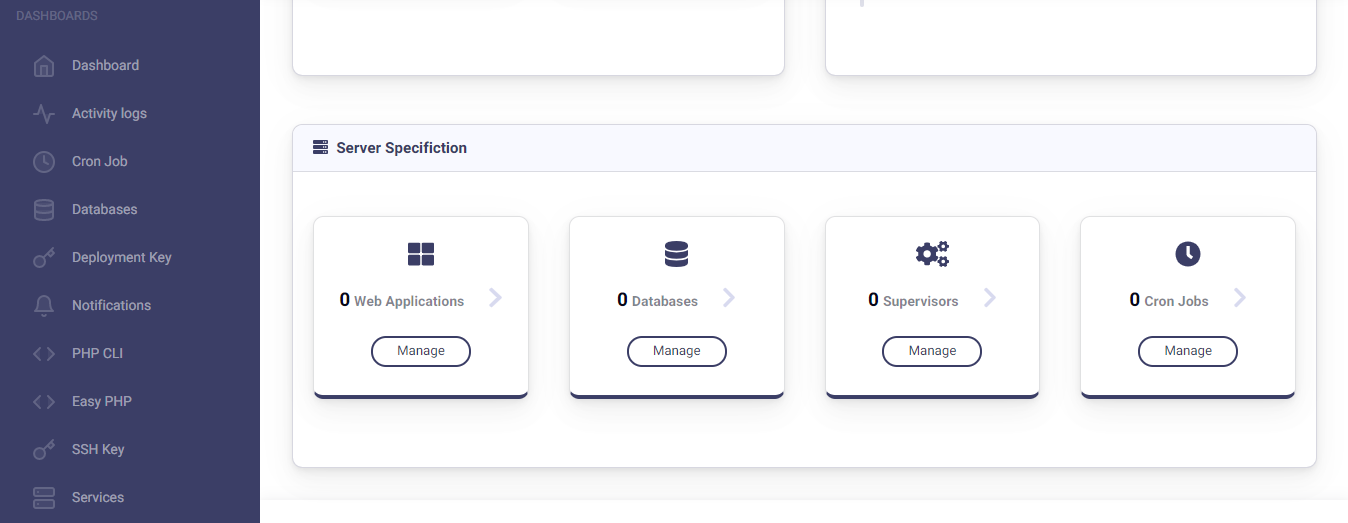
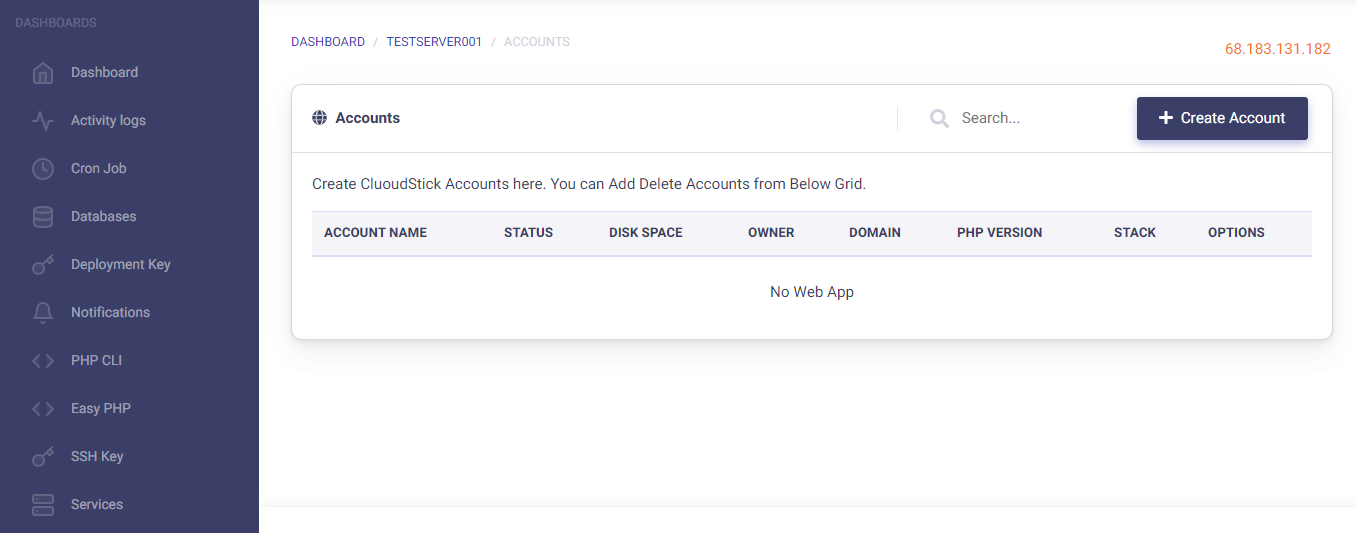 Step4: Click on the “Create Account” so as to create a web application
 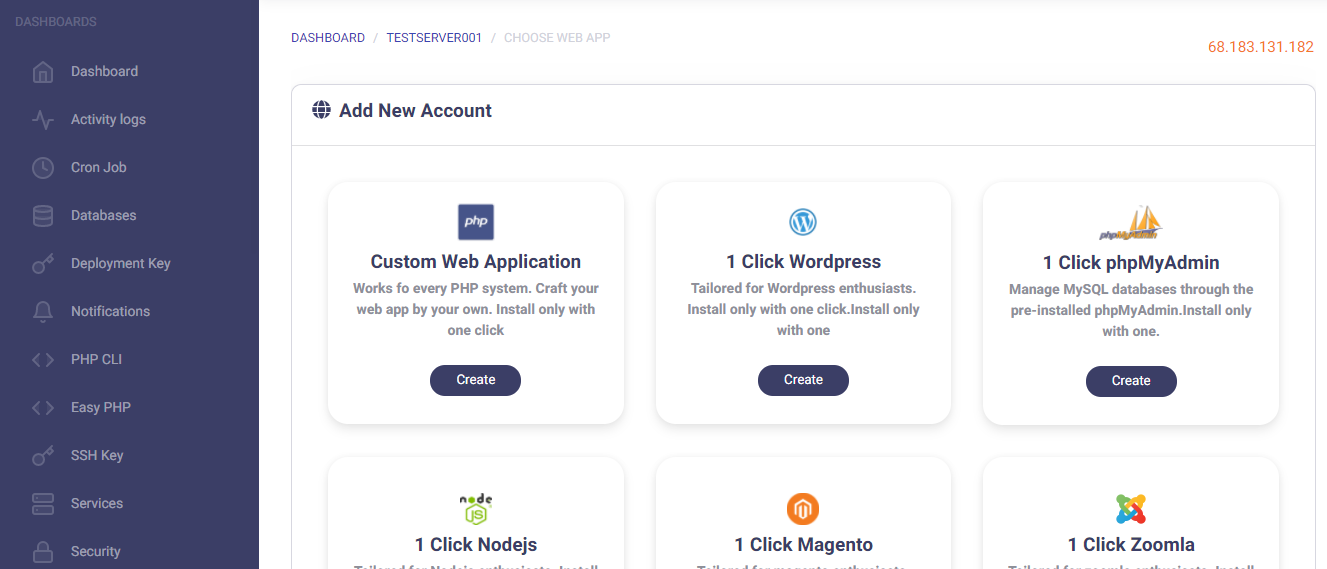 Step5: Click on 1-click WordPress installation:
  Step6: All you would require is to enter the relevant details and preferences
 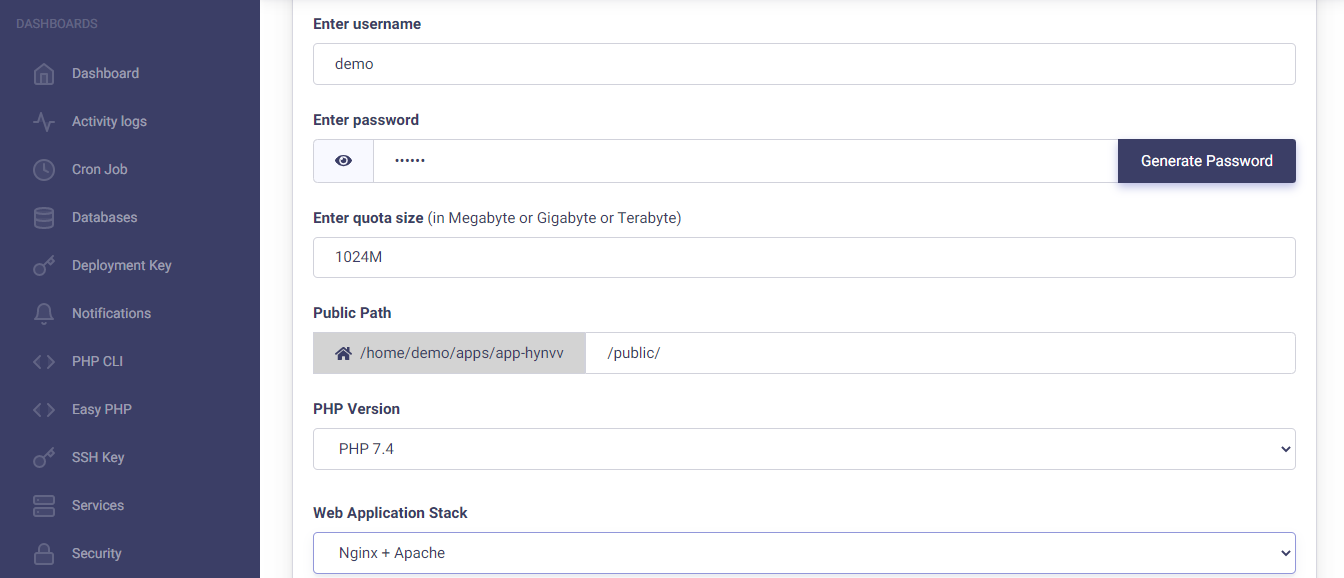 further scrolling down
 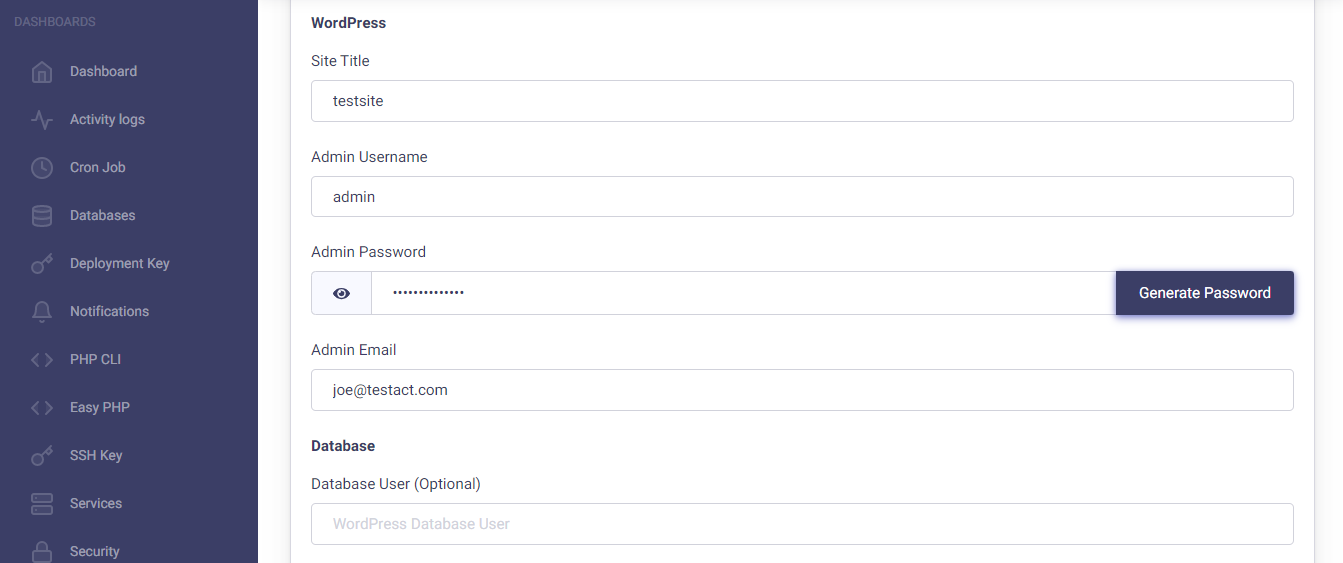 Step 7: This is the final step as you can click on the “Add web application” button to create the web application.
 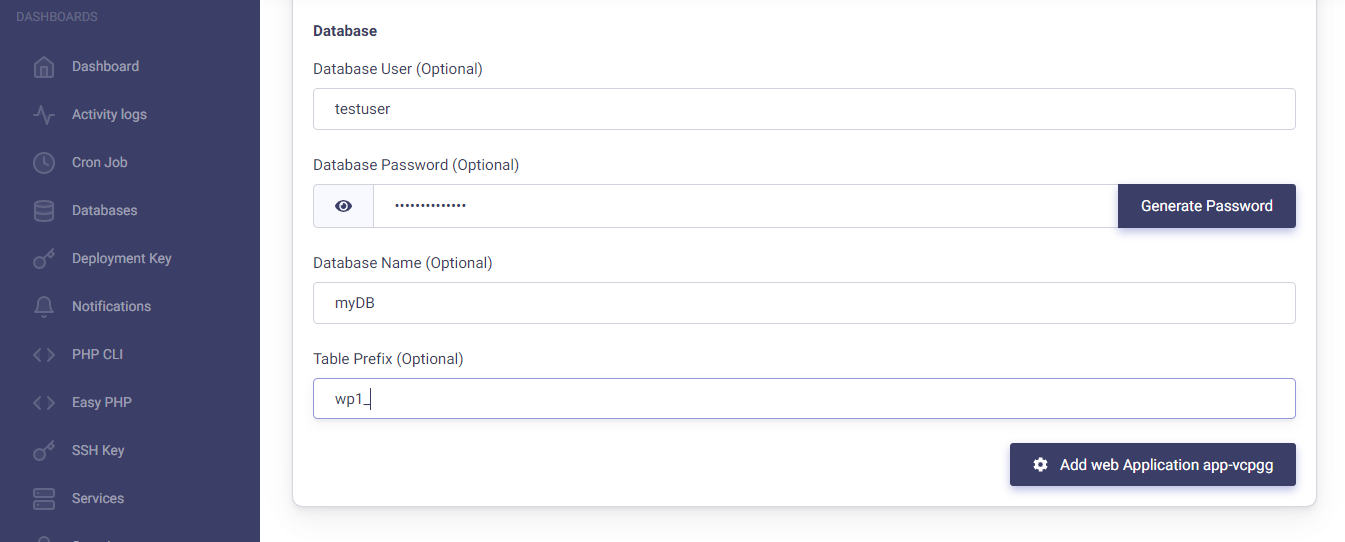 Once clicking the button, wait for a few moments- you will be directed to the page listing web applications: You can access the web app by simply clicking on the domain name.
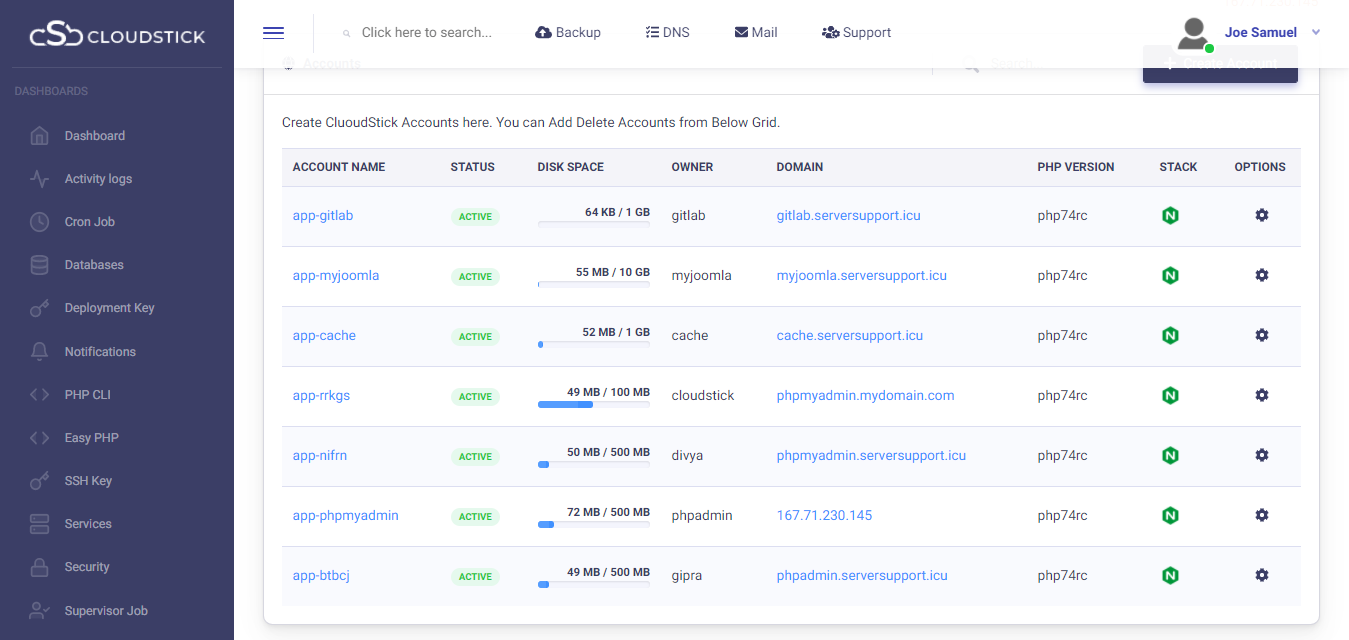
You may be interested in :

6 Must Know Learning Management Systems of 2024: Why Moodle Tops the List
Learning Management Systems Introduction The digital transformation of education has escalated the need for robust, scalable,…

Exploring the Innovative Features of WordPress 6.5: A Comprehensive Guide
Introduction: WordPress 6.5 marks another milestone in the evolution of the world’s most popular content management…

How to change MYSQL root password from CloudStick dashboard.
Changing Mysql root passwords are easy when it comes to CloudStick, you do have to fill…