How to setup an AWS Lightsail server to Host your websites

Step 1: Sign in to your AWS console.
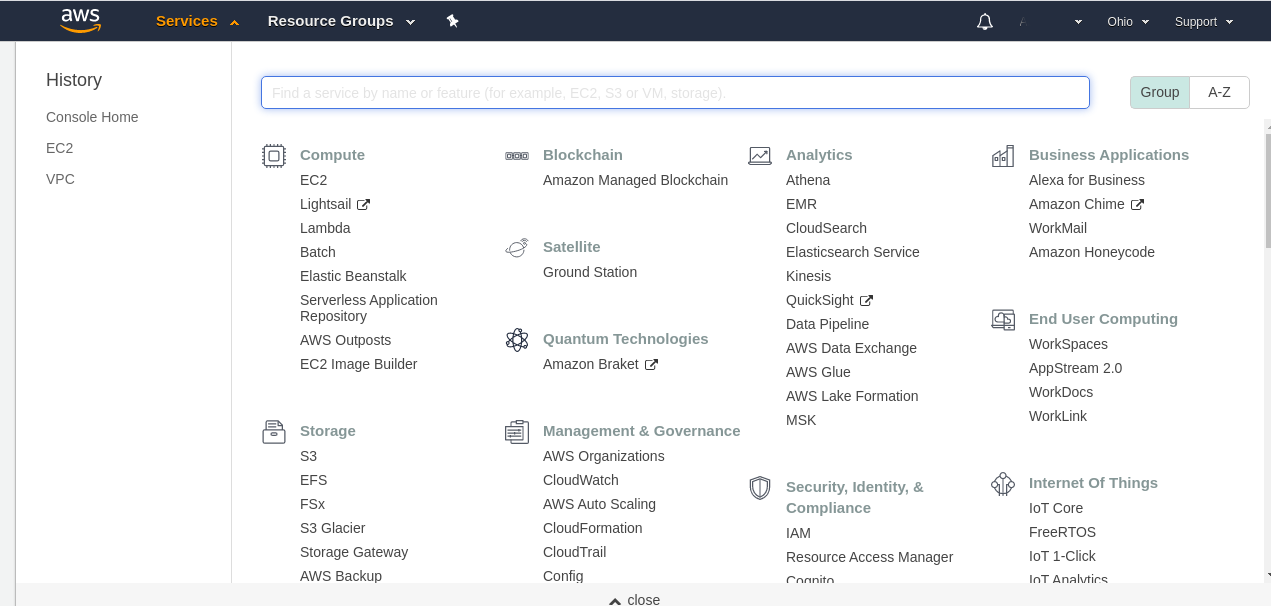
Step 2: You will see the main console after successful login to AWS and will be able to check out all the list of services offered by AWS
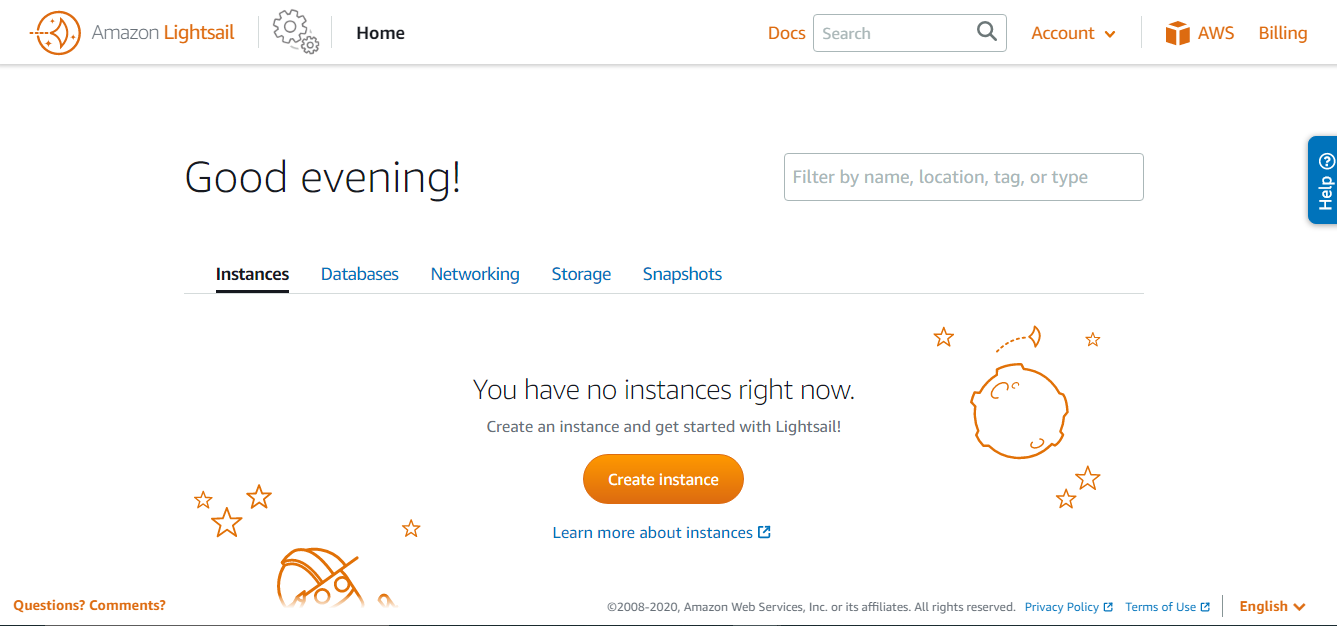
Step 3: Choose LightSail for this purpose. This is very easy to follow and without any complications, we can proceed further.
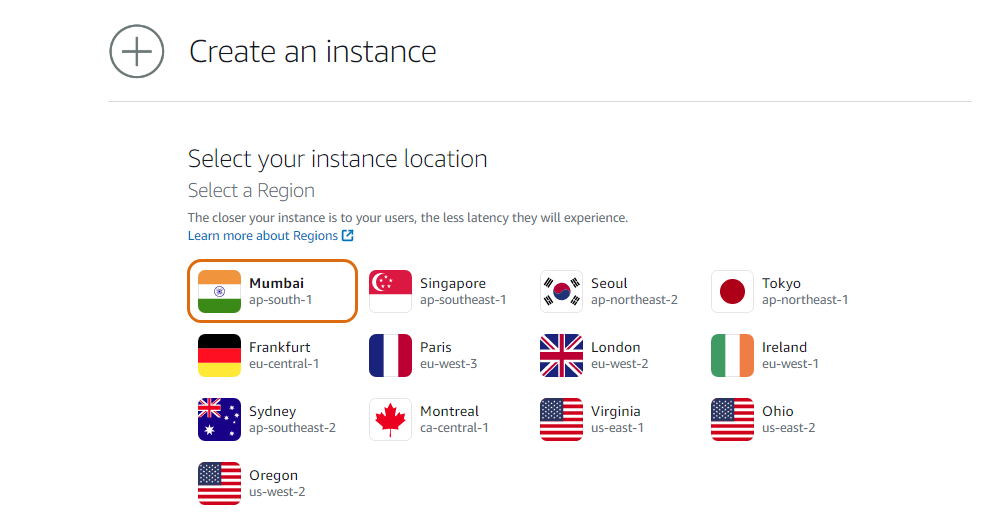
Step 4: You can start by clicking Create instance, you will be asked to select the region. Please choose the nearby region for better results
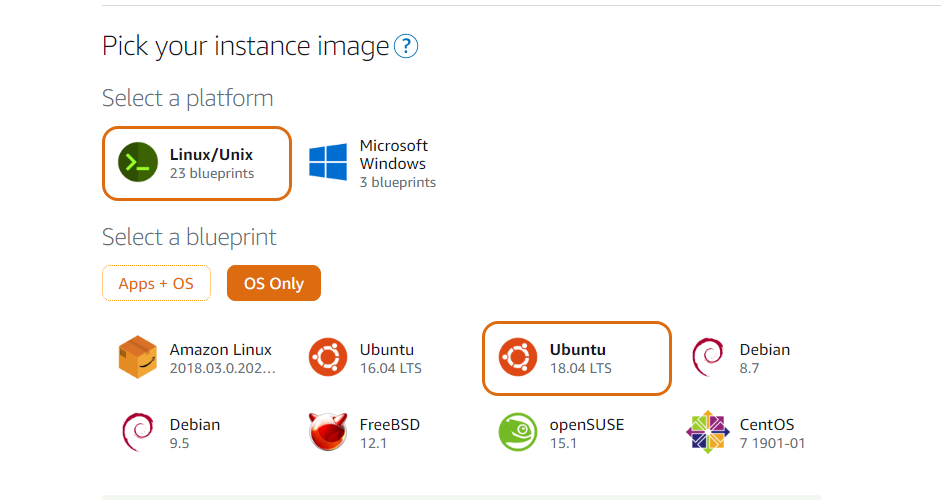
Step 5: Here we choose the OS image, please choose Ubuntu 16.04/18.04 LTS
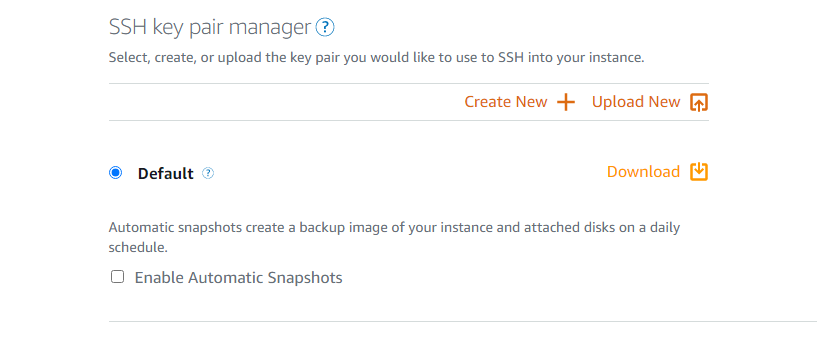
Step 6: You can create SSH key pair if you want, and download it and keep it safe. This is optional
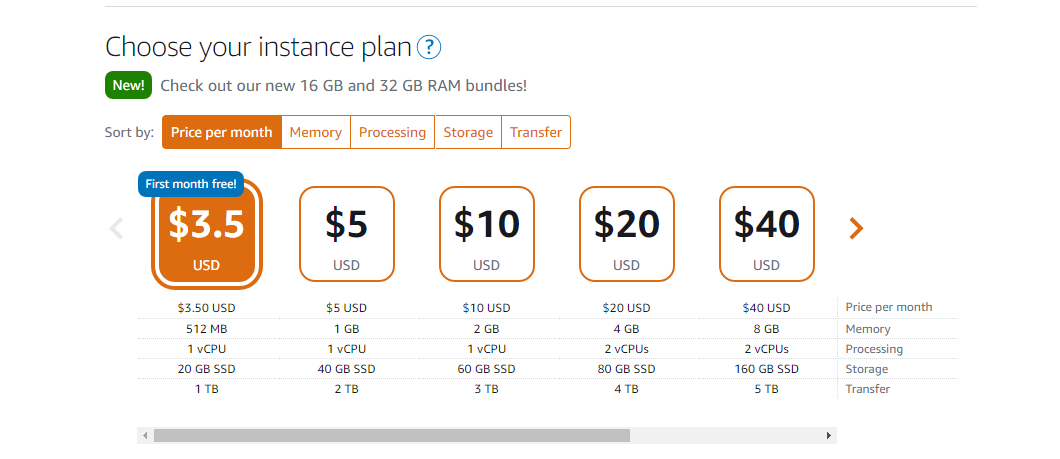
Step 7: Select your appropriate instance plan and proceed with the configure instance details:
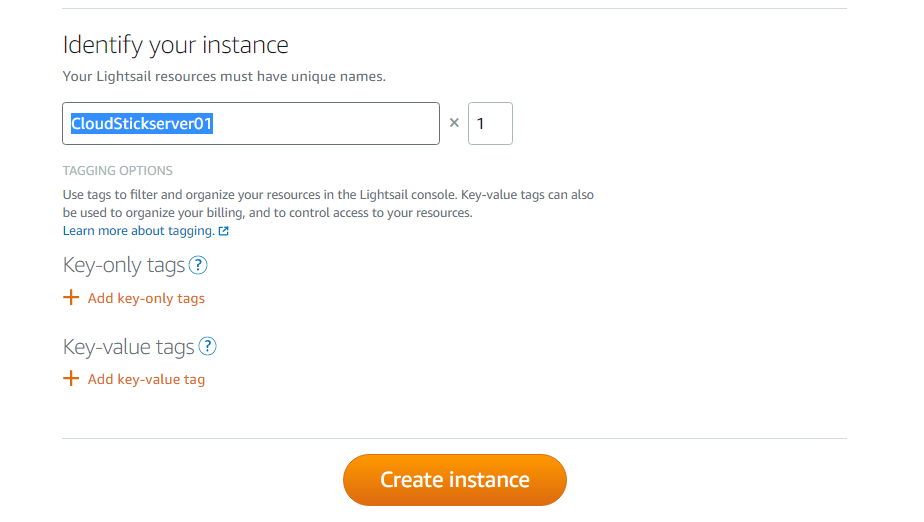
Step 8: This is a penultimate step where you provide a unique name to the creating instance. You can even add tags and values corresponding to that instance and click on “Create instance”
Step 9: The created instance is displayed in a few minutes as you can see the instance. Click on it and you will see the detailed page.
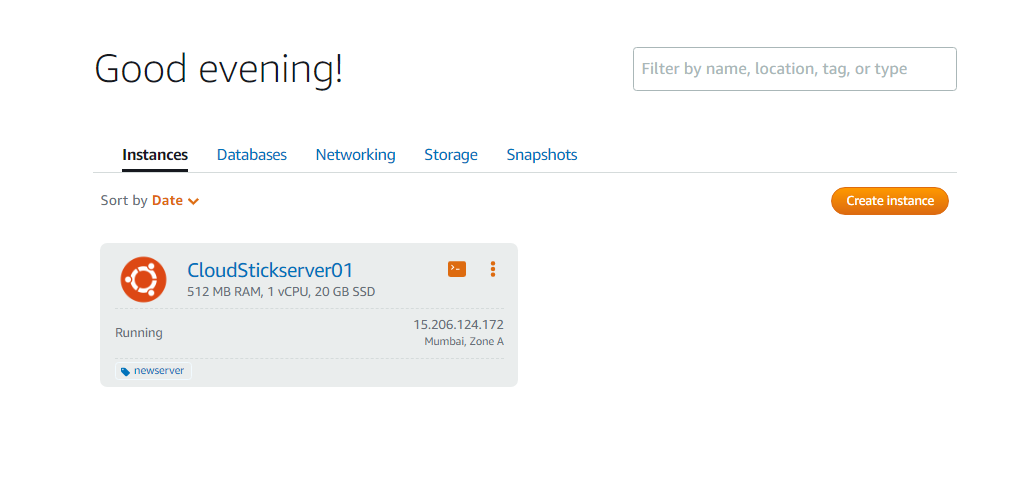
Step 10: This is the detailed page that gives you the configuration details like private IP public IP etc
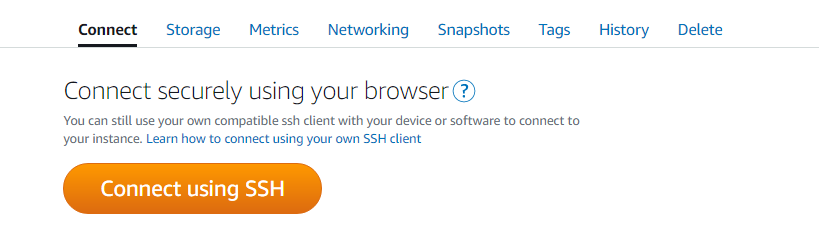
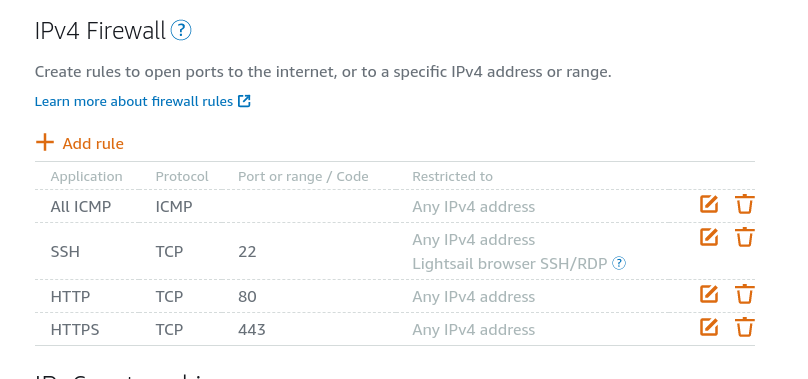
Step 11: Now go to the networking tab, and scroll down to the Firewall section and add the following rules.
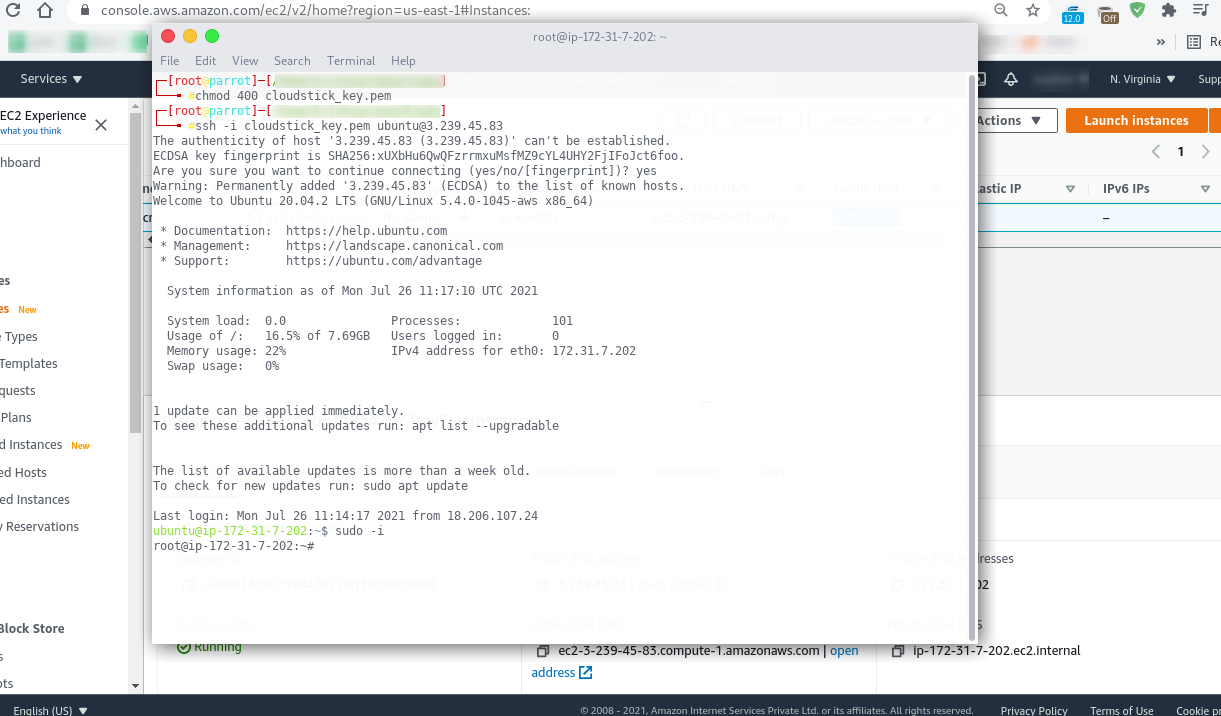
Now let’s connect to our EC2 instance through a terminal, let’s use the ssh command to connect with the instance using our newly created keypair
ssh -i cloudstick_key.pem ubuntu@<ip address>
let’s install CloudStick on this instance by clicking on connect Server button.
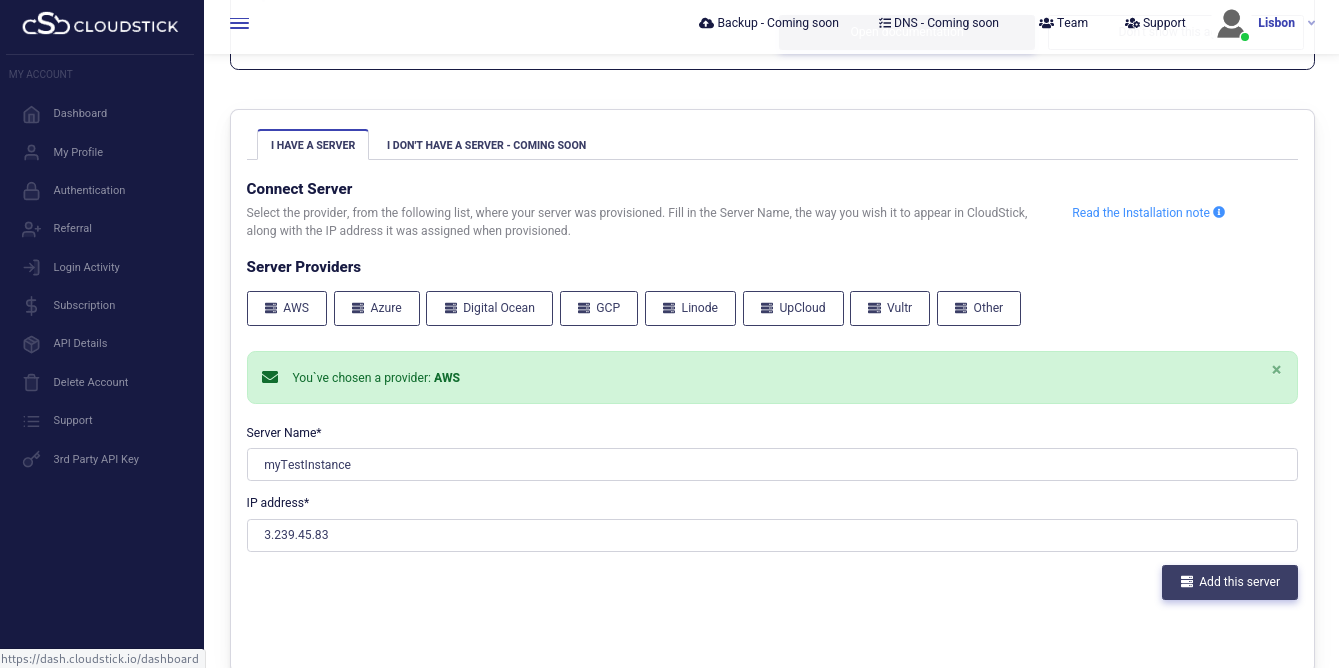
Choose AWS as server provider, input the Server Name and IP address and click on Add the server
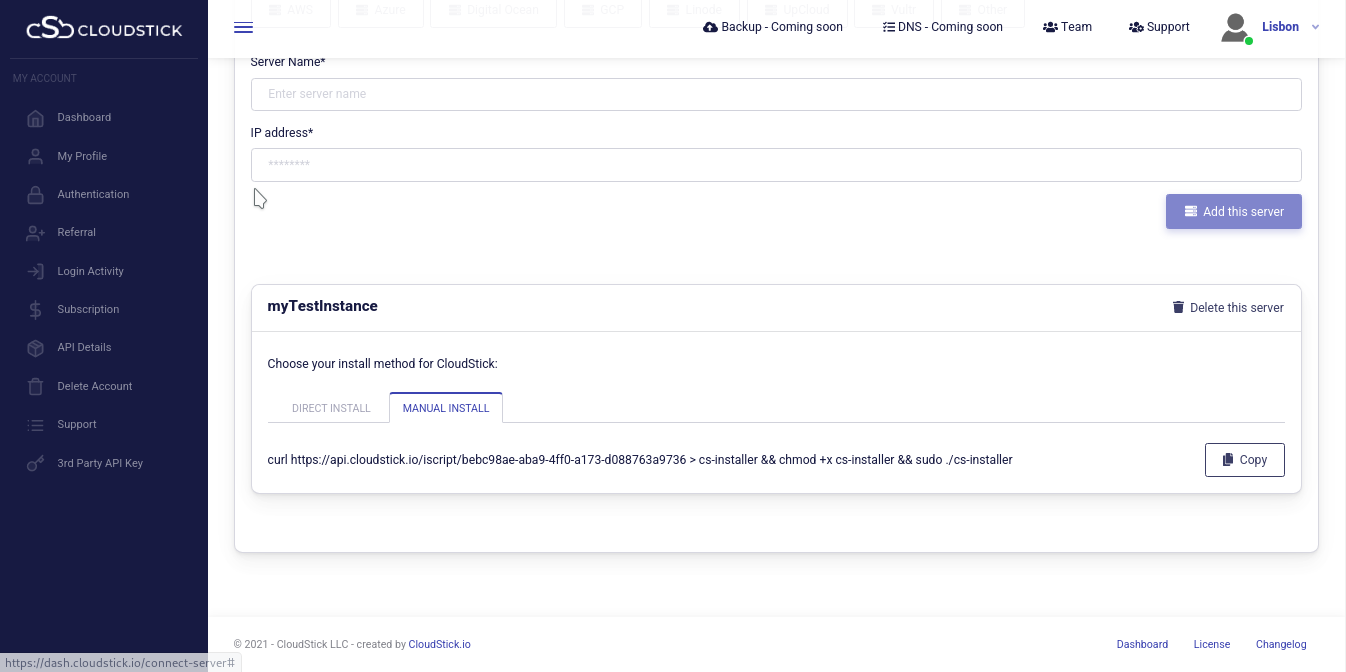
Here we are proceeding with the Manual Installation method since we didn’t set a root password for our instance.
For that click on the Manual Installation option and copy the installation command and paste it on the terminal and hit enter key.
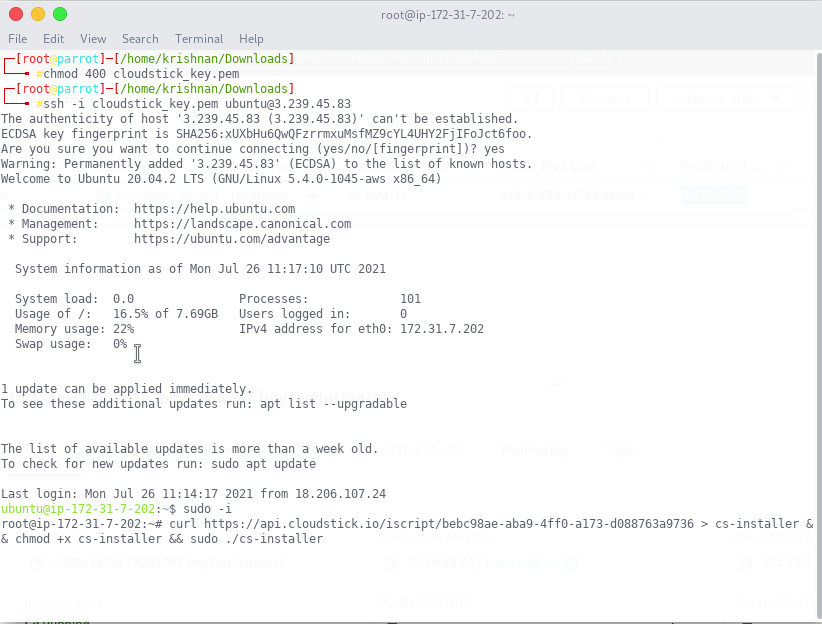
Once the installation starts, you will be able to see the progress on the CloudStick dashboard.
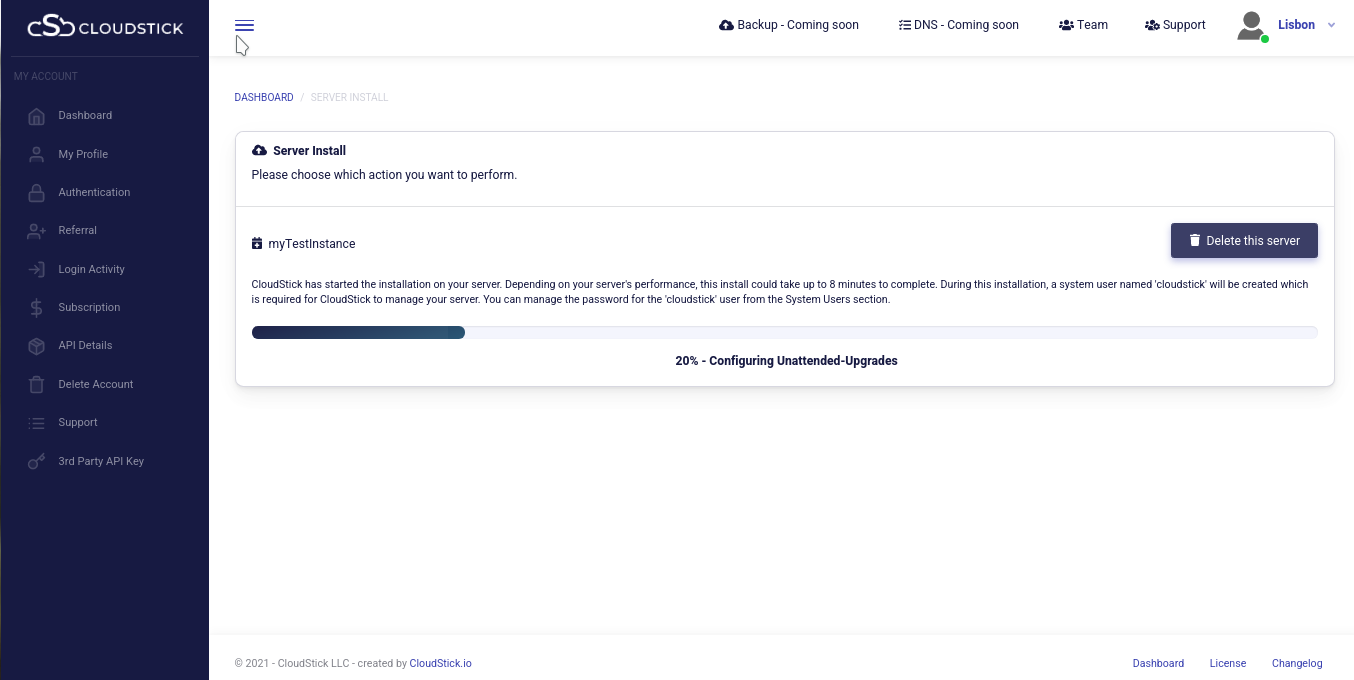
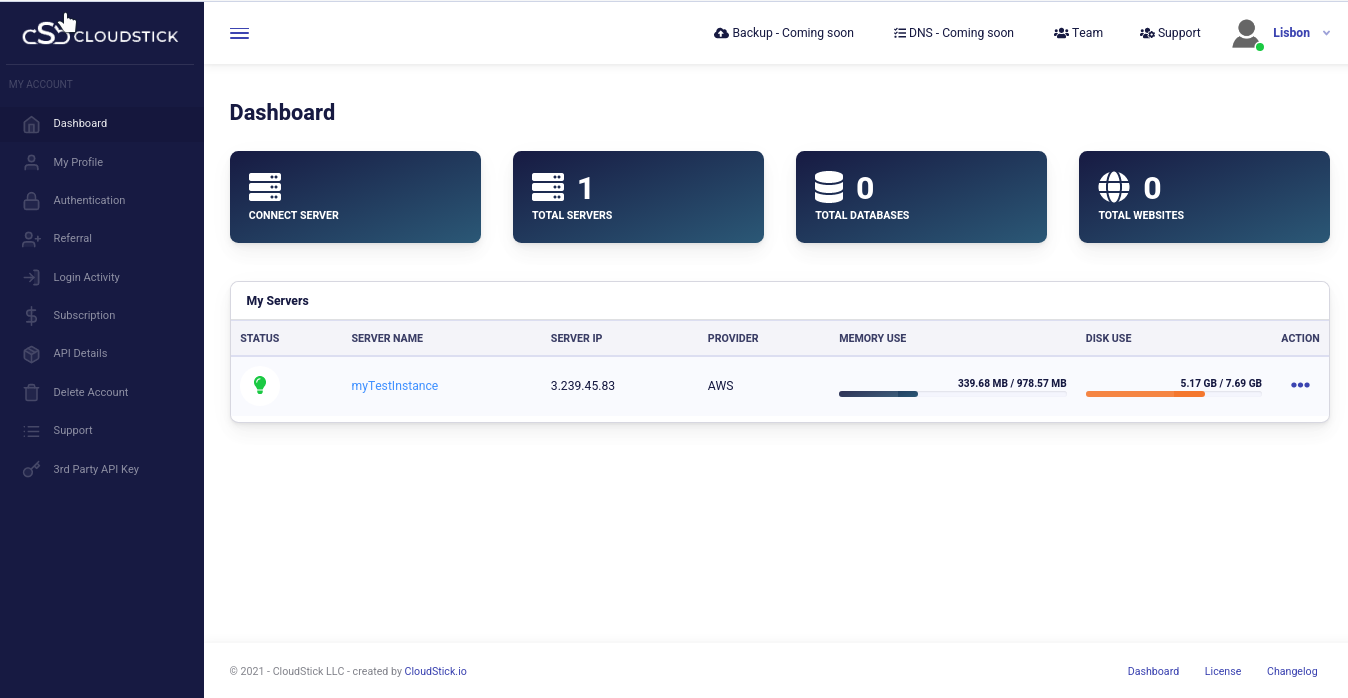
The installation progress can be viewed and within few minutes, attains completion Your server is ready to manage from the CloudStick dashboard. Once the installation is completed, we can see it on the CloudStick dashboard.
In case of any errors encountered in any of the above steps, please contact support We are 24/7/365
You may be interested in :

6 Must Know Learning Management Systems of 2024: Why Moodle Tops the List
Learning Management Systems Introduction The digital transformation of education has escalated the need for robust, scalable,…


Exploring the Innovative Features of WordPress 6.5: A Comprehensive Guide
Introduction: WordPress 6.5 marks another milestone in the evolution of the world’s most popular content management…

How to change MYSQL root password from CloudStick dashboard.
Changing Mysql root passwords are easy when it comes to CloudStick, you do have to fill…