How to setup DigitalOcean server to host your websites

Category : Server Management
This section identifies the purpose of deployment of CloudStick in DigitalOcean Cloud hosting and covers step by step procedure to install.

This illustration covers the creation of the DigitalOcean instance and configures to deploy CloudStick.

What we are going to do

• Create a Droplet with Ubuntu OS
• Deploy in CloudStick

Creating a DigitalOcean Droplet with Ubuntu LTS

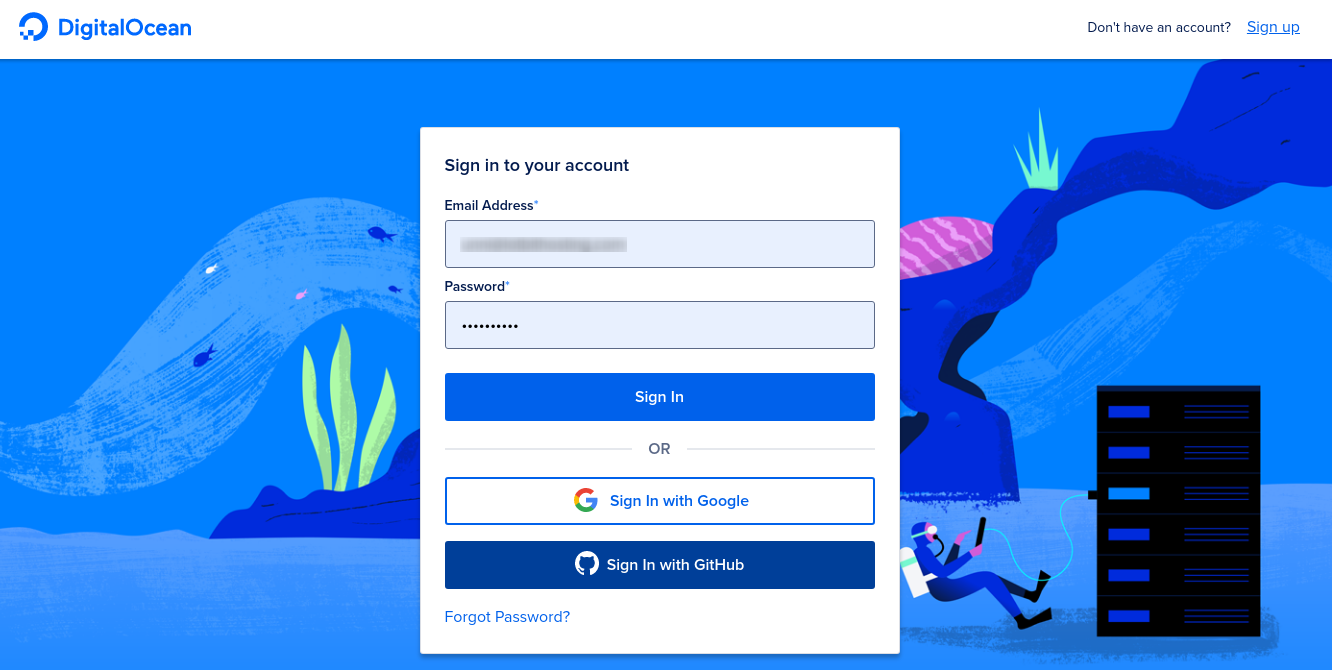
Step 1: Sign in to your DigitalOcean account

DigitalOcean

Step 2: Once signed in, you would be redirected to the DigitalOcean Dashboard

Step 3: Now, to create a droplet, you would require to click on create option


Step 4: This is the part where we select the OS image to install in Droplet: Remember, we would require to choose the LTS version of Ubuntu (16.04/18.04/20.04)

step 5: Choose the droplet plan from the list, according to your requirements

step 6: Select the size of the droplet, as per your current requirements

step 7: Select the datacenter region where you would wish to have your Droplet. This should be near your geographical location.

Step 8: This is the penultimate step where you fix the root password of the droplet.

Step 9: Here we provide the hostname for the droplet. For the sake of convenience, we can provide anything like the below screenshot

Step 10: Finally creating the droplet: We get the below server page


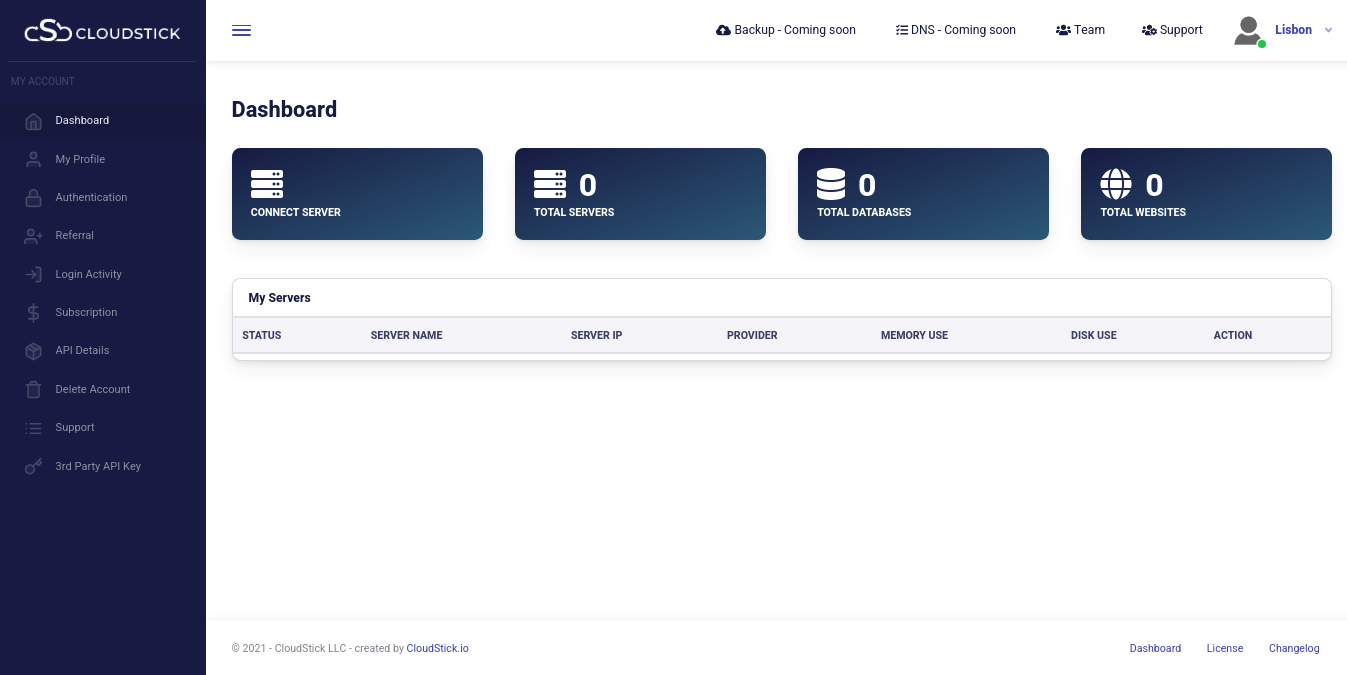
Now, Let’s connect our new DigitalOcean Droplet with our CloudStick account. Let’s sign in to our CloudStick account. If you don’t have a CloudStick account, feel free to create a new one.


let’s install CloudStick on this Droplet by clicking on connect Server button.

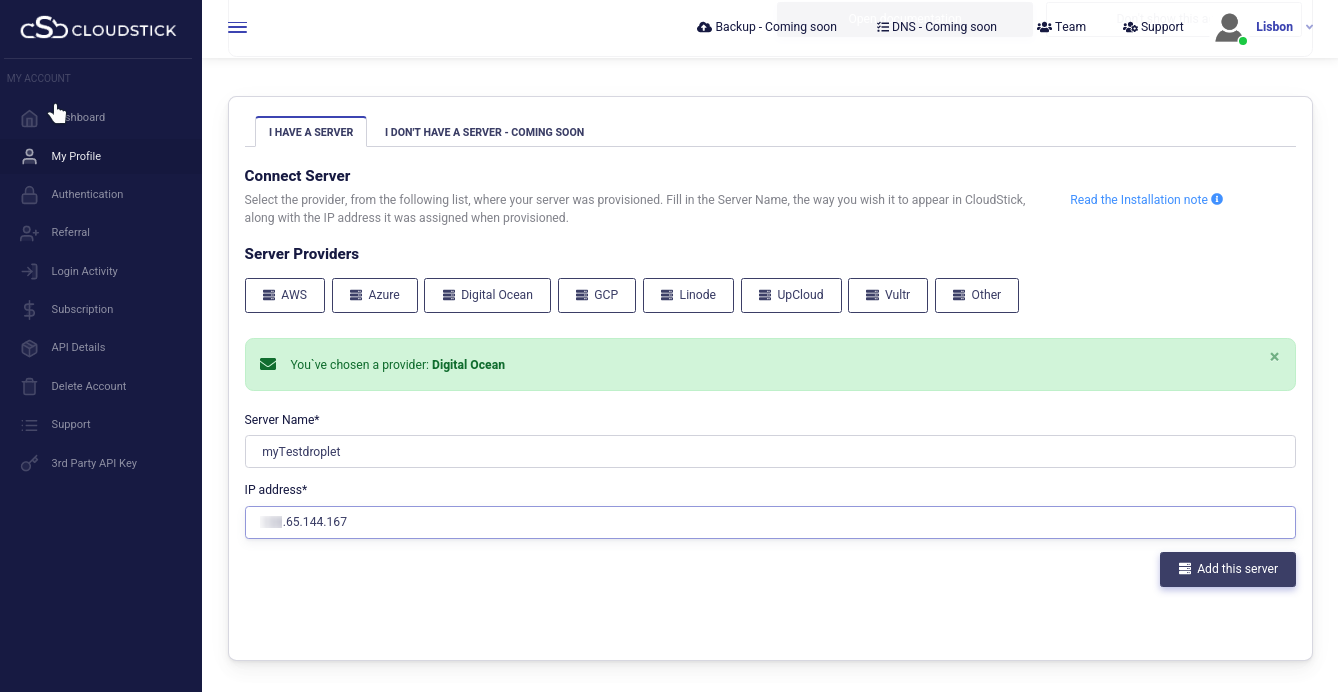
Select the provider as DigitalOcean and input the Server Name and IP address and click on Add the server

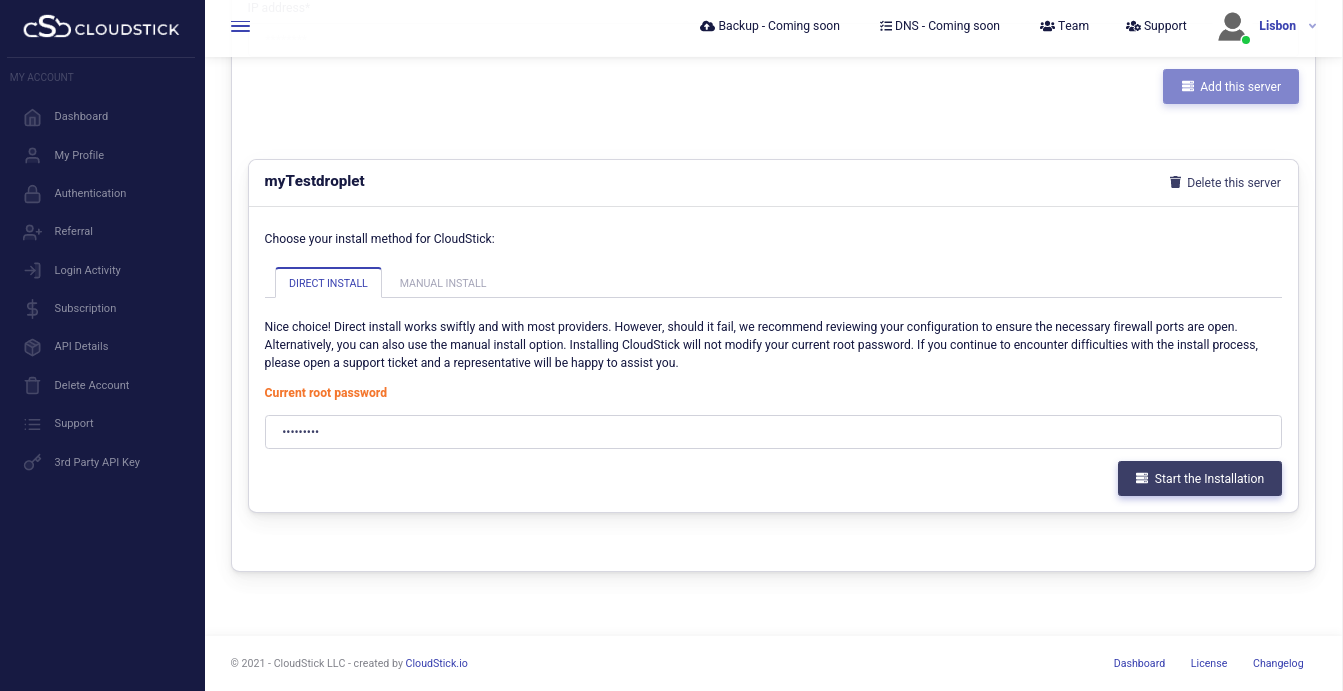
All you would require is to enter the server credentials here

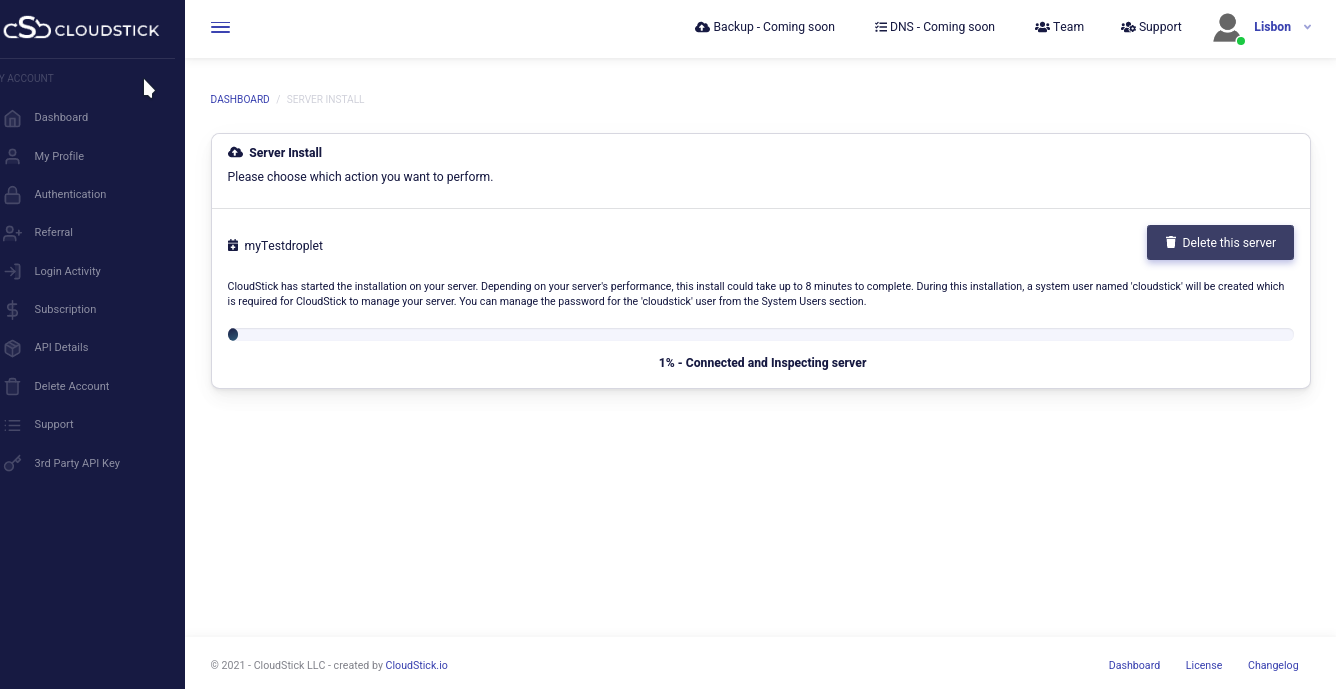
Once you click on Start the installation button, it will commence the process and your server will be provisioned within a few minutes:

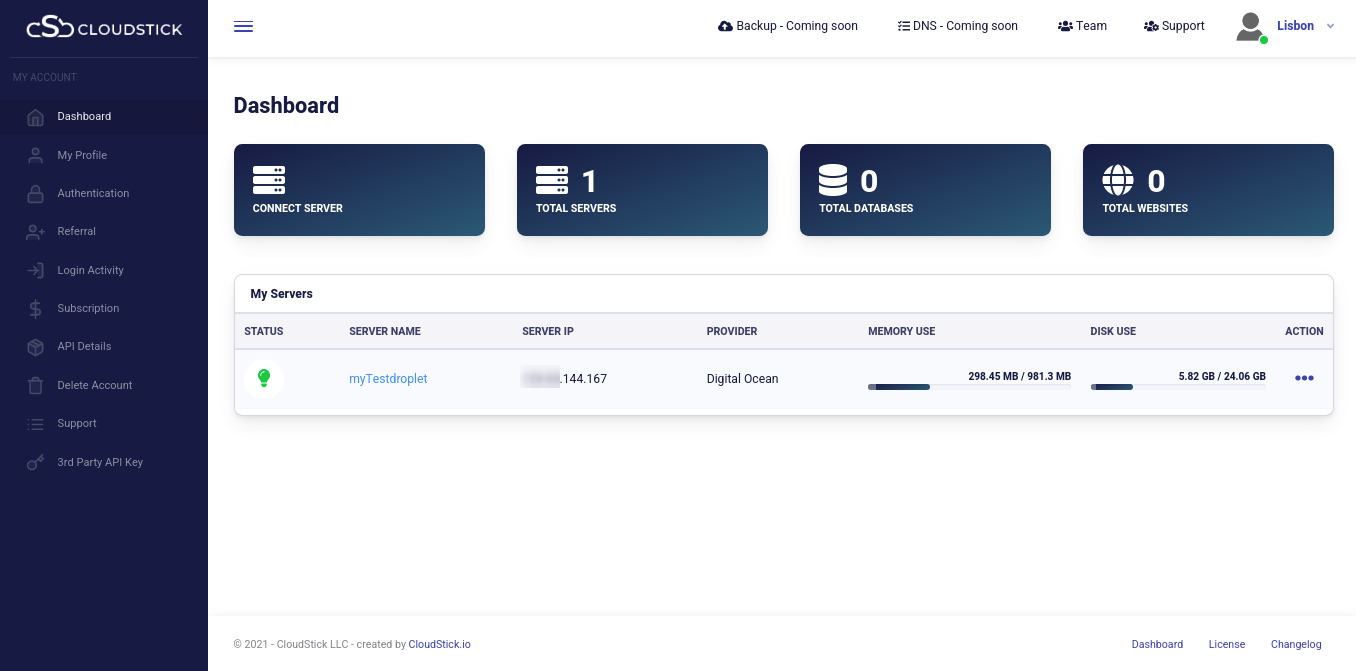
The installation progress can be viewed and within few minutes, attains completion Your server is ready to manage from the CloudStick dashboard.

In case of any errors encountered in any of the above steps, please contact Support We are 24/7/365

You may be interested in :

learning management software

6 Must Know Learning Management Systems of 2024: Why Moodle Tops the List

Posted 04-03-2024 By Gajinder

Learning Management Systems Introduction The digital transformation of education has escalated the need for robust, scalable,…

Exploring the Innovative Features of WordPress 6.5

Exploring the Innovative Features of WordPress 6.5: A Comprehensive Guide

Posted 21-03-2024 By Veena Singh

Introduction: WordPress 6.5 marks another milestone in the evolution of the world’s most popular content management…

password from CloudStick

How to change MYSQL root password from CloudStick dashboard.

Posted 11-09-2020 By Gajinder

Changing Mysql root passwords are easy when it comes to CloudStick, you do have to fill…