By integrating your DigitalOcean account with your Cloudstick dashboard, you can easily deploy or install your DigitalOcean servers directly from one unified interface. This seamless integration allows you to streamline your cloud infrastructure management, enabling you to perform critical tasks such as server provisioning, configuration, and monitoring without ever leaving the Cloudstick dashboard.
Follow these steps to seamlessly integrate your DigitalOcean account with Cloudstick:
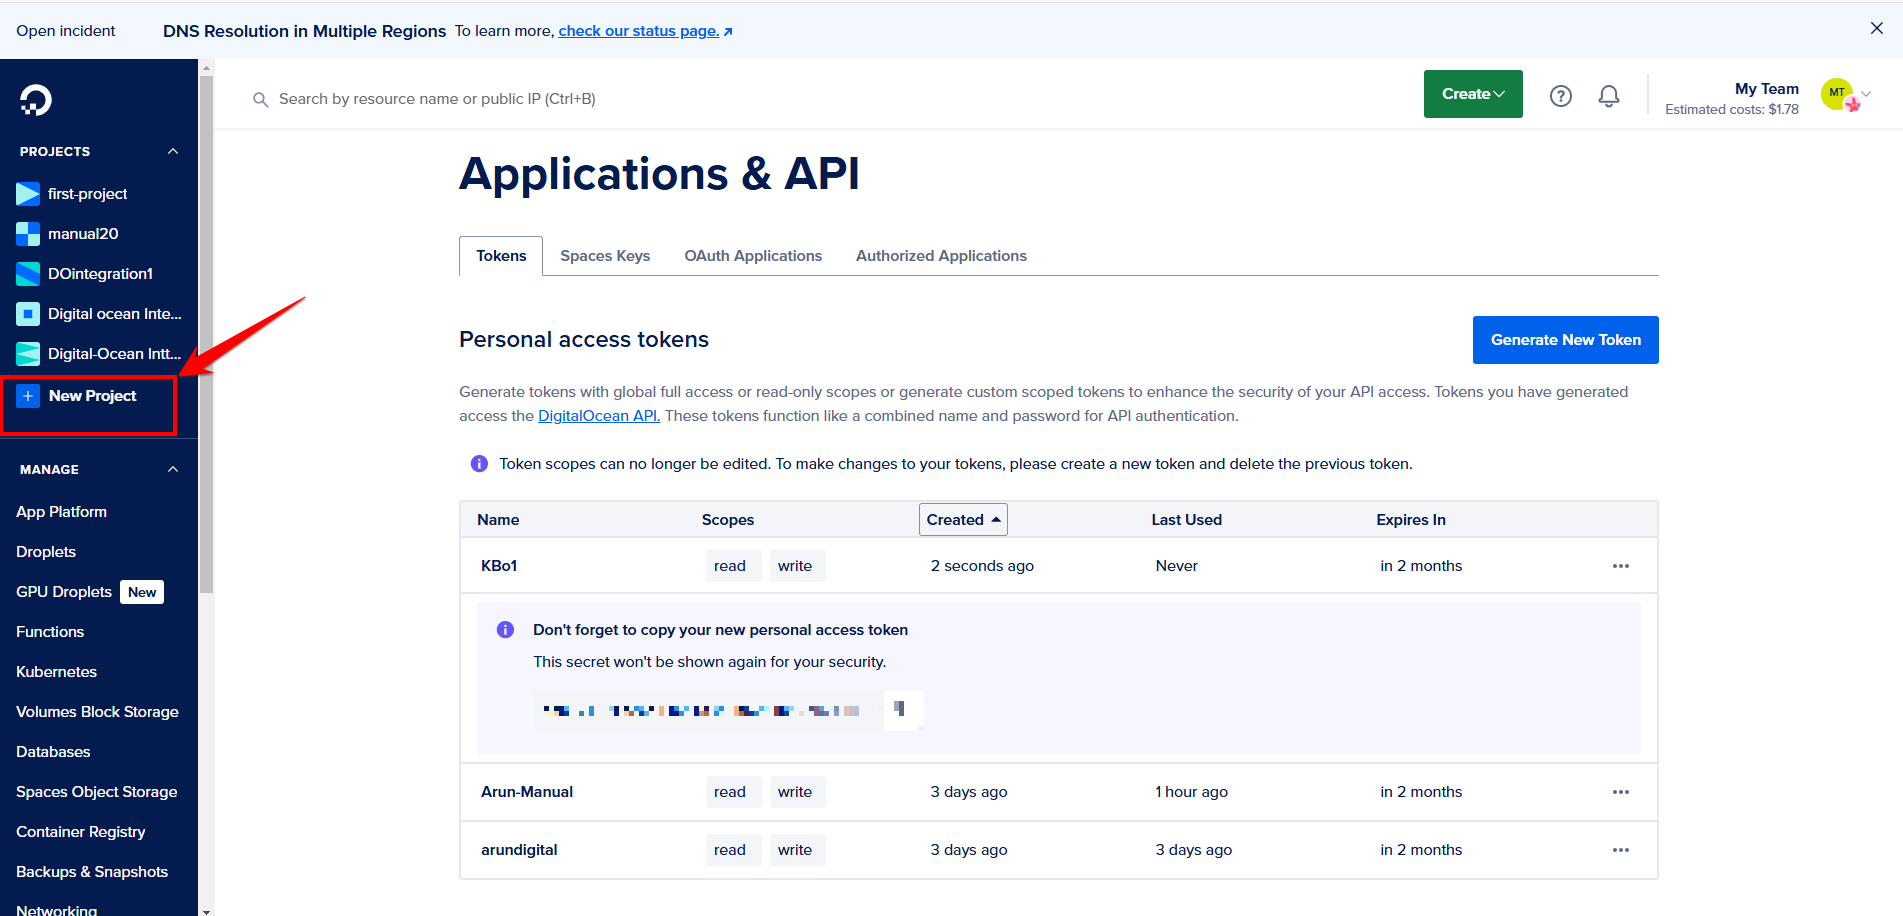
Login to your DigitalOcean account and click on ‘new project’ under the ‘Project menu’ on the top left corner of the dashboard.
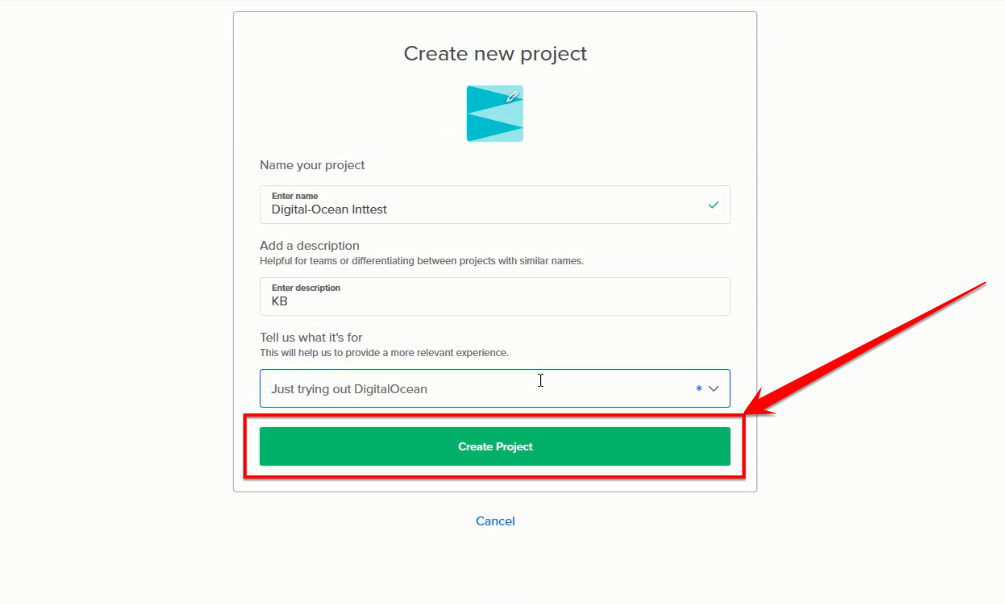
Enter the project name, provide a description, select the appropriate purpose for the project, and then click ‘Create Project’ to finalize the setup.
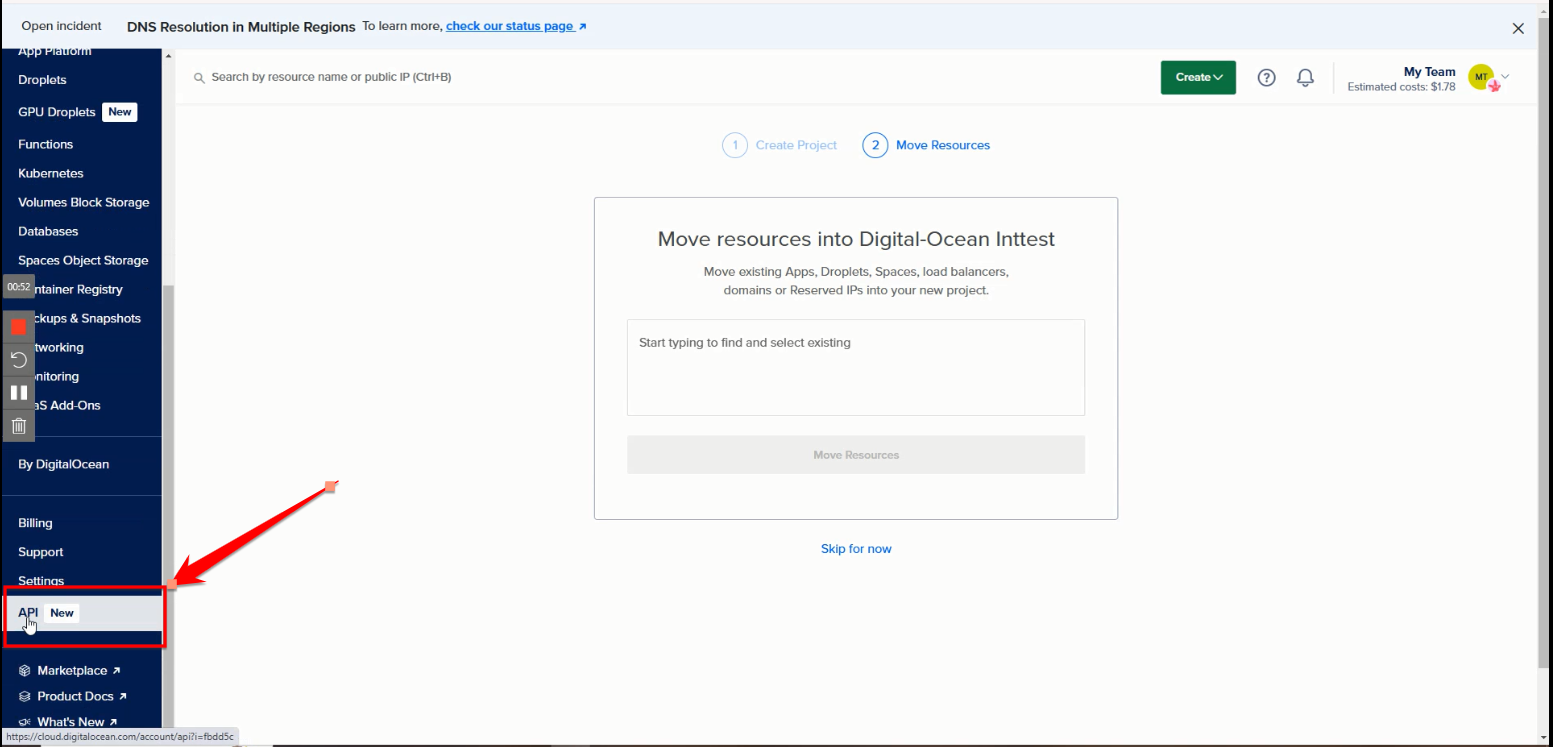
Next, scroll down the left-hand menu panel and select ‘API’ under the ‘By DigitalOcean’ section.
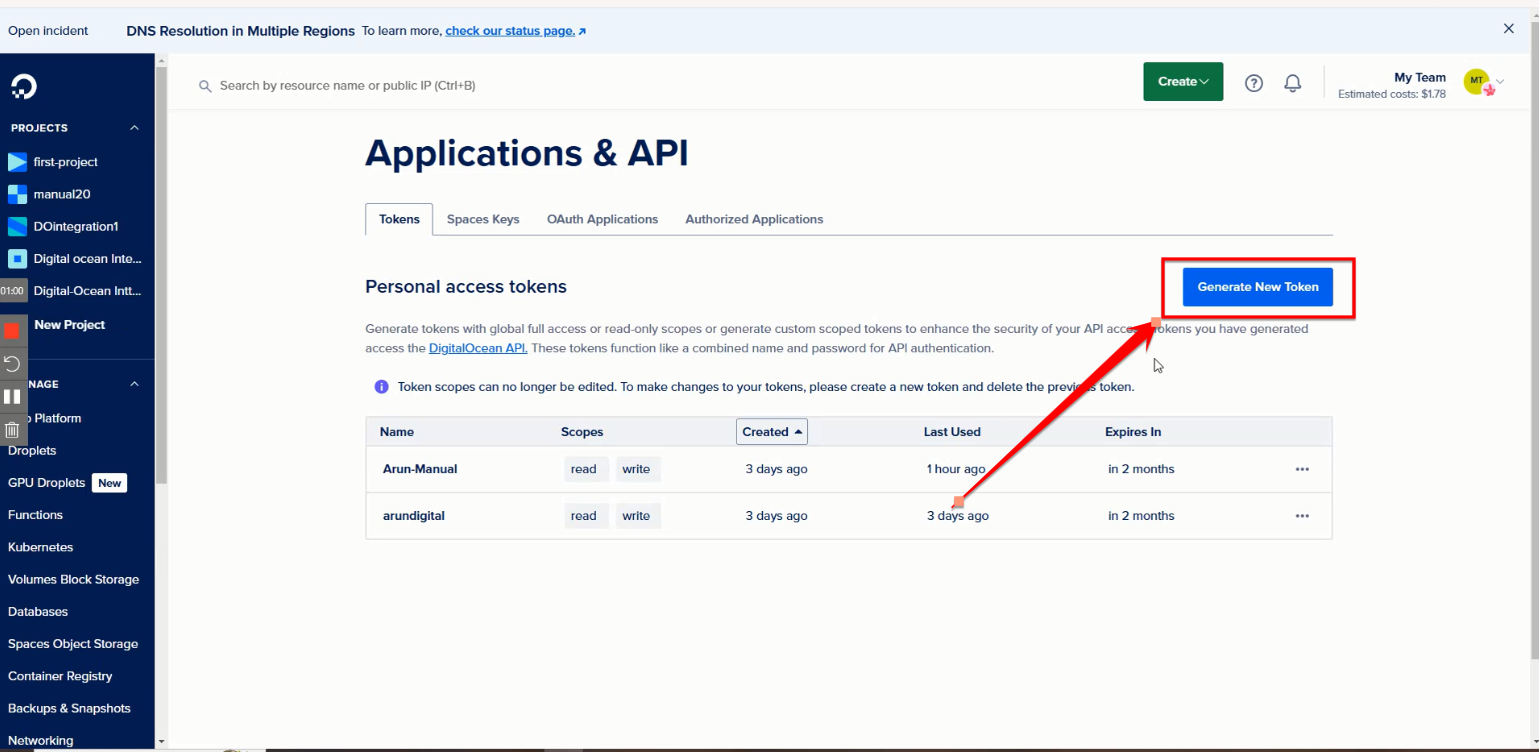
Click on ‘Generate New Token’ to create a fresh authentication token for your account.
Make sure you click on Full Access.
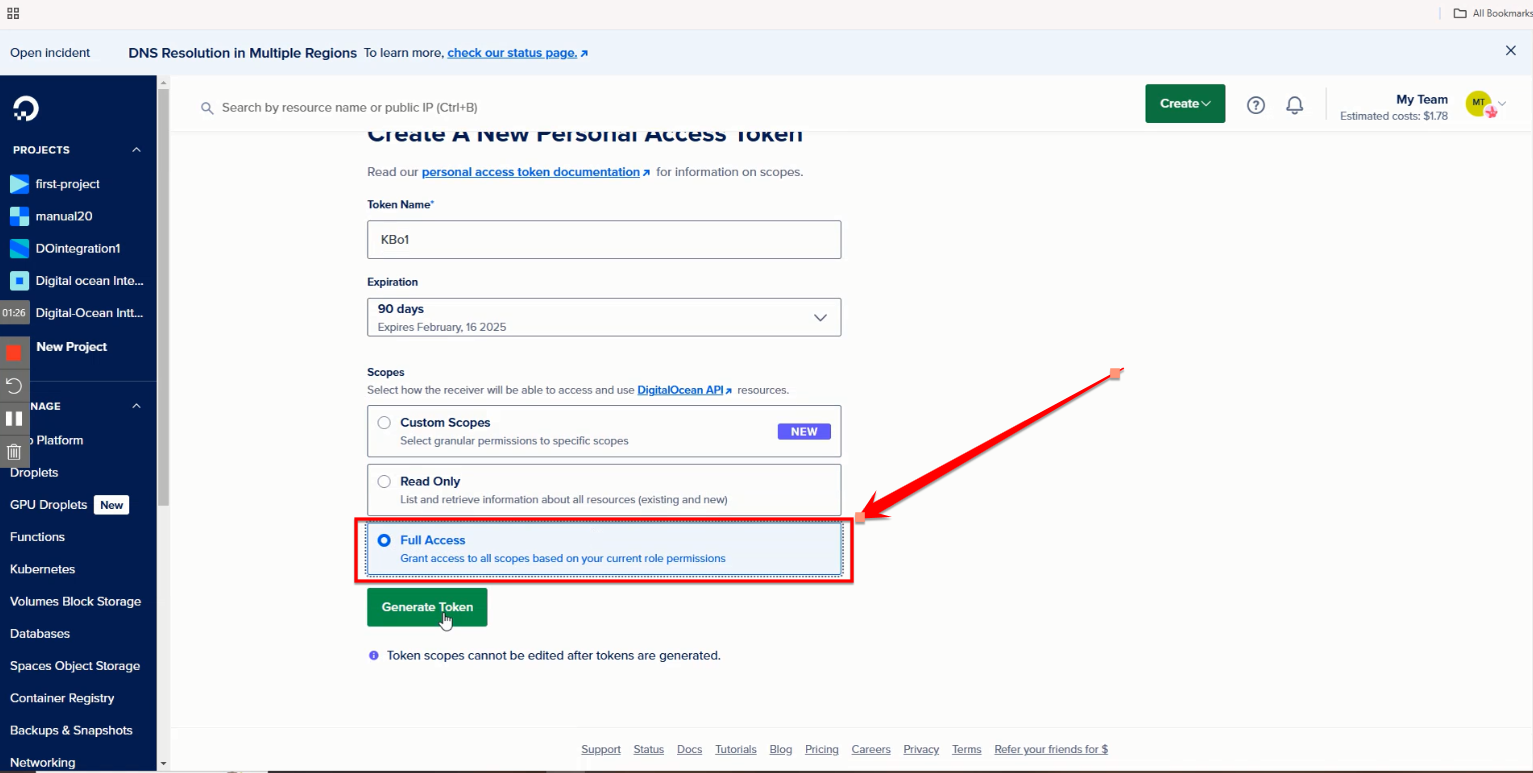
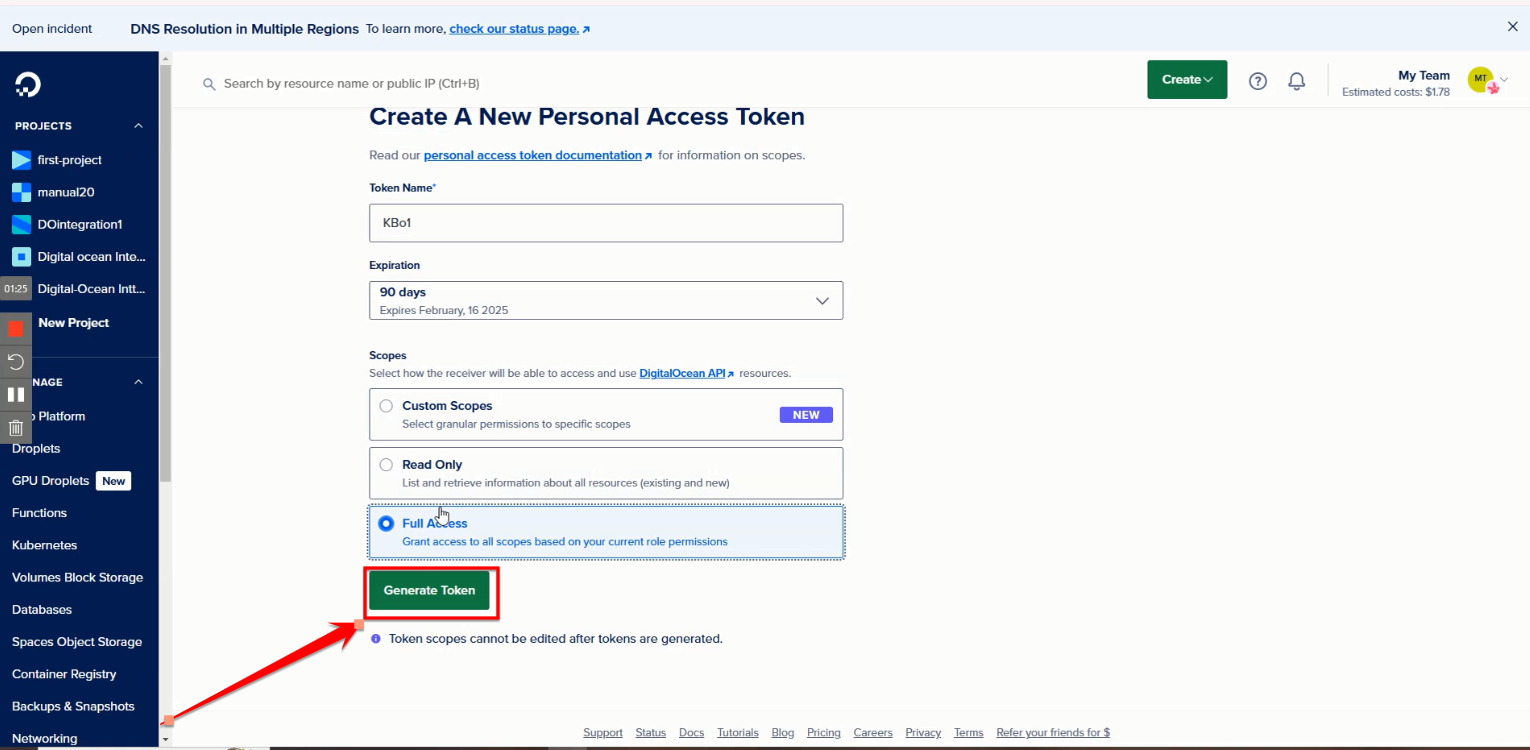
Once you have filled in all the required fields, click on ‘Generate Token’ to create your authentication token.
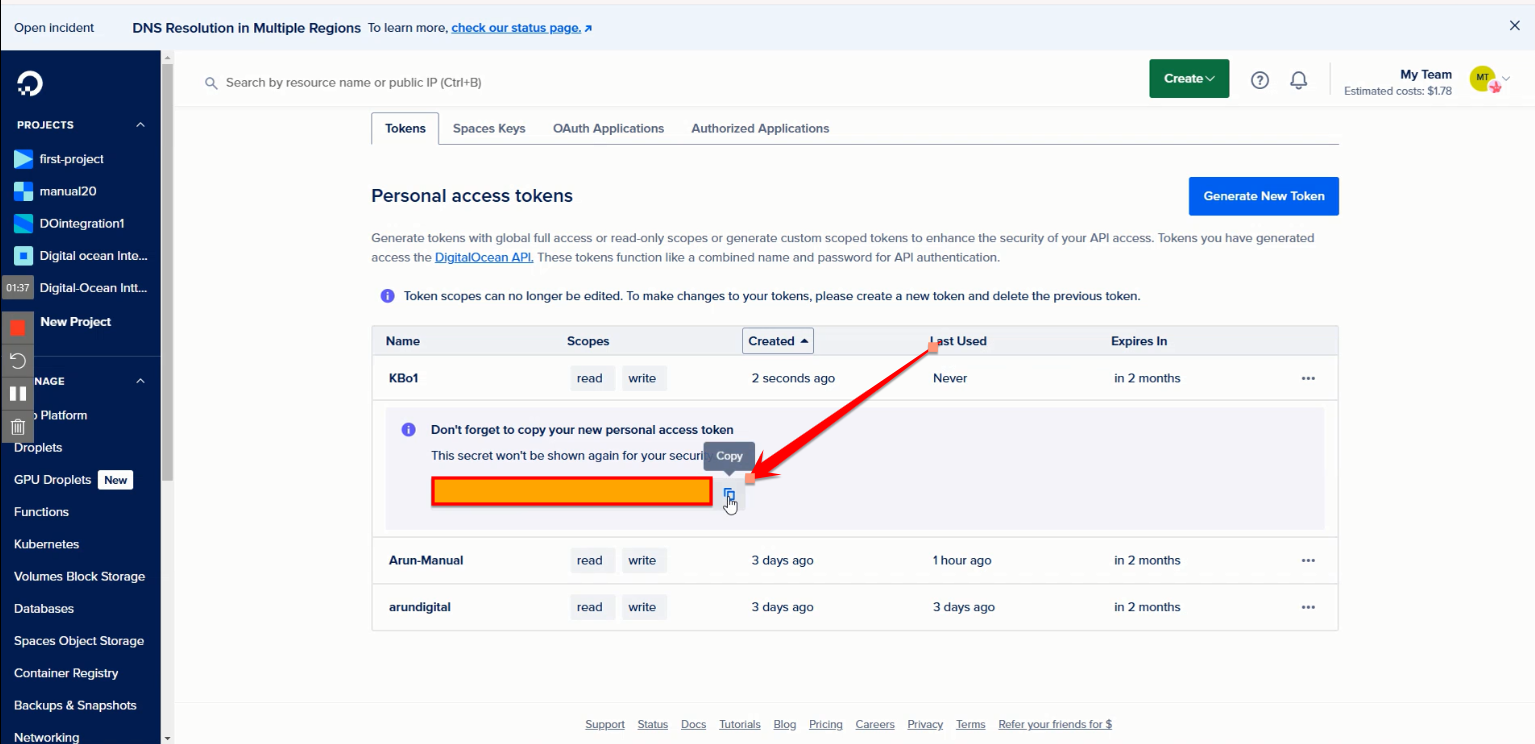
Click the ‘Copy’ button to quickly copy the required information to your clipboard.
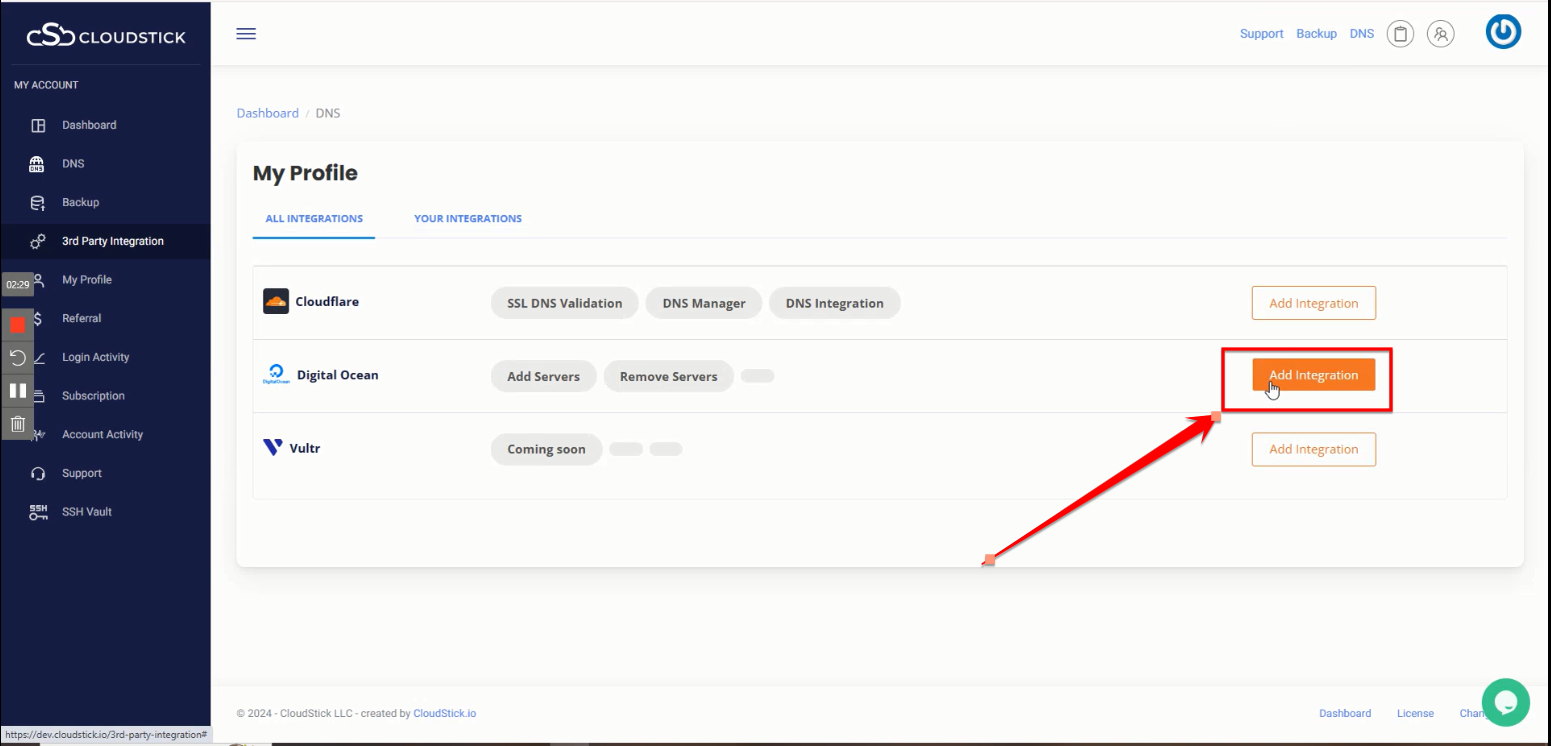
Next, log in to your Cloudstick account and navigate to the ‘3rd Party Integration’ section to begin the setup process.
After filling in all the required fields, paste the access token you copied from the DigitalOcean website into the ‘Secret’ field, then click ‘Add API’ to complete the integration and securely connect your account.
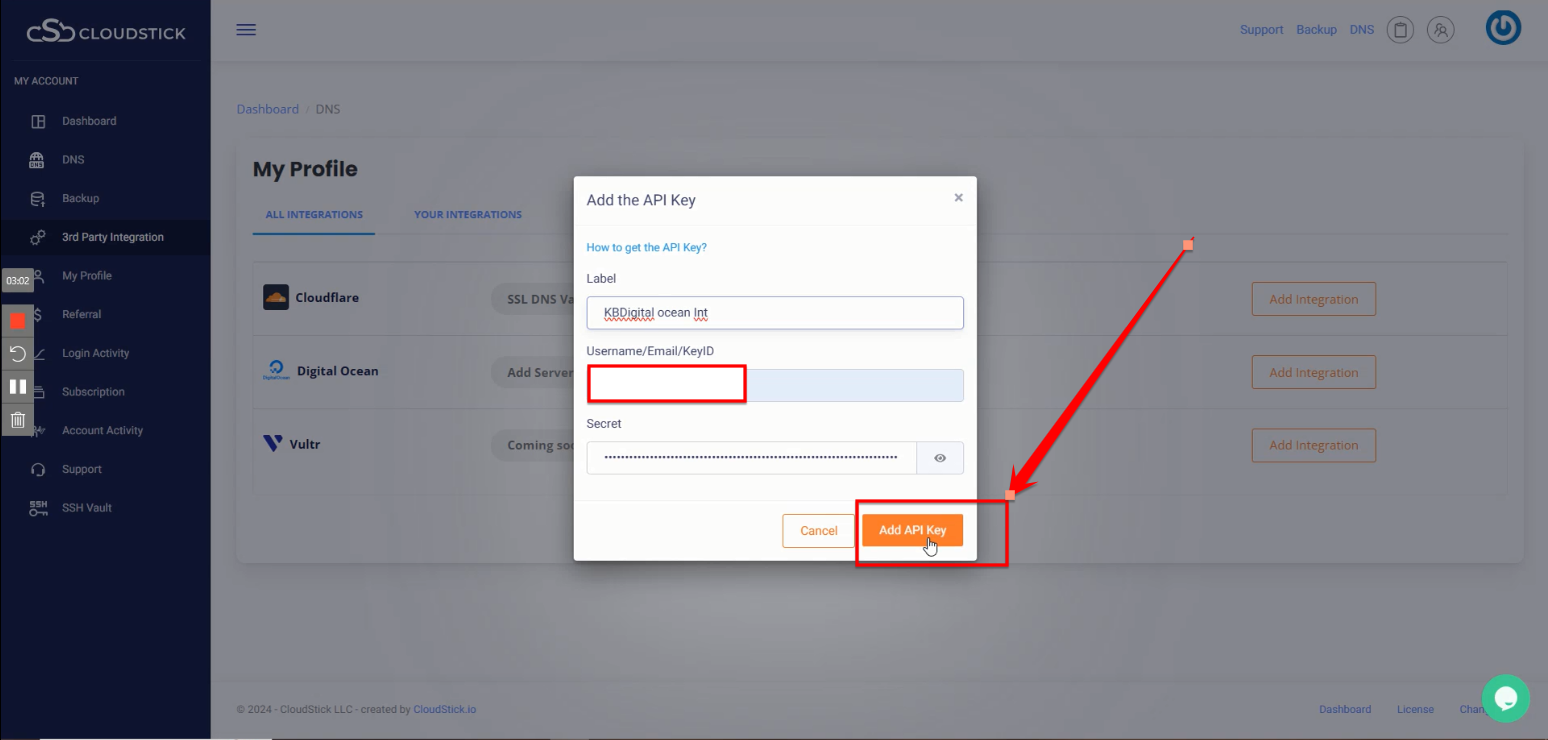
Your DigitalOcean account is now seamlessly integrated with your Cloudstick account, enabling you to effortlessly manage and monitor your DigitalOcean resources directly from your Cloudstick dashboard.