
Setup SPF, DKIM, and DMARC on Linux is very easy, and using this tutorial, you can do it without going through the server backend interface.
Login into your CloudStick dashboard using the link: https://dash.cloudstick.io
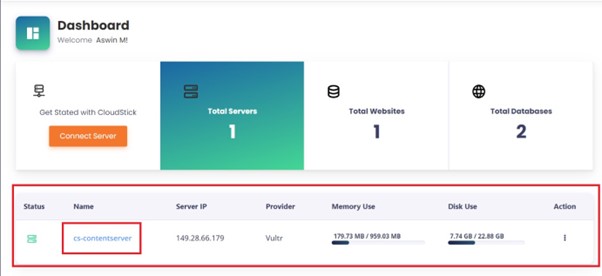
Select or click on your server name:
Navigate to Accounts and select or click on the web application name.

Click on Email Accounts from the left-side menu bar or the Create email option in the right hand side.

Click on the option Email authentication. Please note, if you have not yet setup your server hostname, you need to point A record for the server hostname using the server IP address and setup Hostname using the CloudStick control panel to use email accounts or setup email authentication records. Also, once hostname has been added, you need to deploy SSL for the server hostname using the option deploy SSL in the same page.

In this page, you can see all the records, including MX, A record and DNS authentication records such as DKIM, DMARC and SPF, all you want to select the CloudFlare account you integrated into CloudStick, then click on Add DNS records, this will automatically setup the required records in your DNS Zone in the case of CloudFlare users.
If you are not using CloudFlare, you need to copy and paste these records in your DNS provider’s DNS zone.