You can easily add a Subdomain into a server without making any sort of backend changes to do this. I have noted down the step-by-step procedure to do this:
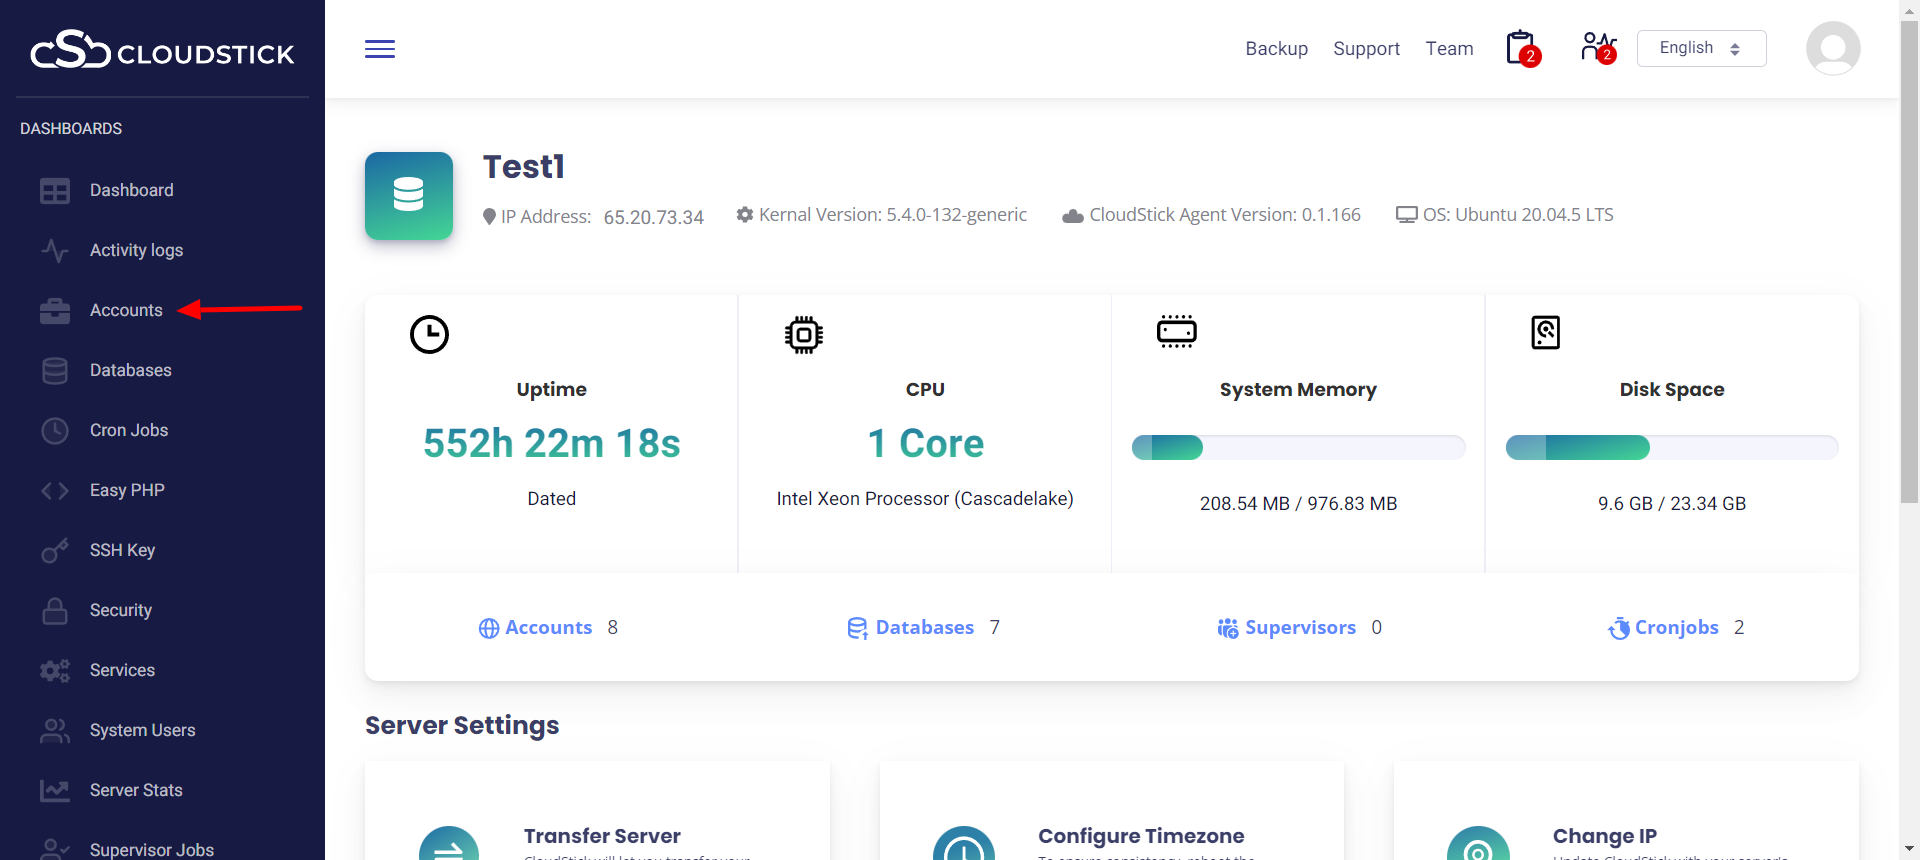
- Login to your CloudStick dashboard.

- Select the preferred server.
- Click on Accounts
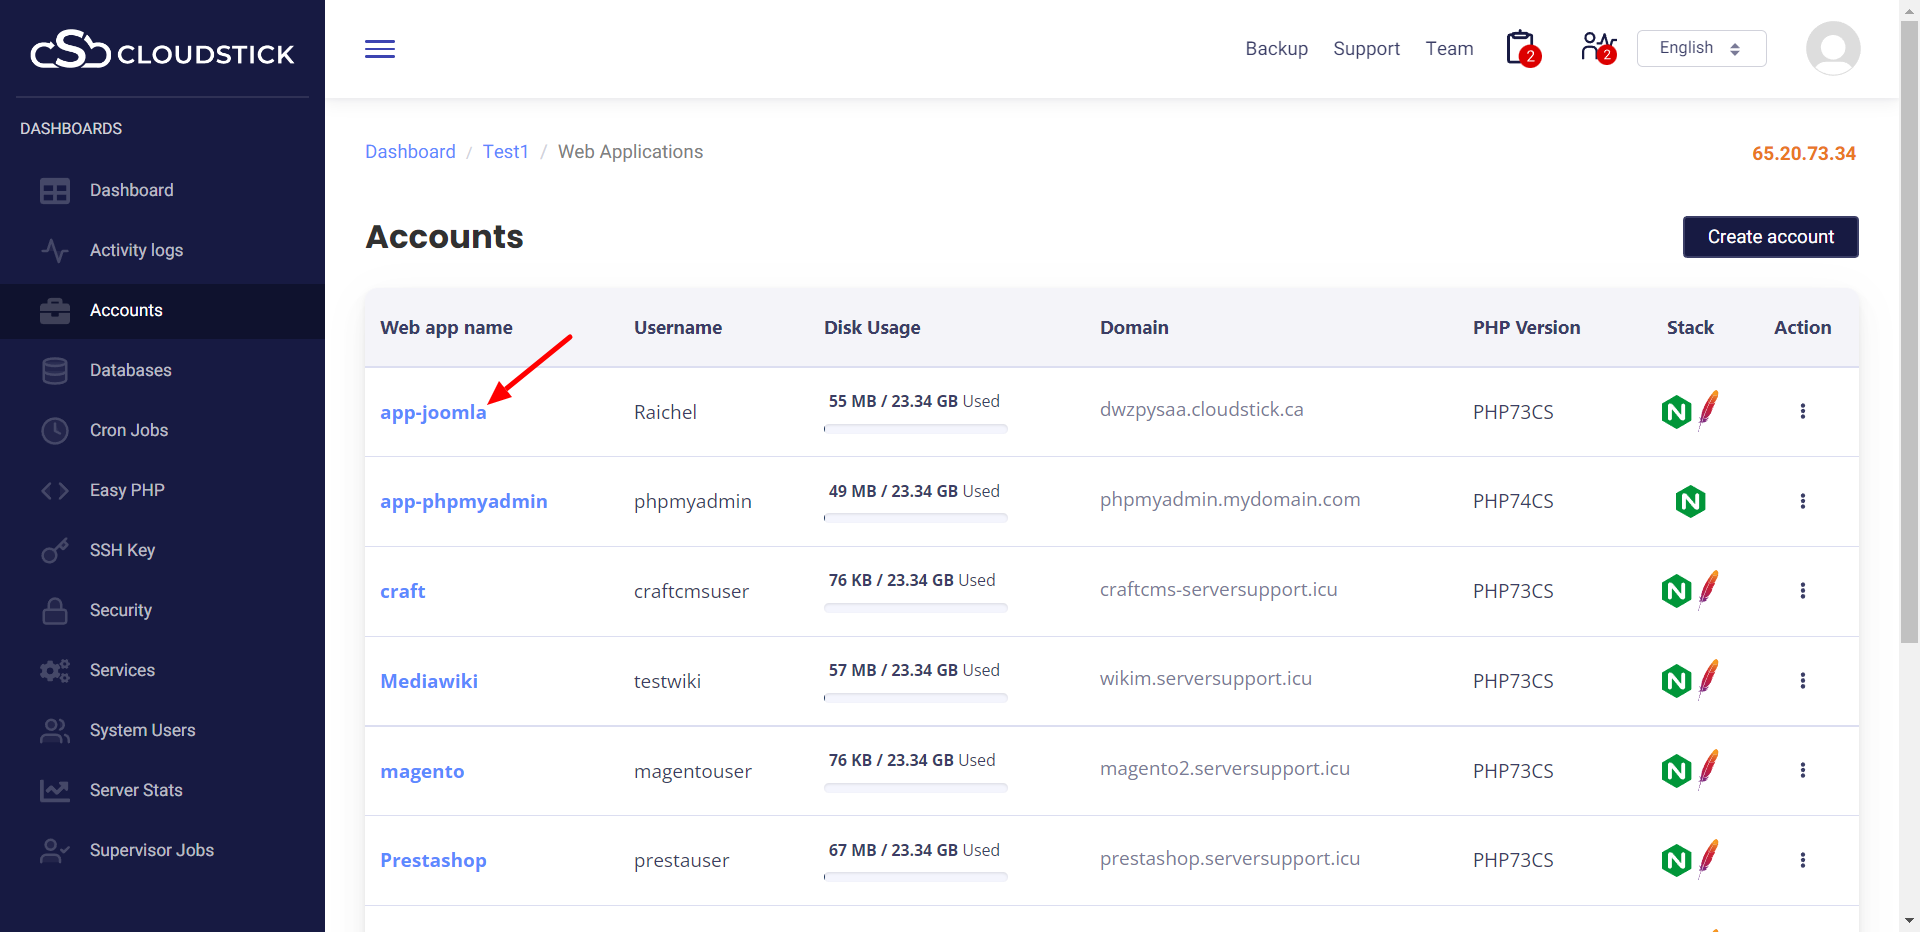
- Select the Account for which you wish to create a subdomain.
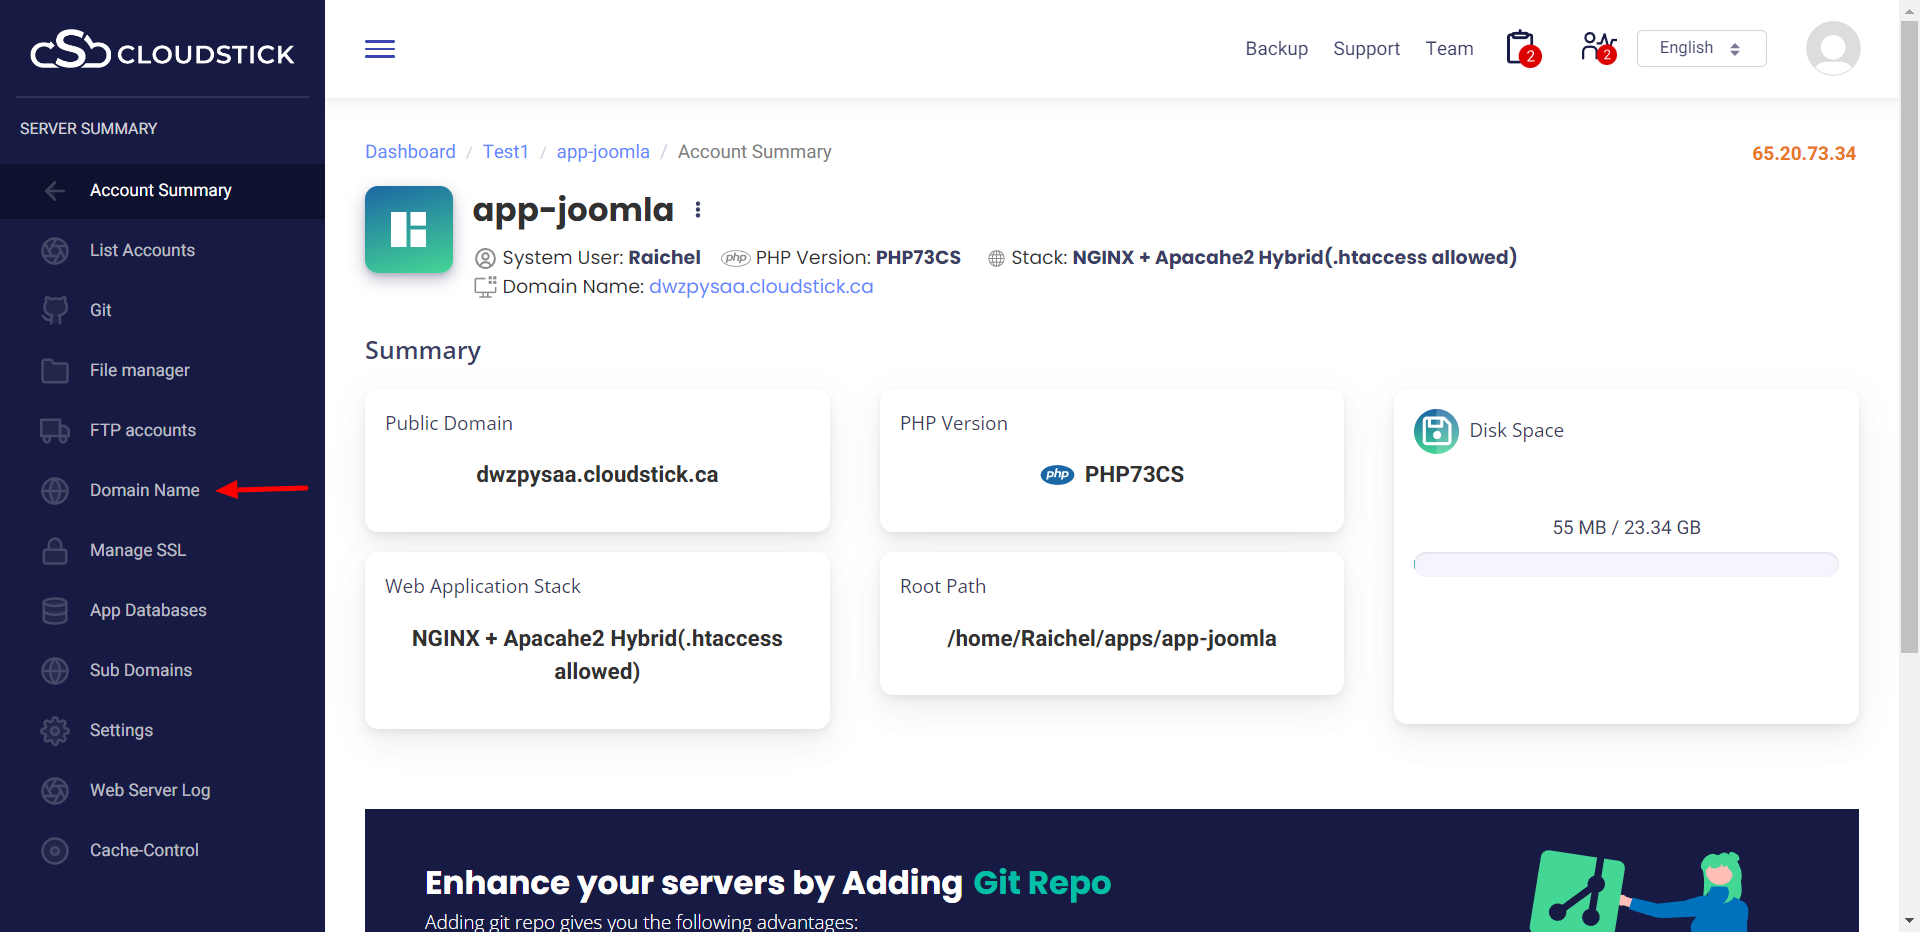
- Remember, you need to create a new account if the primary domain is not hosted on this server. Else you need to navigate to the menu Subdomains from the left-hand side.
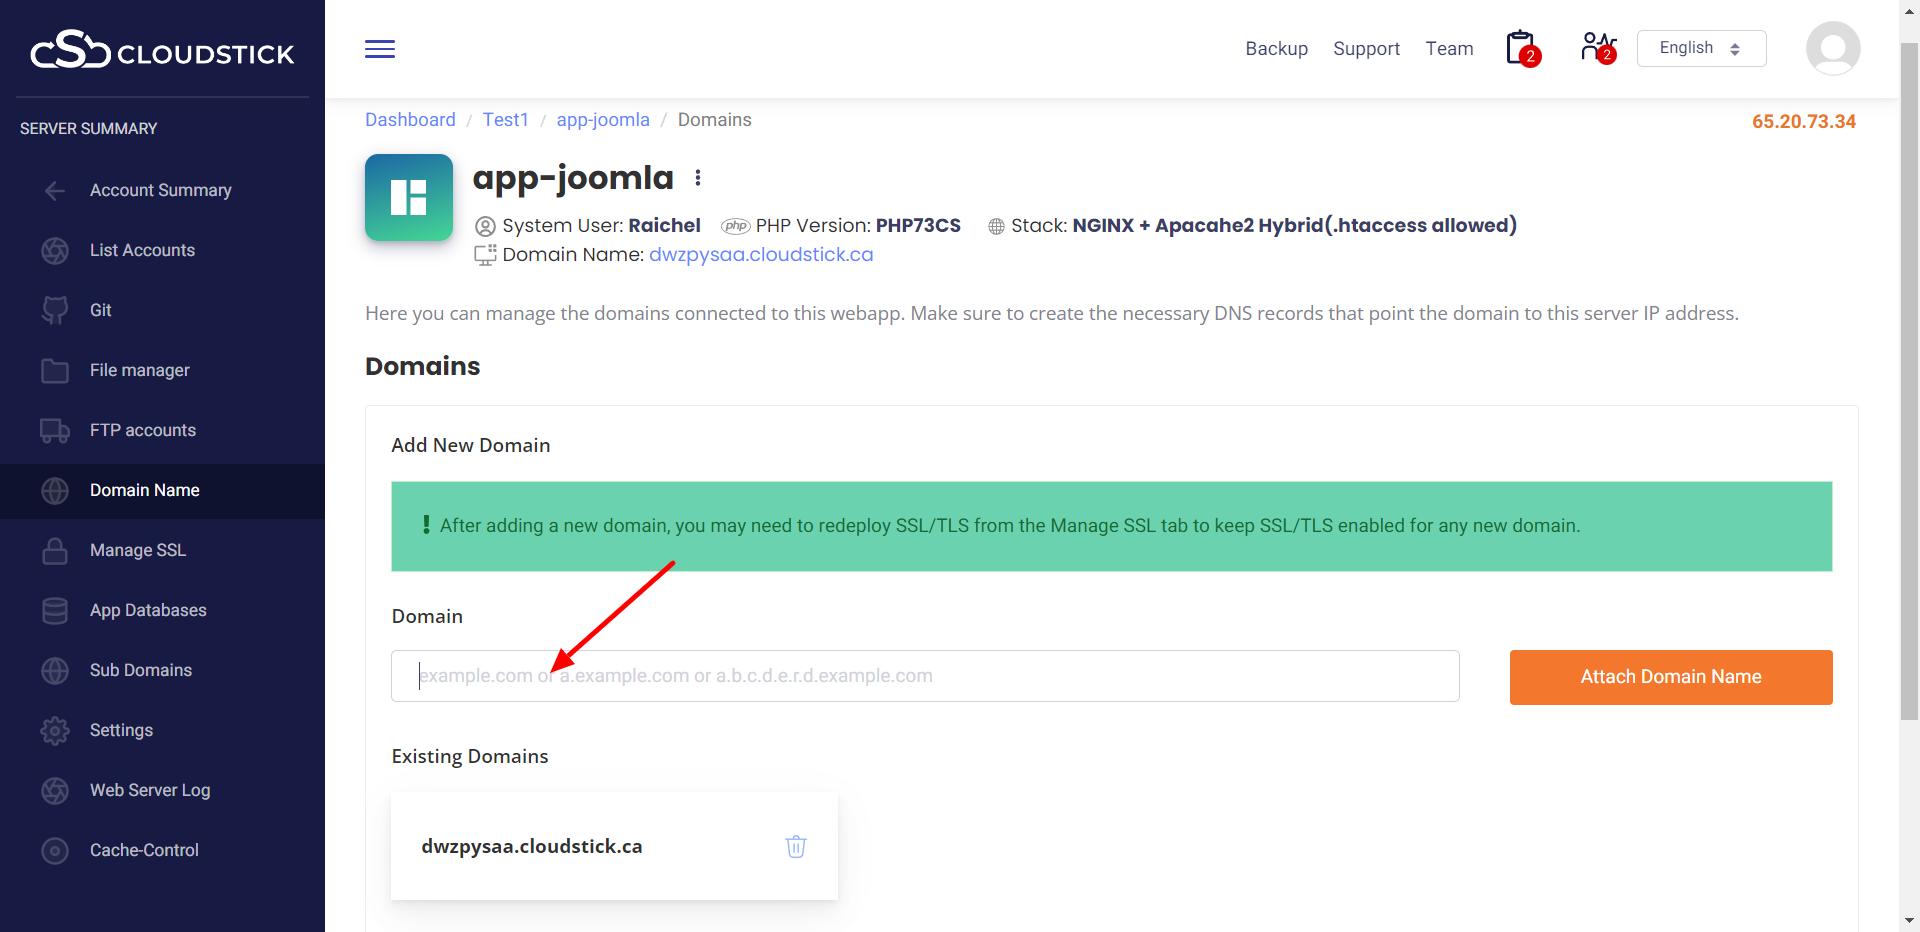
- If you are adding the domain from the Subdomain option, you need to enter the subdomain in the first field.
- Then select the PHP version for your Subdomain and enter the directory, where you want to store the source code for your subdomain. You can keep the source code under the public root of your main web application or outside the public directory as per your requirement. Click on the button Add Subdomain. Then you are done. Now, have a look at on how you can set up SSL for a Subdomain.